
Embroidery has been a cherished art form for centuries, evolving from intricate hand-stitched patterns to high-speed machine embroidery. What once required hours of meticulous needlework can now be replicated with precision using embroidery machines. This transformation has opened up endless creative possibilities, especially for those who want to turn their hand-drawn designs into embroidered masterpieces.
Whether you’re an artist looking to bring your sketches to life, a business owner personalizing merchandise, or simply someone who enjoys custom embroidery, converting hand-drawn designs into machine embroidery files allows for limitless customization. While the process may sound technical, advancements in embroidery digitizing software have made it easier than ever. With the right tools and techniques, even beginners can successfully transform their artwork into stitch-ready designs.
In this guide, we’ll walk you through the step-by-step process of preparing your hand-drawn design, choosing the right software, digitizing the artwork, and testing the final embroidery. By the end, you’ll have the knowledge and confidence to create stunning embroidery from your own unique drawings. Let’s dive in!

Understanding the Basics of Embroidery Digitizing

Embroidery digitizing is the process of converting artwork into a machine-readable embroidery file. Unlike printing, where an image is simply transferred onto fabric, embroidery machines require specific instructions on how to stitch the design. This is where digitizing comes in—it transforms a hand-drawn or digital design into a format that embroidery machines can read and follow.
Hand-drawn designs, no matter how detailed or artistic, need to be converted into embroidery file formats before they can be stitched out. Machines do not recognize standard image files like JPEG or PNG; instead, they rely on specialized embroidery file formats such as DST, PES, EXP, JEF, and VP3. Each of these formats is designed for different embroidery machines—for example, PES is commonly used for Brother machines, while DST is a widely accepted format for industrial embroidery machines.

Another key aspect of embroidery digitizing is stitch selection. Different stitch types influence the final look and quality of the embroidery. Satin stitches are ideal for smooth, raised text and outlines, fill stitches cover larger areas with solid texture, and running stitches create fine details or delicate outlines. Choosing the right stitch type is essential for achieving a polished and professional embroidery result.
Understanding these basics ensures that your hand-drawn design is not only visually appealing but also optimized for efficient stitching on an embroidery machine.
Preparing Your Hand-Drawn Design for Digitizing

Before you begin the digitizing process, it’s essential to start with a clean and clear hand-drawn design. The quality of your embroidery file depends on the clarity of the original artwork. Smudged lines, uneven shading, or unclear details can make digitizing more complicated and may lead to a messy final stitch-out.
1. Scan or Photograph Your Hand-Drawn Artwork
To ensure the best results, scan or photograph your hand-drawn artwork in high resolution.
Best option: A scanner captures fine details without distortion.
Alternative: Use a camera, ensuring proper lighting and a steady hand for clarity.
Once digitized, use image-enhancing software to refine the artwork before converting it into an embroidery file.
2. Use Editing Software to Enhance Clarity
You can refine and clean up your design using:
- Adobe Illustrator – Best for vectorizing and sharpening edges.
- Adobe Photoshop – Ideal for adjusting contrast and removing noise.
- CorelDRAW – Great for enhancing and optimizing artwork for embroidery.
A well-refined image ensures precise digitizing and better stitch quality.
3. Simplify Complex Details
Embroidery machines have limitations when it comes to tiny details and excessive shading.
Avoid:
- Very thin lines or small text
- Overly detailed shading
- Intricate patterns that may not translate well into stitches
Instead:
- Use bold, well-defined shapes.
- Ensure elements remain clear even when scaled down.
4. Select & Separate Colors for Digitizing
Proper color selection plays a crucial role in embroidery.
Tips:
- Choose thread colors that match your original hand-drawn design.
- Separate different sections by colors for easier digitizing.
- Avoid excessive colors that make embroidery more complex.
By preparing your design properly, you’ll make the digitizing process smoother, faster, and more precise, ensuring a high-quality embroidery result.
Choosing the Right Digitizing Software

Selecting the right Embroidery Digitizing Software is essential for converting hand-drawn designs into high-quality embroidery files. Various software options cater to different skill levels and needs, ranging from premium industry tools to free alternatives.
Popular Embroidery Digitizing Software
- Wilcom Embroidery Studio – Wilcom is the industry standard for professional digitizers, offering advanced features, precise stitch control, and extensive customization. Best suited for commercial embroidery businesses.
- Brother PE-Design – A user-friendly software designed for home embroiderers using Brother embroidery machines. It provides essential digitizing tools with a simple interface.
- Embird – A cost-effective and versatile option with modular features, making it a great choice for both beginners and experienced digitizers.
- Ink/Stitch –Ink/Stitch is a free, open-source extension for Inkscape that allows basic embroidery digitizing. Ideal for hobbyists who want a no-cost solution.
Free vs. Paid Digitizing Software
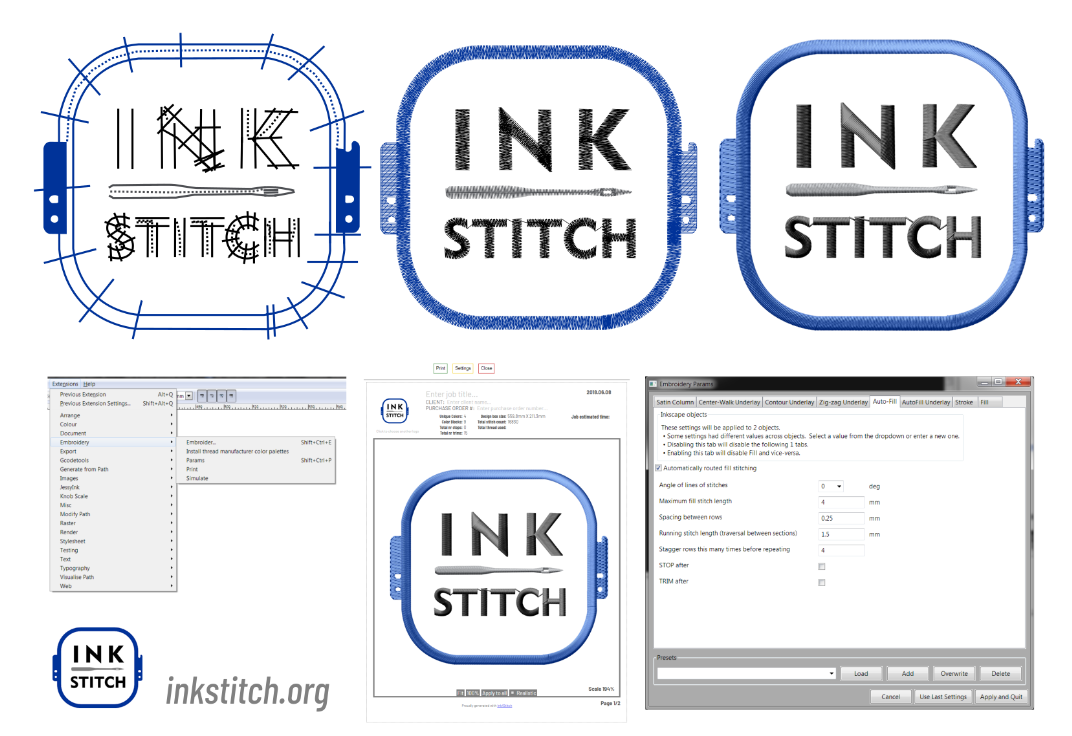
Free software like Ink/Stitch can be a good starting point, but it lacks advanced features like stitch density control, detailed editing, and complex design handling. Paid software like Wilcom and Embird provides greater precision, more stitch customization, and better overall embroidery quality.
Auto-Digitizing: Helpful but Limited
Many software programs offer auto-digitizing tools that automatically convert images into embroidery files. While this can save time, auto-digitizing often results in inconsistent stitch placement, poor layering, and lack of artistic control. For best results, manual digitizing ensures clean, well-defined embroidery with proper stitch direction and density.
Choosing the right software depends on your needs, budget, and level of expertise. If precision and quality are priorities, investing in a professional digitizing program is the best option.
The Digitizing Process – Step-by-Step Guide
Turning a hand-drawn design into a machine-readable embroidery file requires a structured approach. Below is a step-by-step guide to ensure a clean, high-quality embroidery outcome.
Step 1: Importing the Image into Your Digitizing Software
The first step is to load the scanned or photographed hand-drawn design into your chosen digitizing software. Most programs allow image imports in common formats like PNG or JPEG.
If the software requires vector-based input, convert the image into a vector file using tools like Adobe Illustrator or CorelDRAW. Vector images offer better control over lines and shapes, making them easier to digitize.
Step 2: Tracing and Outlining the Design
Once the image is imported, use the manual digitizing tool to trace the design. This involves outlining different sections and defining key elements that will be stitched.
Each part of the design should have an appropriate stitch type assigned:
- Satin stitches for borders, lettering, and thin details.
- Fill stitches for larger areas needing solid coverage.
- Running stitches for fine details or simple outlines.
Step 3: Assigning Colors and Layers
Proper layering of design elements ensures smooth embroidery without overlapping stitches. Assign colors to different sections of the design, matching them to embroidery thread shades.
Many software programs allow previews of thread colors, helping you adjust shades to closely match the original hand-drawn design.
Step 4: Adjusting Stitch Density and Direction
Stitch density affects how compact or loose the embroidery will be. High density can make stitches too tight, causing fabric distortion, while low density may result in uneven coverage.
Adjust the stitch direction to enhance texture and movement. Proper stitch angles can create shading effects, making the design look more natural and professional.
Step 5: Previewing and Testing the Design
Before exporting, use the simulation feature in your software to preview the stitch flow. This helps identify potential errors, gaps, or overly dense areas.
Make final tweaks to improve efficiency, reduce jump stitches, and ensure a clean finish.
Exporting the Design and Testing on Fabric

Choosing the Correct File Format
Once the design is finalized, export it in the correct embroidery machine format. Popular formats include:
- DST (Tajima and industrial machines)
- PES (Brother machines)
- EXP (Melco machines)
Each embroidery machine has its own format, so ensure compatibility before transferring the file.
Transferring the File to the Embroidery Machine
After saving the design, transfer it to your embroidery machine via USB, Wi-Fi, or direct cable connection, depending on the machine’s capabilities.
Selecting Fabric and Stabilizer
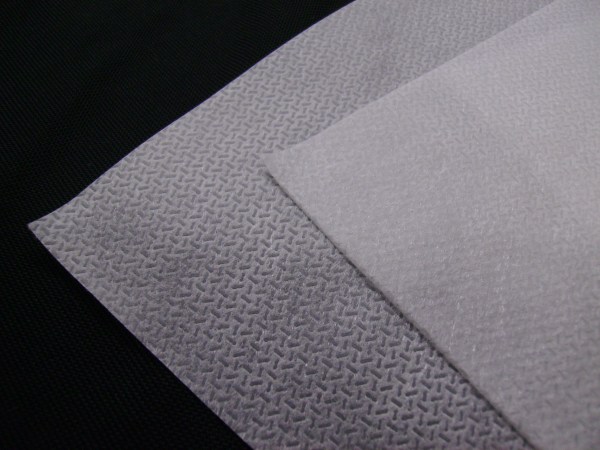
Choosing the right fabric and stabilizer is crucial for a clean stitch-out. Some key considerations include:
- Stabilizers prevent fabric shifting and come in tear-away, cut-away, and water-soluble options.
- Fabric type affects how stitches appear—denser fabrics handle embroidery better than thin, stretchy ones.
Running a Test Stitch-Out
Before finalizing the embroidery, run a test stitch-out on a scrap piece of fabric. This helps identify:
- Thread breaks or loose stitches.
- Distortion or misalignment.
- Any needed density or direction adjustments.
Make final refinements in the digitizing software if necessary, then proceed with the actual embroidery.
By following these steps, you can ensure smooth, high-quality machine embroidery from your original hand-drawn design.
While auto-digitizing software and free embroidery digitizing tools may seem like a budget-friendly option, they often lead to poor results, wasted time, and hidden costs. Many beginners assume that these software programs can instantly convert an image into a machine-ready embroidery file, but the reality is far from that. Auto-digitizing tools are more of a gimmick than a real solution, often producing low-quality stitches, overlapping threads, and distorted designs that require extensive manual corrections.
Why Professional Digitizing is the Smarter Choice
![]()
Instead of struggling with unreliable software, choosing a professional embroidery digitizing service is the most cost-effective and efficient solution. Here’s why:
- High-Quality Results – Professional digitizers manually create stitch files, ensuring smooth outlines, correct stitch density, and accurate layering.
- Saves Time – No need to spend hours learning software, testing stitch-outs, and troubleshooting errors. Professionals handle everything.
- Cost-Efficient – Instead of investing in expensive software and training, you can get perfectly digitized designs for as low as $10 from services like Absolute Digitizing.
- Guaranteed Compatibility – Professionals deliver files in the correct format (DST, PES, EXP, etc.) optimized for your embroidery machine.
- Free Revisions – Services like Absolute Digitizing offer free edits until the design is perfect, eliminating costly rework.
If you want flawless, machine-ready embroidery files without the hassle, investing in a professional embroidery digitizing service is the best decision. Instead of relying on unreliable auto-digitizing tools, get your designs digitized accurately, affordably, and efficiently by experts.
Conclusion & Final Tips

Converting hand-drawn designs into machine embroidery files requires precision, the right tools, and a clear understanding of digitizing techniques. A well-digitized design ensures smooth stitching, accurate details, and a professional finish on fabric. While practice and experimentation with digitizing software can improve skills over time, the process can be time-consuming and complex, especially for intricate designs.
For those who want flawless results without the hassle, professional embroidery digitizing services are the best choice. Absolute Digitizing offers expert services starting at just $10, providing high-quality, machine-ready embroidery files with free edits to ensure perfection.
If you’re new to digitizing, start by practicing simple designs. But for complex or commercial projects, save time and effort by choosing professional digitizing. Get in touch with Absolute Digitizing today and ensure your designs are stitched with precision and quality!