
| Quick Summary |
|---|
Perfect iron-on embroidered patches depend on the right materials, heat, pressure, and care.
|
A patch may look sharp at first but still peel after a few washes. Often, the wrong adhesive, weak backing, or poor heat application causes the problem.
However, the right materials can improve strength and long-term wear. This guide covers patch construction, adhesive types, backing options, application steps, common issues, and proper care.
For logos, uniforms, jackets, and branded apparel, Absolute Digitizing manufactures custom ready-to-use embroidered patches with clean stitching, durable borders, and suitable backing options for dependable everyday use.

- What Turns an Embroidered Patch Into an Iron-On Patch?
- What Materials and Tools Do You Need?
- Which Adhesive and Backing Works Best for Embroidered Patches?
- How to Make an Iron-On Embroidered Patch Step by Step?
- Which Fabrics Work Best for Iron-On Patches?
- Why Does an Iron-On Patch Peel Off?
- How Long Can an Iron-On Embroidered Patch Stay Attached?
- How to Wash and Care for Iron-On Patches?
- Final Thoughts
What Turns an Embroidered Patch Into an Iron-On Patch?
An embroidered patch becomes an iron-on patch when a heat-activated adhesive layer is fused to its back. Heat and pressure soften the adhesive so it flows into the garment fibers. Once the area cools, the adhesive forms a bond between the finished patch and the fabric.
However, embroidery backing supports the stitched design, while iron-on adhesive attaches it to clothing.
The patch has three layers
- Patch fabric with embroidery
- Stabilizer for shape and support
- Heat-activated adhesive for attachment
What Materials and Tools Do You Need?
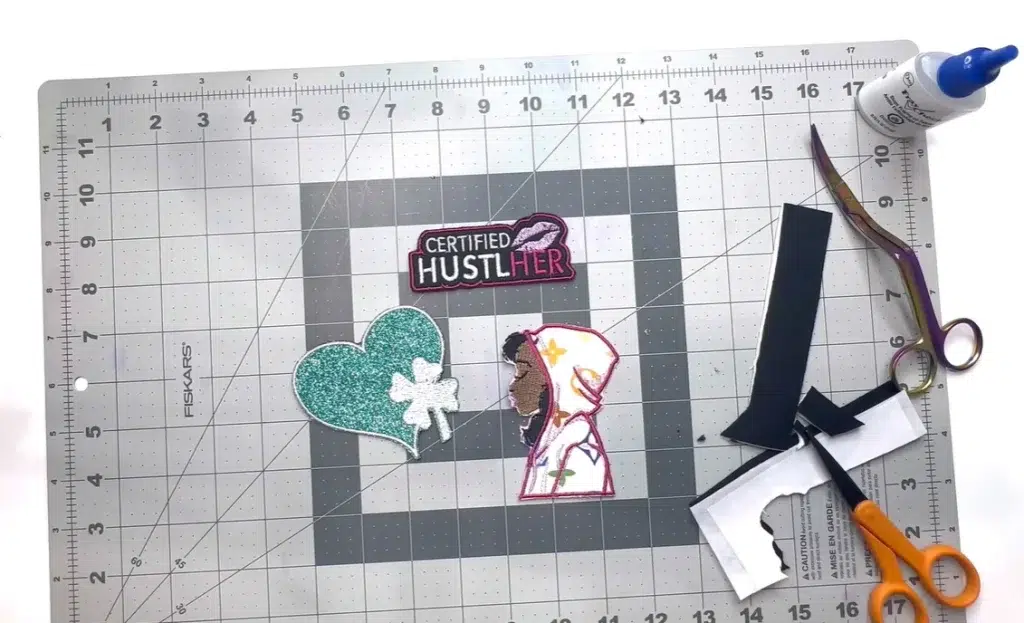
A complete setup helps you create a patch that holds its shape and bonds evenly. Gather each item before you begin.
Patch Making Materials
- A properly digitized embroidery design
- Polyester patch twill, felt, canvas, or another firm fabric
- Durable embroidery thread and bobbin thread
- Tear-away, cut-away, water-soluble, or heat-away stabilizer
- Heat seal film or fusible web
Essential Tools
- Embroidery machine and hoop
- Sharp scissors or a hot knife
- Household iron or heat press
- Pressing sheet and heat-resistant surface
Twill, canvas, cotton, polyester, and blended fabrics can provide a stable patch base. Also, tear-away stabilizer works well with firm woven materials because they resist stretching during stitching.
Which Adhesive and Backing Works Best for Embroidered Patches?
No single backing works for every patch. The right choice depends on the garment fabric, wash needs, patch use, and pressing equipment. Therefore, always follow the temperature, pressure, and timing listed by the adhesive manufacturer.
Adhesive and Backing Comparison
| Adhesive or Backing | Best Use | Important Limitation |
|---|---|---|
| Double-sided heat seal film | Commercial and washable patches | Must match the patch fabric, garment, and pressing equipment |
| No-sew fusible web | DIY patches and small home projects | May add stiffness and needs careful heat control |
| Sewable fusible web | Patches that will also be stitched | Sewing is needed for permanent attachment |
| Single-sided finishing laminate | Sealing threads and adding structure | Does not create an iron-on patch by itself |
| Peel and stick backing | Events and temporary placement | Usually unsuitable for repeated washing |
| Plastic backing | Adding shape and firmness | Commonly used for sew-on patches |
| Hook and loop backing | Removable patches for uniforms and gear | Requires a matching loop surface |
Best Choice for Professional Patch Production
Double-sided polyamide or polyester heat seal films work well for commercial patches. When applied correctly, they create a strong and washable bond. However, single-sided laminate mainly seals threads, reduces fraying, and adds body.
Best Choice for Home DIY Patches
No-sew fusible web works well for small home projects. Meanwhile, sewable versions require stitching for lasting attachment. Also, use dry heat and avoid overheating, as too much heat may weaken the bond.
How to Make an Iron-On Embroidered Patch Step by Step?
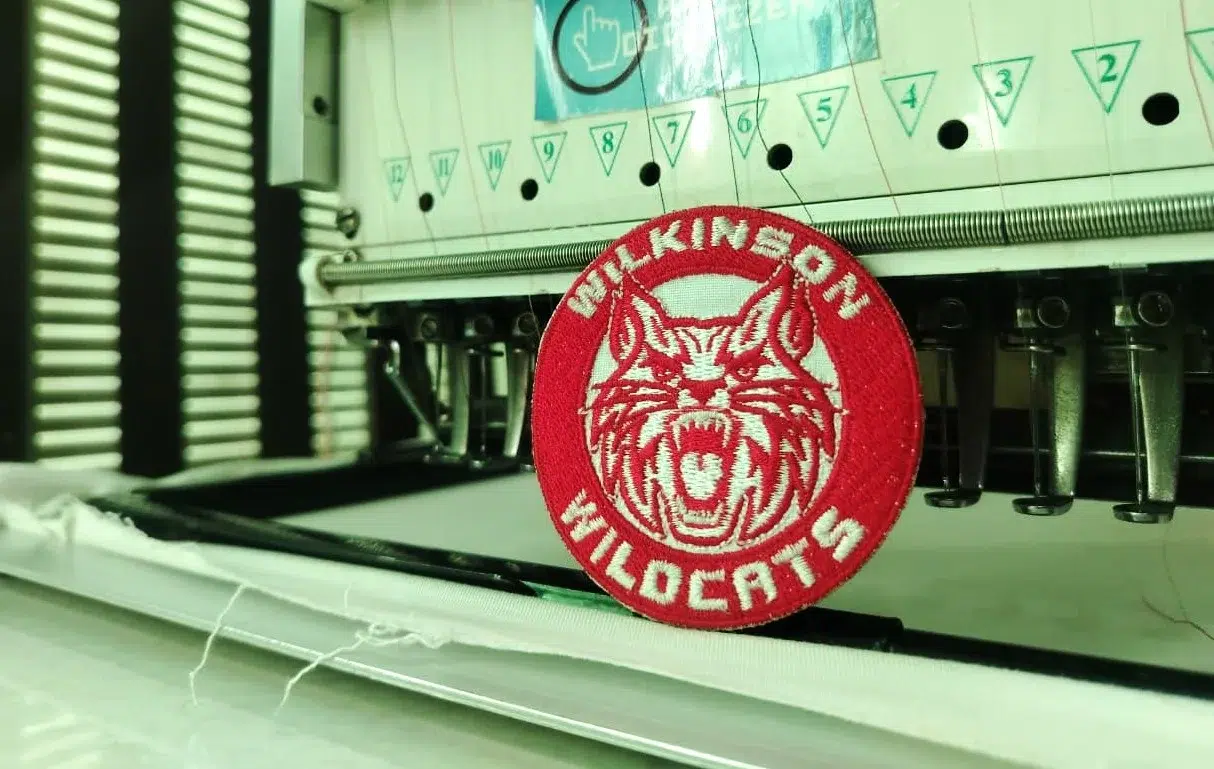
A strong patch starts with a clean stitch file and ends with careful heat application.
Step 1: Prepare and Digitize the Design
An image cannot guide an embroidery machine by itself. It must become a stitch file that controls:
- Stitch type and direction
- Underlay and density
- Stitch order and color changes
- Pull compensation
- Outer border
- Placement or cutting line
However, small letters, narrow gaps, sharp corners, and tiny details may need simplification. This helps the design sew clearly.
Step 2: Test the Design Before Production
Run a test on the same fabric and stabilizer planned for production. A sample can reveal problems.
Check these details:
- Readable text
- Full fabric coverage
- Smooth registration
- No puckering
- Even border coverage
- Correct finished size
- Comfortable stiffness
If the test fails, adjust the digitizing before changing machine settings.
Step 3: Hoop the Fabric and Stabilizer
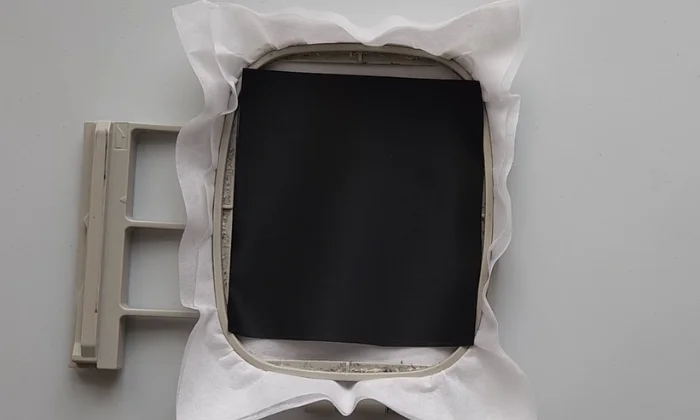
Place the stabilizer beneath the patch fabric. Then hoop both layers so they stay firm and flat. They should feel taut but not stretched.
Also, use a hoop close to the design size.
Step 4: Embroider the Patch Design
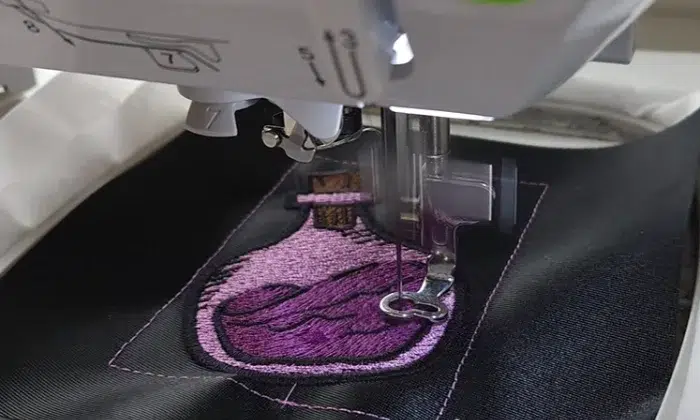
Stitch fills, lettering, and small details before completing the outer border. This helps the border cover the cut edge.
In addition, add a cutting line to the file. It gives you a clear trimming guide.
Step 5: Remove and Clean the Patch
Remove the patch and take away extra stabilizer. Trim loose threads without cutting secure stitches.
Inspect the back for bobbin nests, long jumps, loose border stitches, exposed stabilizer, and uneven areas. A clean back helps the adhesive sit evenly.
Step 6: Cut and Finish the Edge
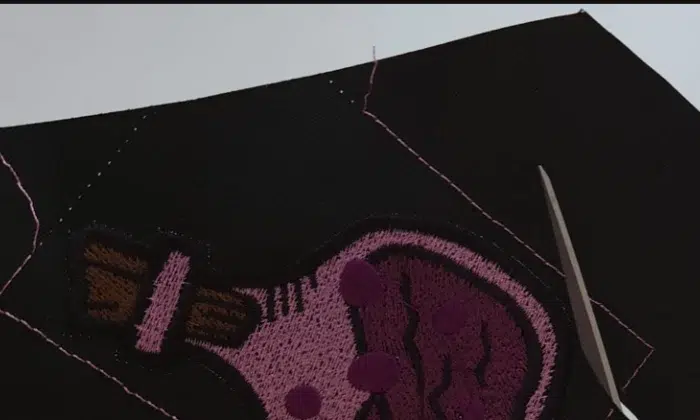
Use sharp scissors for simple patches. A hot knife can seal synthetic twill. Meanwhile, satin, merrow, zigzag, or overedge stitching can create a finished border.
However, do not cut into the border. Leaving too much fabric can create a rough outline.
Step 7: Add the Heat Seal Adhesive
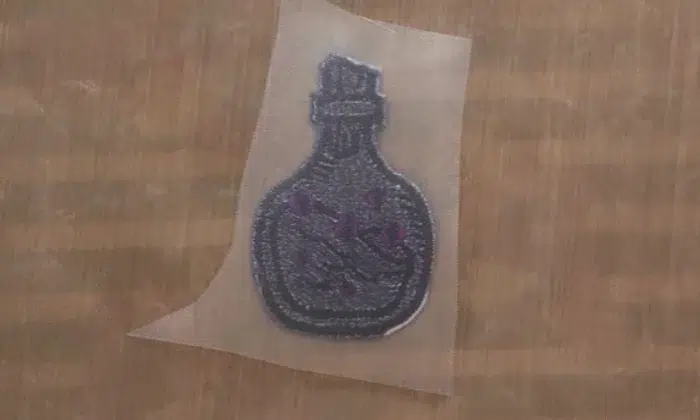
Cut the adhesive slightly smaller than the patch. This prevents melted glue from spreading past the edge.
Place it against the patch back as directed. Cover it with a pressing sheet. Then apply the listed heat, pressure, and time.
Professional production often adds a heat seal after embroidery and before final cutting. Still, the order may vary by adhesive and edge method.
Step 8: Cool and Test the Backing
Let the patch cool as directed before peeling the liner. Then check that:
- Adhesive coverage looks even
- No glue has leaked
- The backing stays attached
- The patch remains flat
Step 9: Attach the Patch to the Garment
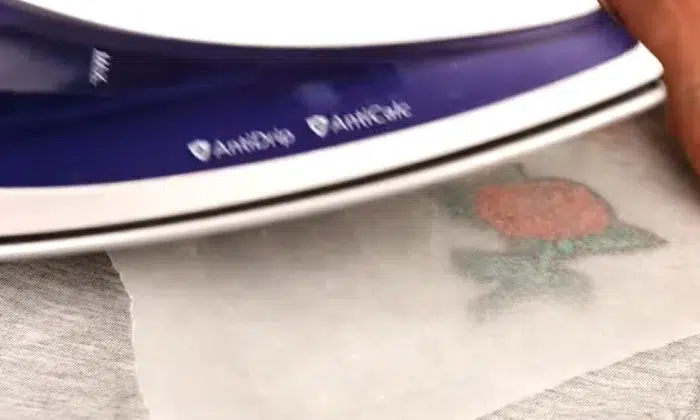
Read the care label and test a hidden area. Turn off steam unless the adhesive says otherwise.
Prepress the garment when required. Position the patch and cover it with a pressing sheet. Apply the correct heat, pressure, and time. Press from the back when possible.
Finally, let the area cool before testing an edge. Do not use one temperature for every patch because adhesives and fabrics have different heat limits.
Need a finished patch that is ready to apply? Absolute Digitizing creates custom embroidered patches with clean stitching, neat borders, and the right backing for your fabric and intended use.
You can also watch this short and helpful video for a practical look at how iron-on patches are made, backed, and prepared for heat application.
Which Fabrics Work Best for Iron-On Patches?
Firm, heat-safe fabrics create the strongest bond. However, always check the garment label and test an area before pressing.
Fabric Compatibility Guide
| Garment Material | General Recommendation |
|---|---|
| Cotton | Usually suitable |
| Denim | Good choice |
| Canvas | Usually suitable |
| Cotton polyester blend | Test before use |
| Textured knit | Bonding may be uneven |
| Stretch fabric | Add edge stitching |
| Nylon or waterproof fabric | Use only with an approved adhesive |
| Leather or suede | Sewing is usually safer |
| Silk or delicate fabric | Avoid high heat unless approved |
Cotton, denim, and canvas handle pressing well. In contrast, stretchy, coated, textured, or delicate materials may need testing, lower heat, or sewn attachment.
Why Does an Iron-On Patch Peel Off?
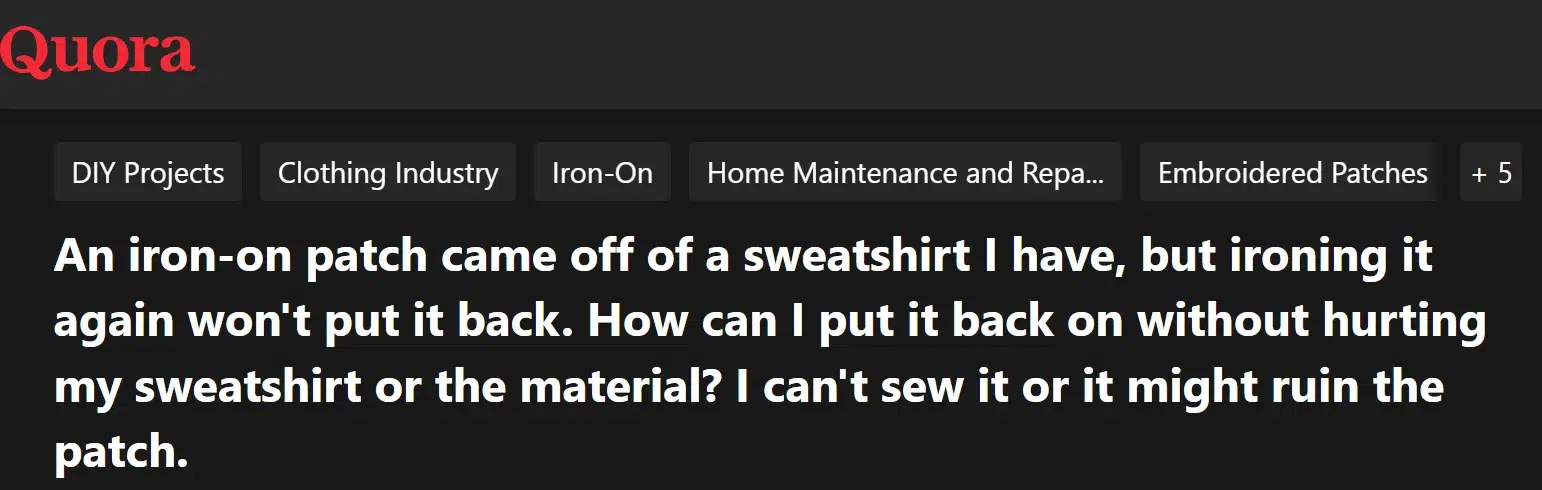
Problem: The iron-on patch has peeled away, and the old adhesive no longer bonds properly to the sweatshirt.
Solution: Remove loose adhesive, then apply a new washable fusible web or heat seal backing. Use dry heat, firm pressure, and a pressing cloth. Always check the sweatshirt care label and test a hidden area first.
Application problems can weaken the bond and cause the edges to lift.
Low Heat
The adhesive may not soften enough to grip garment fibers.
Too Much Heat
However, overheating can push adhesive into the patch and leave too little for bonding.
Uneven Pressure
Moving the iron like normal ironing creates weak spots. Instead, hold it still with firm pressure.
Steam or Fabric Treatments
Also, steam may affect products made for dry heat. Fabric softener, sizing, and chemicals can block proper bonding.
Unsuitable Garment Fabric
Meanwhile, coatings, deep textures, stretch, or heat-sensitive fibers may prevent even contact.
Therefore, follow the adhesive directions and test the fabric. Add edge stitching for workwear, outdoor clothing, bags, or patches exposed to frequent washing and pulling.
How Long Can an Iron-On Embroidered Patch Stay Attached?
There is no fixed lifespan for an iron-on patch. Its durability depends on adhesive quality, garment fabric, pressing method, washing routine, and daily wear.
A properly applied heat seal backing can survive many washes. However, heavy use may cause edges to lift sooner. Cotton, denim, and canvas usually hold patches well, while stretch, coated, or heat-sensitive fabrics may weaken the bond.
Also, gentle washing and low-heat drying can extend wear. For uniforms, jackets, bags, and workwear, edge stitching adds extra security for better long-term hold overall.
How to Wash and Care for Iron-On Patches?
Care instructions must match both the adhesive and garment label. Proper washing helps prevent lifting and keeps the patch looking clean.
Care Steps
- Wait at least 24 hours before washing
- Turn the garment inside out
- Use cool water and mild detergent
- Avoid bleach unless it’s approved
- Air dry or use low heat
- Avoid repeated ironing over the patch
- Repair lifting edges before washing again
Also, follow all product-specific directions carefully.
Final Thoughts
A durable iron-on patch needs more than a strong adhesive. The patch fabric, stabilizer, border, heat level, pressure, and washing method all affect how well it stays attached.
Therefore, choose each material with the final garment in mind. Also, follow the adhesive instructions and test the fabric before full application.
Ready to turn your logo or artwork into a finished patch? Send Absolute Digitizing your design, preferred size, colors, and backing choice to receive custom patches prepared for direct use.
FAQs
Double-sided heat seal film works well for washable and commercial patches. However, the adhesive must match the patch fabric, garment material, and pressing method.
You can add heat-activated backing to many finished patches. Still, the patch material must handle the required heat without shrinking, melting, or changing color.
Low heat, weak pressure, steam, fabric softener, or an unsuitable garment surface may weaken the bond. Therefore, follow the adhesive instructions and test the fabric before pressing.
Yes. Wait at least 24 hours before washing. Also, turn the garment inside out, use cool water, choose mild detergent, and dry with low heat.
Sewing is not always required. However, edge stitching adds extra support for uniforms, jackets, bags, workwear, and clothing that faces frequent washing or pulling.