Color issues in machine embroidery come from thread choice, machine setup, and file limits. Proper planning and testing improve color accuracy and final design quality.
|
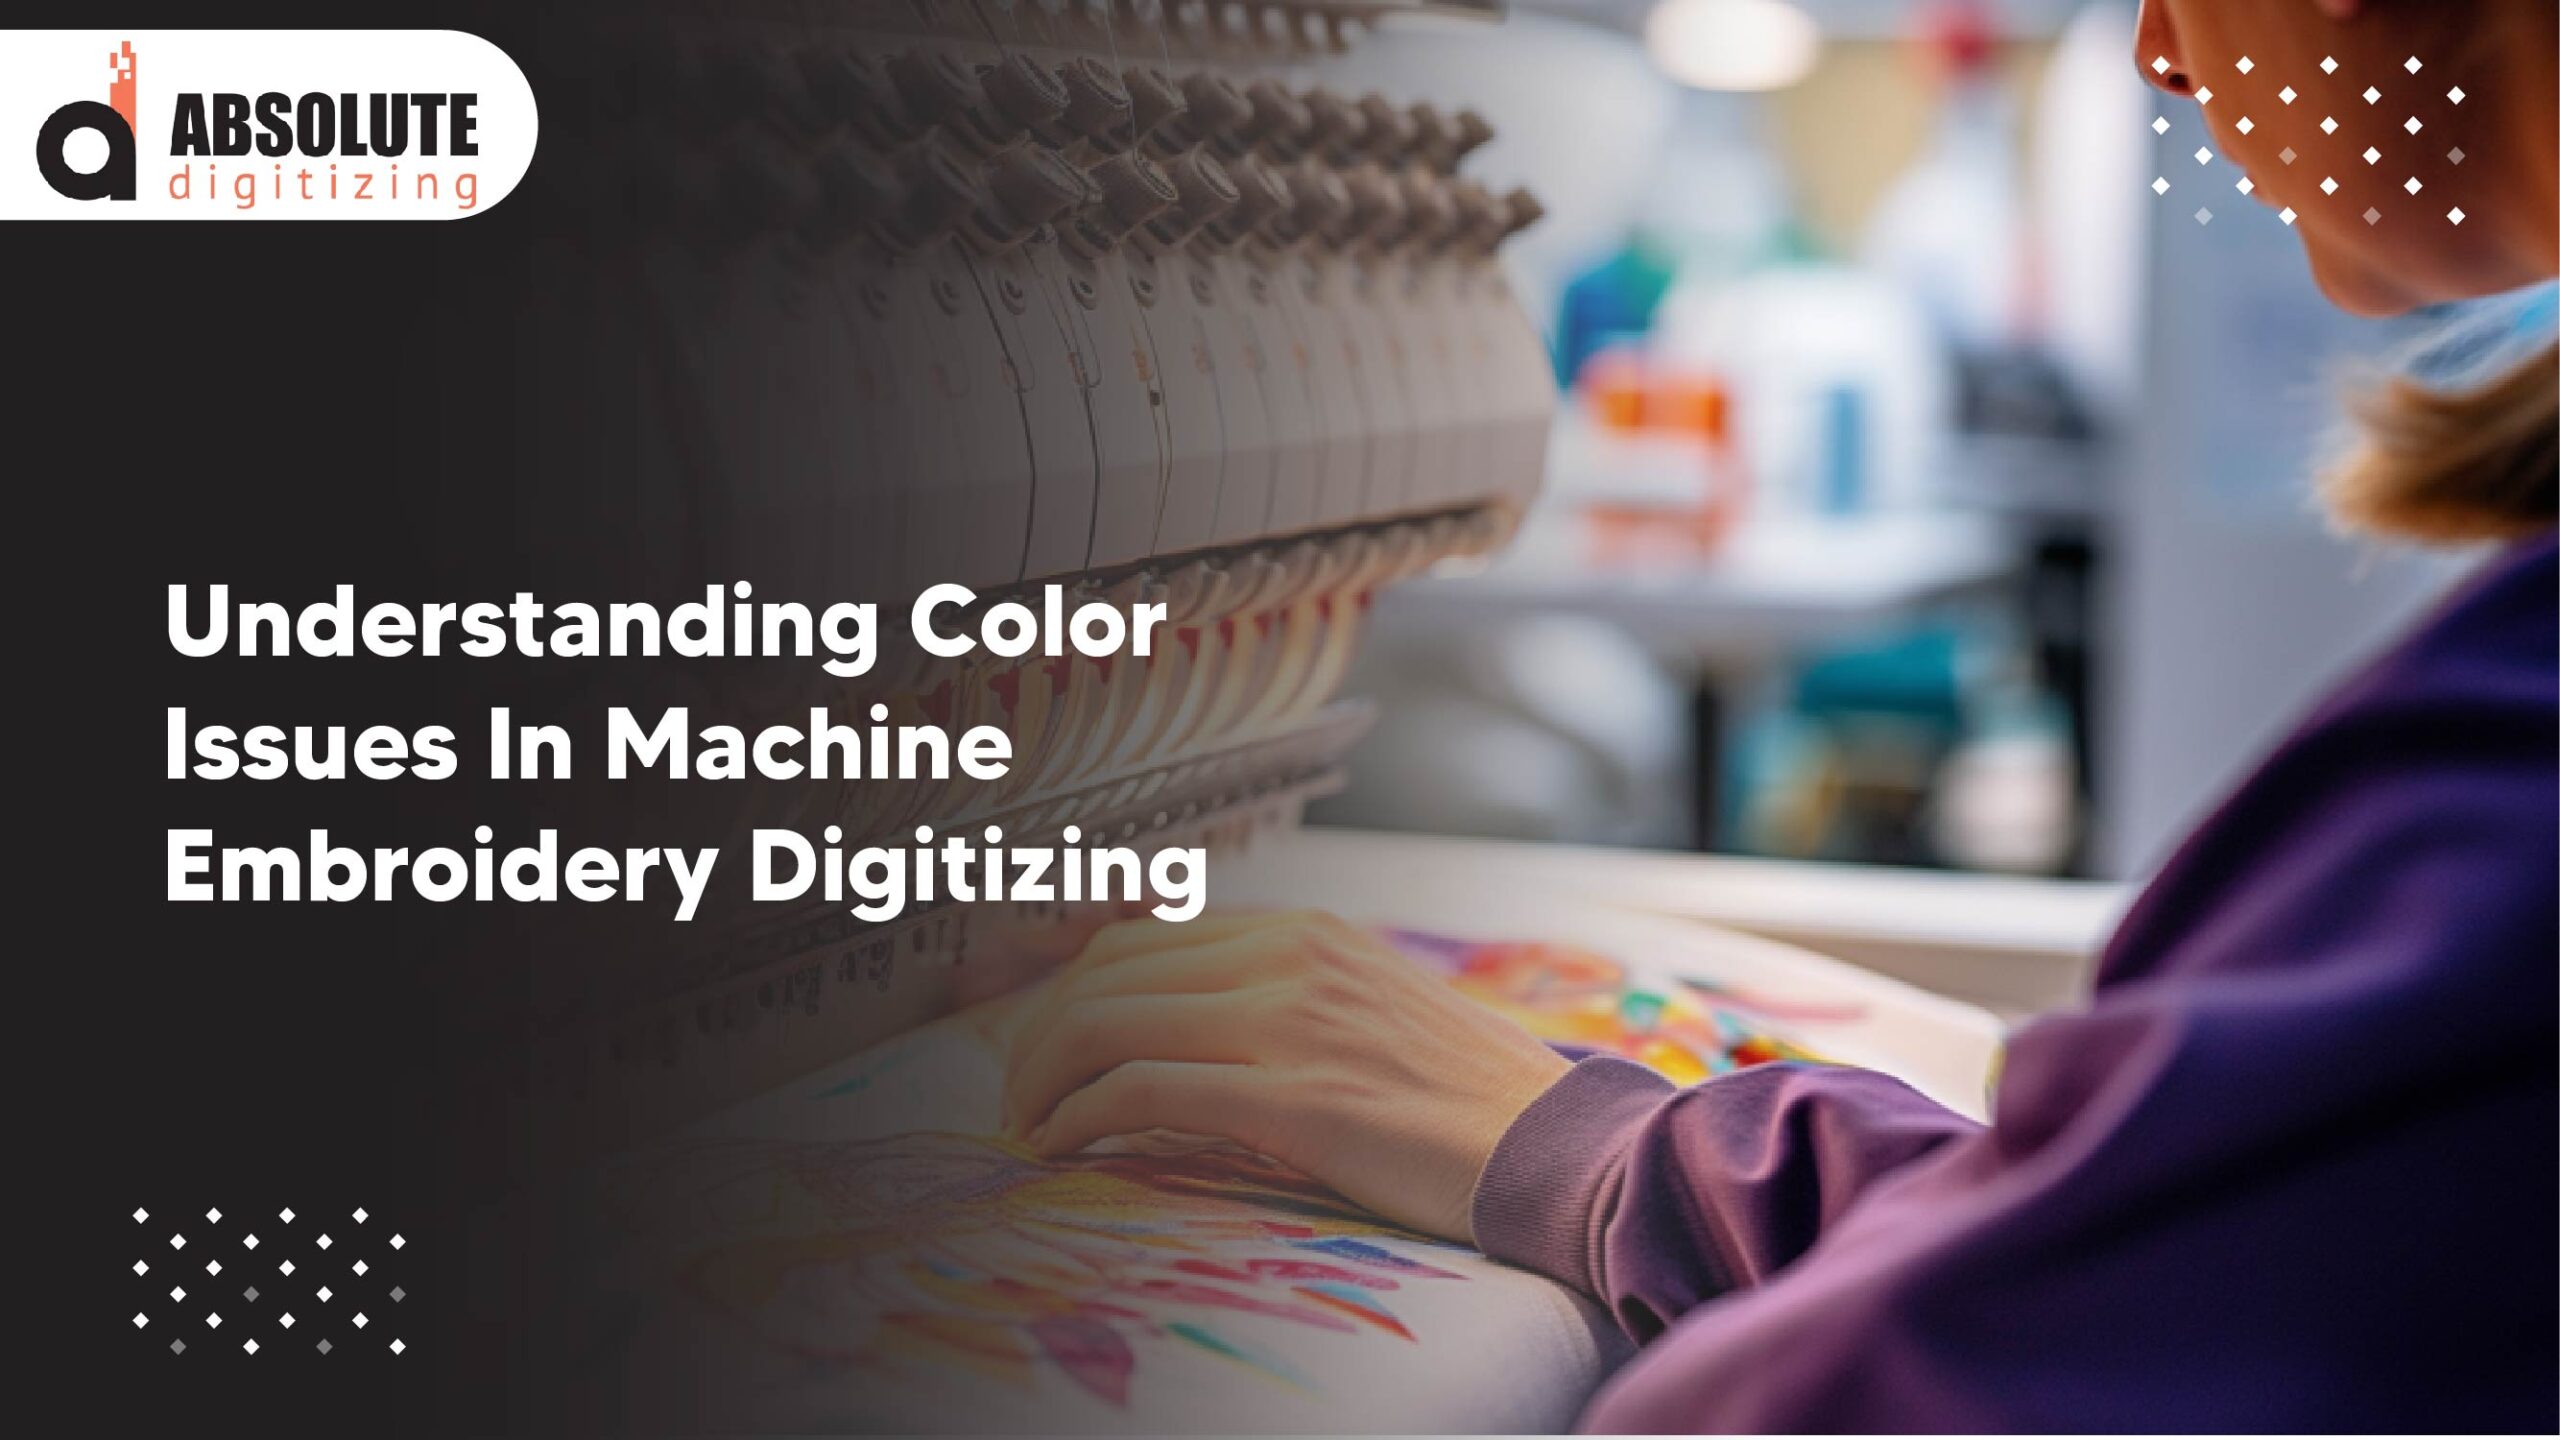
Color problems can ruin a great embroidery design. Your logo may look perfect on screen but turn out dull, mismatched, or uneven on fabric. This happens more often than you think. Many small business owners and hobbyists face this issue, especially when working with different threads, machines, or file formats.
In embroidery, color is not just about looks. It helps your design stand out and keeps your brand consistent. But thread is not the same as ink. Fabric, stitch type, and machine settings can all change how colors appear. Even small mistakes can lead to big differences in the final result.
Furthermore, many people think embroidery digitizing is the only cause of color problems. In reality, several factors work together during the stitching process. When one part goes wrong, the colors can shift or look off.
This guide will explain the most common color issues in simple terms. You will also learn how to fix them step by step. If you want clean, accurate results without guesswork, Absolute Digitizing can provide reliable embroidery digitizing services faster.
- What Is the Role of Color in Digitized Embroidery Designs?
- What Causes Incorrect Colors In Embroidery Designs?
- How Are Thread Colors Compromised In Embroidery Digitizing?
- How to Fix Color Issues in Embroidery Digitizing?
- What minor production details help digitized embroidery designs stand out?
- What are the benefits of professional digitizing services for embroidery?
- Final Thoughts: Improve Color Quality with the Right Techniques
- FAQs
What Is the Role of Color in Digitized Embroidery Designs?

Color plays a big role in how your embroidery looks and feels. In embroidery digitizing, color planning is just as important as stitch quality. It brings your design to life and helps people notice the details. Choosing the right colors can make a simple design look rich, clean, and professional.
At the same time, color adds depth and realism. Light and dark shades can create a 3D effect. This helps logos and artwork stand out on fabric.
However, screen colors and thread colors are not the same. Screens use light, while threads use real material. This is why a bright color on your screen may look different when stitched.
| Screen Colors | Thread Colors |
|---|---|
| Use light (RGB) | Use a physical thread |
| Bright and glowing | Slightly dull or textured |
| Easy to adjust | Limited by thread shades |
In addition, stitch types change how color appears.
How colors change with different stitch types:
- Satin stitches appear bright and striking
- Fill stitches provide a soft and textured look
Stitch direction is important too. When stitches change angle, they reflect light differently, making the same color seem lighter or darker.
Lastly, the order of colors is crucial. The sequence in which colors are stitched can influence how they overlap, their clarity, and the overall appearance of your design.
What Causes Incorrect Colors In Embroidery Designs?
Incorrect colors in embroidery can happen for many reasons. Some issues come from the machine, while others stem from minor setup errors. Even a successful design can look wrong if one step is off.
One common cause is thread choice. Different brands may use the same color name, but the shades can look very different. This can change how your final design appears.
Also, machine settings play a big role. If the tension is too tight or too loose, colors may not look clean. Speed can also affect how the thread lies on fabric.
Fabric matters too. Dark fabric can make colors look dull. Light fabric can make them look brighter. The same thread can look different on each material.
Lighting also creates confusion. Colors on a screen use light, but embroidery uses real thread. So what you see on screen may not match the stitched result.
Another issue comes with file formats. Some formats do not store full color details. Such issues can lead to wrong color assignments on the machine.
Key causes
- Using different thread brands
- Incorrect machine tension or speed
- Wrong fabric choice
- Screen and real world color difference
- Limited color data in file formats
How Are Thread Colors Compromised In Embroidery Digitizing?
Thread colors can change during both digitizing and stitching. Even when the design looks correct on screen, the final result may look different on fabric. This happens because many small factors affect how colors appear.
Often, the issue is not just one mistake. It is a mix of file format limits, thread choices, and machine setup. Understanding these factors can help you avoid poor results.
Common Misconception – Embroidery Digitizing Fault:
Many users think the digitizer caused the color problem. This is a common misunderstanding.
In reality, digitizing creates instructions, not actual colors. The machine uses thread to bring the design to life. If the wrong thread is loaded, the result will look wrong, even if the file is correct.
For example, if a design calls for dark blue but light blue thread is used, the final look will not match. The digitizer cannot control that step.
What Does An Embroidery Digitizer Do?
A digitizer converts your artwork into stitch data. This file tells the machine how to sew the design step by step.
They choose stitch types, directions, and density. They also suggest thread colors based on the design.
However, the machine executes everything. This means the final result depends on both the file and the setup.
Digitizer responsibilities include:
- Creating clean stitch paths
- Planning color layers
- Suggesting matching thread shades
Even so, they cannot control thread brand, machine tension, or fabric behavior.
Why Embroidery File Format Can Cause Color Problems in Machine Embroidery

Machine file format is another key reason for color problems. Different machines use different file formats, and not all store color data the same way.
| File Format | Color Support |
|---|---|
| DST | No color info |
| PES | Stores color |
| JEF | Stores color |
When a file is converted, some color data may be lost or changed. Such changes can cause the machine to assign the wrong colors.
DST File Limitations
DST is one of the most used formats, but it has limits. It only stores stitch data and does not save color details.
A DST file recognizes a color change but does not identify the specific color being used.
As a result, the machine assigns default colors. This process often leads to mismatched results.
Common issues with DST files:
- No saved color information
- Random color sequence on the machine
- Manual correction needed
A simple fix is to set thread colors on your machine before stitching. This step helps match the design more closely.
How to Fix Color Issues in Embroidery Digitizing?
Color problems can feel frustrating, but you can fix most of them with simple steps. The key is to check each part of the process before you start stitching.
Start by reviewing your design in digitizing software. Make sure the correct thread colors are assigned. Many programs let you match colors with real thread charts.
Then, check your thread brand. Use the same brand that the design was created for. Even small shade differences can change the final look.
Also, review your machine settings. Set the right tension and speed. Poor settings can make colors look uneven or dull.
After that, test your design on a sample fabric. This step helps you spot problems early. It also shows how colors react to the fabric.
Simple steps to fix color issues:
- Check thread colors in the software
- Match the thread brand with the design
- Adjust machine tension and speed
- Test stitch before final run
You can also use this quick guide:
| Step | What to Check | Why It Matters |
|---|---|---|
| Software | Color settings | Prevent wrong shades |
| Thread | Brand and type | Keep colors consistent |
| Machine | Tension and speed | Improve stitch quality |
| Fabric | Test sample | See the real color result |
What Causes Gaps Between Color Blocks in Embroidery
Gaps between color blocks are called registration issues. They happen when two stitched areas do not line up as planned.
One main cause is fabric movement. During stitching, the needle slightly pulls the fabric. This push and pull can shift the material, so the next color does not land in the right place.
Also, poor hooping can lead to gaps. If the fabric is not tight and stable in the hoop, it can move during stitching.
Another key factor is the lack of a proper underlay. Underlay stitches act like a base. Without them, the top stitches lack support and may not fully cover the edges.
Machine tension also affects alignment. If the tension is too tight or too loose, stitches can pull in different directions.
Common causes of gaps:
- Fabric shifting during stitching
- Improper hooping
- Missing or weak underlay
- Incorrect machine tension
- Poor pull compensation
To fix the issue, hoop the fabric tightly and use the right stabilizer. Please ensure that the underlay stitches are set correctly. Also, adjust the machine tension so the stitches lie smoothly.
Small pull compensation settings in digitizing can also help close gaps and improve alignment.
How to Replicate Color Blending in Embroidery

Color blending in embroidery works differently from printing. Threads cannot mix like ink, so you need to use smart techniques.
You can layer stitches using light and dark shades. This creates a soft transition between colors.
Also, changing stitch direction helps reflect light in different ways. This technique makes colors look blended.
Helpful blending methods:
- Use two close shades of the same color
- Overlap stitches slightly
- Change stitch angles for depth
Keep your design simple. Too many colors can make blending harder and less clear.
Professional Tips for Accurate Colors in Embroidery
Getting accurate colors in embroidery takes careful setup and testing. Small changes can make a big difference in the final result.
Start by using a real thread color chart. Do not rely solely on screen colors. Threads reflect light differently, so always match colors using physical samples.
Also, stick to one thread brand for each project. Different brands may look similar on screen but can vary in real life.
Check your machine settings before stitching. Balanced tension helps the thread lay flat and show true color. Clean your machine as well, since dust can affect stitch quality.
Helpful tips for better color accuracy:
- Use official thread charts for matching
- Keep the same thread brand throughout
- Check and balance the machine tension
- Clean the machine regularly
- Test stitch every design
In addition, always run a test stitch on the same fabric you plan to use. Fabric color and texture can change how the thread looks. Lighting also matters. Check your design under natural light, not just indoor lighting. This helps you see the true color.
When you follow these steps, your embroidery will look cleaner, sharper, and closer to your original design.
What minor production details help digitized embroidery designs stand out?
Small finishing steps can make a big difference in embroidery. Even a well-digitized design can look poor if the final details are ignored. Clean finishing helps colors look brighter and shapes look sharper.
Trimming Embroidered Design:
Loose threads can ruin the look of your design. They make colors appear messy and unclear. So, trim all extra threads after stitching. Clean edges help each color stand out and look more defined.
Clearing the Topping:
Topping is used to keep stitches neat on certain fabrics. After stitching, you need to remove it properly. If any topping remains, it can create a cloudy layer over the threads. This makes colors look dull instead of bright.
Removing Hoop Marks:
Hoop marks can leave visible lines on fabric. These marks distract from the design. You can remove them using light steam or gentle pressing. This helps the fabric return to its normal shape.
Key finishing steps to follow:
- Trim all loose threads
- Remove the topping completely
- Smooth out hoop marks
What are the benefits of professional digitizing services for embroidery?

Professional digitizing services improve embroidery quality and reduce errors. Expert handling of complex designs keeps details clean and easy to stitch. Careful planning also improves color accuracy and overall appearance.
Accurate color mapping ensures each thread shade matches the design. Advanced digitizing software allows better control over stitch direction and density. Clean stitch paths help colors stay separate and sharp.
In addition, proper file setup supports different machine formats. Correct formats prevent color confusion and stitching issues. Fabric based adjustments also help designs perform well across different materials.
Key benefits of professional digitizing:
- Accurate color planning and mapping
- Clean stitch paths for better color separation
- Fewer thread breaks and machine stops
- Designs optimized for different fabrics
- Saves time, money, and materials
- Consistent results for branding
| Feature | Benefit |
|---|---|
| Color mapping | Clear and balanced colors |
| Stitch planning | Smooth and neat finish |
| File setup | Better machine compatibility |
| Fabric adjustment | Stable stitching results |
Final Thoughts: Improve Color Quality with the Right Techniques
Color problems in embroidery often come from small details like thread choice, machine settings, and file formats. Clear color planning, proper setup, and test stitching help avoid most issues. Clean stitch paths and correct fabric handling also improve how colors look on the final design.
Good results need both the right process and the right support. Professional digitizing helps control color, reduce errors, and improve overall quality.
For reliable and consistent results, consider working with Absolute Digitizing. Get expert help, save time, and achieve clean, accurate embroidery every time.
FAQs
Can embroidery machines read color information?
Some file formats store color data. However, DST files do not store color information, so machines assign default colors.
How do I fix a color mismatch in embroidery?
Use a real thread color chart for matching. Set the correct machine tension and speed. Always run a test stitch before final production.
Does resizing affect embroidery colors?
Yes, resizing can change stitch spacing and density. This can lead to gaps, overlaps, or uneven color areas.
What is the best file format for embroidery colors?
Formats like PES and JEF support color information. DST works for stitching but does not store color details.