| Quick Summary |
|---|
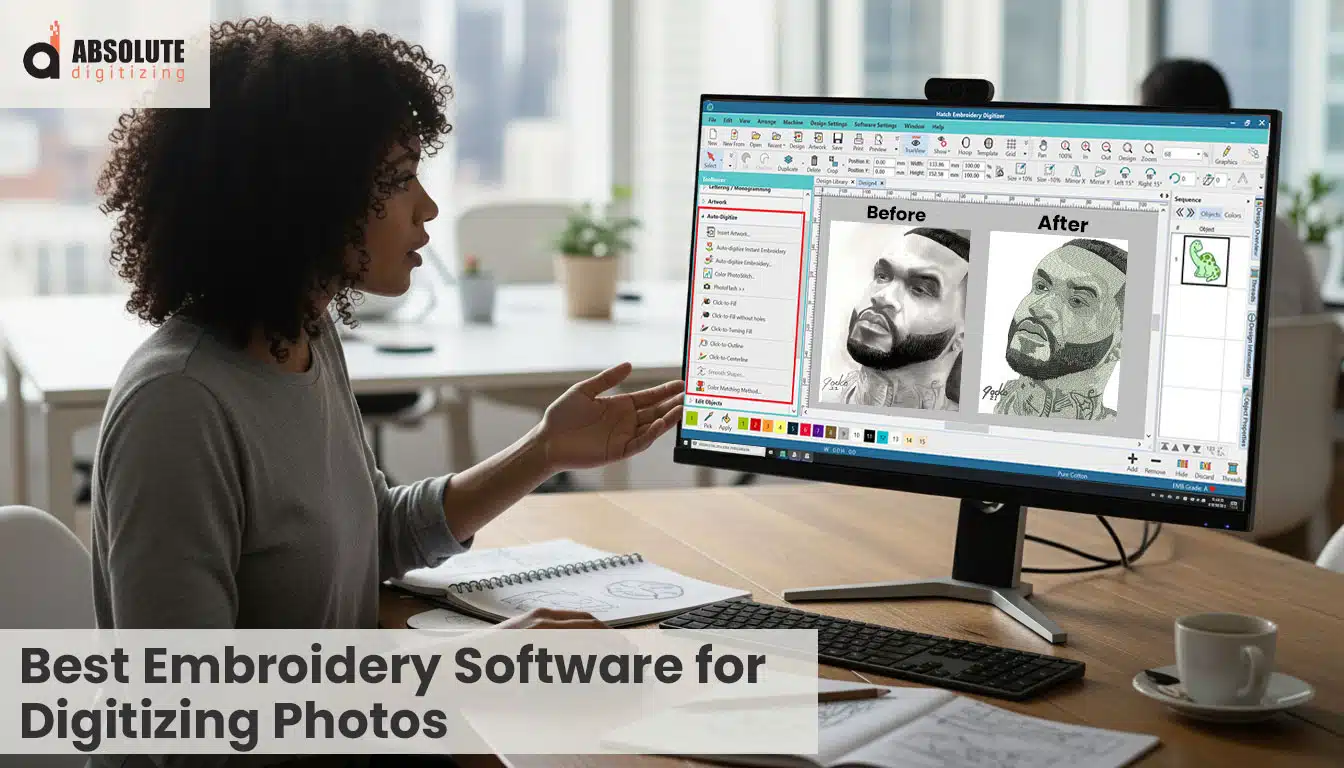
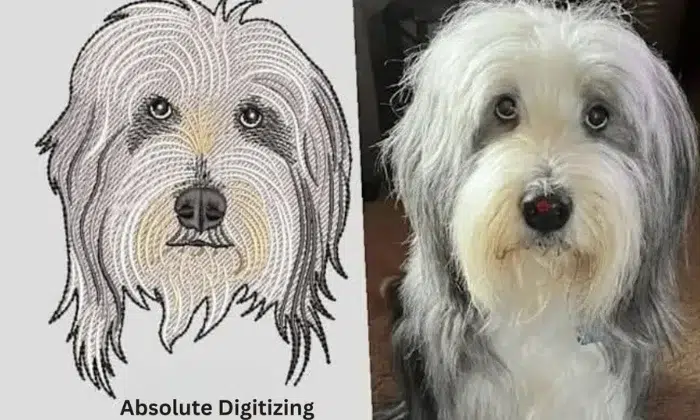
Photo embroidery turns detailed images into machine-readable stitch files.
|
Can Embroidery Software Automatically Convert Photos Into Stitches?
Some embroidery software can convert photos into stitches automatically, but the results are often limited. Photo embroidery digitizing usually requires manual work to control stitch direction, density, and shading so the design looks clean and realistic when stitched.
Many people want to turn a photo into an embroidery design. At first, it sounds simple: upload an image and let the software convert it into stitches. In reality, photo embroidery is one of the most difficult types of embroidery digitizing because embroidery machines stitch with thread, not pixels.
Small details, shading, and textures in photos must be carefully translated into stitches. Without proper digitizing, photo embroidery can look rough, distorted, or overly dense.
In this guide, you will learn:
- What photo embroidery is
- Why digitizing photos is difficult
- The best embroidery software for digitizing photos
- The limitations of auto-digitizing tools
- Why professionals still digitize photo designs manually
Top embroidery digitizing services are often the more reliable option if you want a clean, production-ready embroidery file.

What Is Photo Embroidery Digitizing?
Embroidery digitizing is the process of converting a photograph into a machine embroidery file format that an embroidery machine can read and stitch.
Photo embroidery recreates many visual details, unlike simple designs such as logos or text. These include:
- Facial features
- Shading and light effects
- Smooth color transitions
- Depth and texture
This makes photo embroidery much more complex than basic embroidery designs.
Embroidery machines cannot read image files like JPG or PNG. Before a photo can be stitched, it must be converted into a machine embroidery file.
The most common machine embroidery file formats are the following:
- DST
- PES
- EXP
- JEF
These embroidery files contain instructions that guide the embroidery machine during stitching. They tell the machine:
- Where each stitch should be placed
- Which direction should the stitches run
- When to change thread colors
Without proper digitizing, an embroidery machine cannot interpret the image or stitch the design correctly.
Why Is Digitizing Photos So Difficult?

Digitizing photos is difficult because embroidery machines work with stitches, not pixels.
A photo can include thousands of colors and tiny details. But an embroidery machine needs clear stitch instructions, so those details must be converted into thread paths and stitch patterns.
According to Wilcom Embroidery Software, “Digitizing is the process of converting artwork into stitch data that an embroidery machine can understand.” This process becomes more complex when working with photographs because the digitizer must recreate shading, texture, and depth using stitches.
Here are the most common challenges of photo digitizing:
- Too many colors
- loss of fine details
- stitch density problem
- shading and texture
Too Many Colors
Photos may contain hundreds of shades. Embroidery designs must use a limited number of thread colors, so many shades have to be simplified.
Loss of Fine Details
When digitizers convert an image into stitches, they often lose small details, especially in faces, hair, and backgrounds.
Stitch Density Problems
If digitizers place stitches too close together, the design can cause:
- Fabric puckering
- Thread breaks
- Poor stitch quality
Shading and Texture
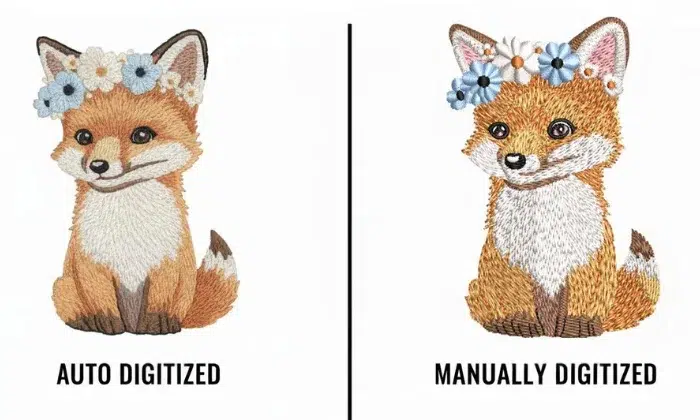
Realistic photo embroidery needs careful stitch direction and spacing to create smooth shading and depth. Auto tools usually struggle here, so digitizers must control the stitches manually.
Because of these challenges, photo embroidery usually requires manual digitizing adjustments to get clean, realistic results.
What Is the Best Embroidery Software for Digitizing Photos?
Many professional embroidery programs offer tools that help convert photos into stitch designs.
Below are some popular options.
| Software | Best For | Difficulty | Auto Digitizing |
|---|---|---|---|
| Hatch Embroidery | Hobby and business use | Medium | Yes |
| Wilcom Embroidery Studio | Professional digitizing | Advanced | Yes |
| Embrilliance StitchArtist | Home embroidery users | Medium | Limited |
| Ink/Stitch | Free open-source option | Advanced | Limited |
Several embroidery programs offer tools that can help convert photos into stitch designs. These programs include both auto-digitizing features and manual editing tools that allow users to adjust stitch patterns, thread colors, and shading effects.
However, converting photos into embroidery designs usually requires careful editing and adjustments, because photo embroidery contains many small details.
Below are some commonly used embroidery digitizing software options.
- Hatch Embroidery
- Wilcom Embroidery Studio
- Embrilliance Stitch Artist
- Ink/Stitch
Hatch Embroidery
Hatch Embroidery is a popular embroidery digitizing program developed by the creators of Wilcom software. It offers both automatic and manual digitizing tools, which makes it suitable for both hobbyists and small embroidery businesses.
Some key features include:
- Auto-digitizing from images
- Stitch editing and stitch reshaping tools
- Shading and texture effects
- Built-in lettering and design tools
Hatch also provides tools that help users adjust stitch density, angles, and underlay settings, which are important for producing smoother embroidery results.
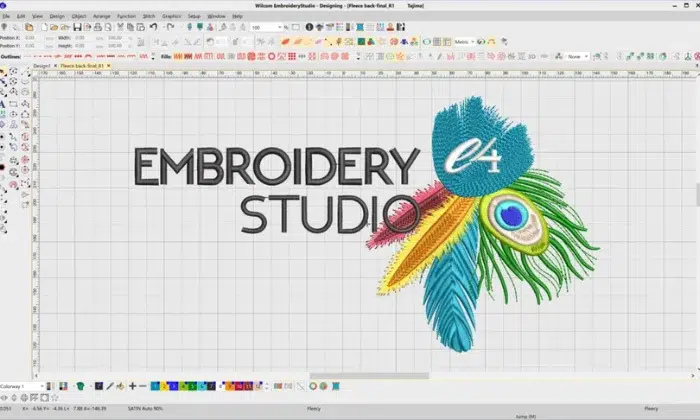
Wilcom Embroidery Studio
Wilcom Embroidery Studio is considered one of the most advanced professional embroidery digitizing software programs available today. It is widely used by commercial embroidery shops and professional digitizers.
The software provides powerful tools for creating complex designs with high precision.
Key features include:
- Advanced stitch control
- Manual digitizing tools
- Complex shading and texture techniques
- Detailed editing for stitch direction and density
Wilcom allows digitizers to manually control every part of the design, which is especially useful when working with photo embroidery and realistic designs.
Embrilliance Stitch Artist
Embrilliance Stitch Artist is another embroidery digitizing program designed for users who want to create their own embroidery designs from images and artwork.
It is popular among hobby embroiderers because it offers a simpler interface and modular learning system. Users can gradually learn digitizing techniques while creating designs.
Features include:
- Tools for creating stitches from images
- Stitch editing options
- Support for many embroidery machine formats
- Compatibility with Mac and Windows computers
Although it includes useful tools, detailed photo embroidery often still requires manual editing.
Ink/Stitch (Free Option)
Ink/Stitch is a free, open-source embroidery extension for the vector graphics software Inkscape. It allows users to convert vector artwork into embroidery stitches.
Some useful features include:
- Free embroidery digitizing tools
- Support for multiple embroidery formats
- Stitch simulation and preview
- Active open-source community support
While Ink/Stitch works well for basic designs, photo embroidery can be challenging because detailed images usually require significant manual adjustments and experience with stitch planning.
Because of these limitations, many detailed embroidery designs are still created using professional software or by experienced embroidery digitizers.
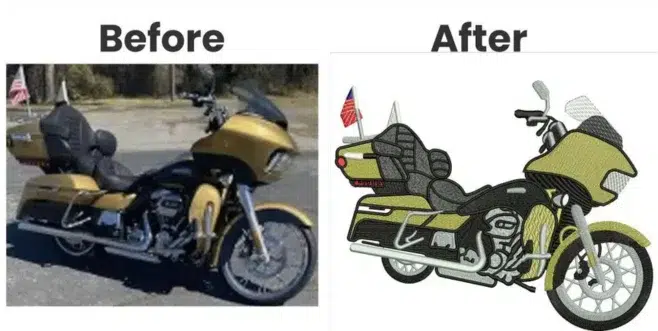
What Are the Limitations of Auto-Digitizing?
Auto-digitizing tools convert images into stitches automatically. They can work for simple artwork, but they often struggle with photos because photos include fine details and many color changes.
Here are the most common limitations:
Poor Stitch Direction
Auto tools do not always choose the correct stitch angles. Wrong stitch direction can make the design look messy and reduce detail.
Excessive Stitch Density
Auto tools may place too many stitches in a small area. This can lead to embroidery machine thread breaks, fabric distortion, and rough stitching.
Loss of Detail
When software simplifies a photo, it can remove important features, especially in faces, hair, and small highlights.
Unnatural Shading
Auto tools often fail to create smooth shading. The design can look patchy because the software cannot blend thread colors naturally.
Because of these issues, auto-digitized photo designs usually need manual editing by experienced digitizers to stitch cleanly and look realistic.
When Should You Use Professional Embroidery Digitizing Services?
If you want high-quality photo embroidery, professional digitizing can save you time and frustration. Photo designs often need careful stitch planning, and a small mistake can lead to poor stitching results.
When Professional Digitizing Helps Most
Professional services are especially helpful when you need to:
- Convert detailed photos into embroidery designs
- Create portrait embroidery with facial details and shading
- Digitize complex artwork with many textures and color changes
- Prepare files for commercial embroidery machines and production runs
Experienced digitizers know how to translate images into embroidery machine stitches that sew cleanly, smoothly, and consistently across different fabrics and machines.
Key Takeaways
- Photo embroidery digitizing converts a photograph into a stitch file that embroidery machines can read and stitch.
- Auto-digitizing tools can assist with the process, but they often struggle with shading, fine details, and overall stitch quality.
- Realistic photo embroidery usually requires manual digitizing, where experts control stitch direction, density, and shading.
- Professional digitizing helps achieve cleaner and more accurate results, especially for detailed or complex photo designs.
If you want your photo embroidery to capture realistic shading, depth, and facial details without thread breaks or messy stitches, working with the best digitizing services can save time and costly mistakes. At Absolute Digitizing, our expert digitizers manually convert photos into clean, machine-ready embroidery files optimized for smooth stitching and high detail.
Get your photo digitized now at Absolute Digitizing and see the difference.
Frequently Asked Questions (FAQ)
No. Embroidery machines cannot read image files such as JPG or PNG. They require machine embroidery file formats like DST, PES, or EXP that contain stitch instructions.
Some embroidery software can attempt to convert photos into stitches using auto-digitizing tools. However, the results usually require manual editing to improve stitch direction, density, and shading.
Common embroidery file formats include DST, PES, EXP, JEF, and VP3. The best format depends on the brand and model of the embroidery machine.
Photo embroidery can look distorted when stitch density, stitch direction, or underlay settings are not optimized during digitizing.