
Have you ever wondered how a simple sketch turns into a beautiful embroidered design? Well, that’s what Embroidery digitizing does. It’s a skill that brings your designs to life, stitch by stitch.
In this blog, we will explain this process and talk about why it’s great to learn. We will also provide you with a step by step guide to get started.
Are you excited to begin your journey into embroidery digitizing?
Let’s dive in!
Exploring Embroidery Digitizing
What is Embroidery Digitizing?
Embroidery digitizing is the process of converting an image or an artwork into a digital format that embroidery machines can read. Special software is used to create a digital embroidery file containing instructions for the embroidery machine. These instructions include stitch types, colors, density, sequence and placement etc. This digital file guides the embroidery machine to recreate the design with precision and detail on the required fabric.

The Importance of Digitizing in Embroidery
Digitizing is vital for two big reasons. First, it ensures precision and consistency in embroidery. The latter allows complex designs to be executed accurately, making your embroidery look professional and polished.
Now, let’s understand the basic steps involved in digitizing a design.
Easy Steps To Prepare Your Design for Digitization
Digitizing your design is like getting it ready for a show.
Here’s how to do it step by step:
- Selection: Pick a design that you love and that fits your project.
- Study Your Design: Take a good look at your design and try to understand every detail.
- Plan Your Stitch Route: Think about the best way for the machine to move across your design.
- Select Your Stitches: Choose the right stitches to make each design part stand out.
- Set Up for Your Fabric: Adjust your machine’s settings to match the fabric you are using.
- Save Your Design: Save your digitized work in the format your embroidery machine requires.
Tools and Software You will Need for Embroidery Digitizing
To start embroidery digitizing, you will need the following tools and software:
Embroidery Digitizing Software:
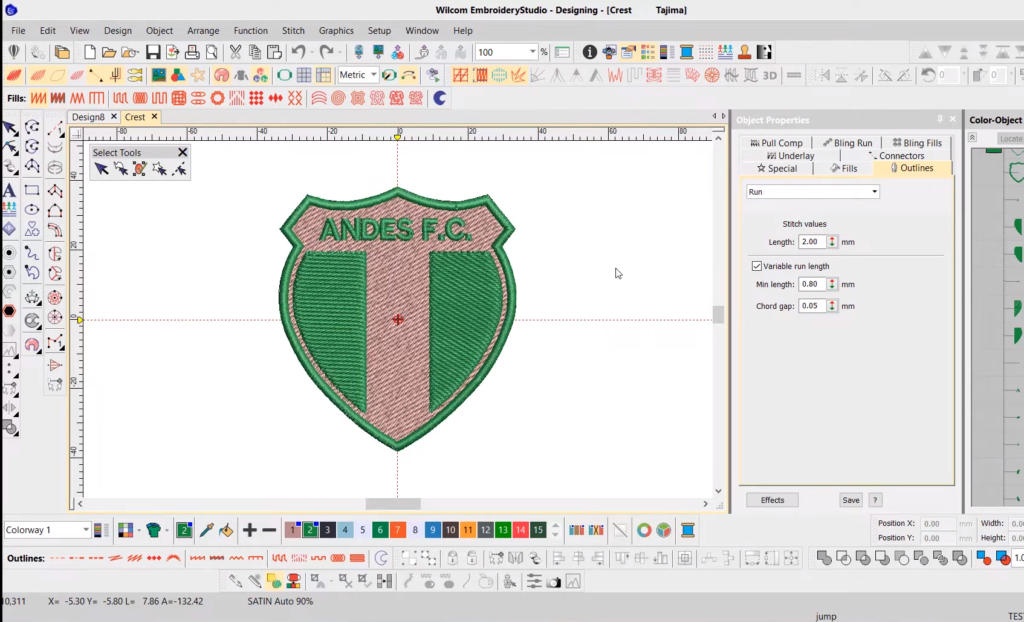
This is the key tool for converting designs into digital embroidery files. Popular software options include Wilcom, Hatch Embroidery, and Tajima DG/ML by Pulse. These are paid software. If you do not have a budget for a paid software, you can also use a free embroidery software.
Computer:
A reliable computer with enough processing power to run embroidery digitizing software smoothly.
Design Files:
You will need the designs or artwork that you want to digitize. These can be sketches, images, logos or vector graphics.
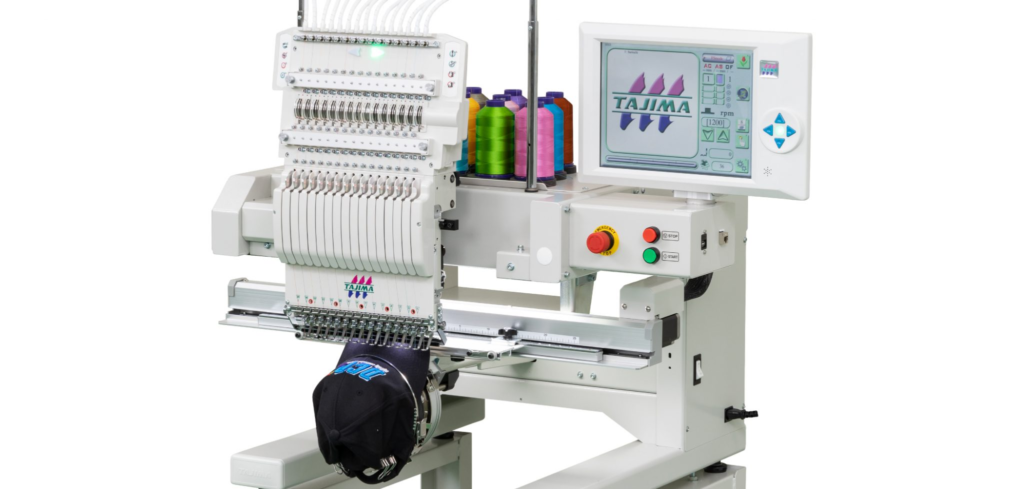
Embroidery Machine (Optional):
While not necessary for digitizing itself, having access to an embroidery machine allows you to test and stitch out your digitized designs to see how they look in real life. Here are some affordable embroidery machines.
Training and Tutorials:
Consider investing in training courses or tutorials to learn how to use the digitizing software effectively and improve your digitizing skills.
By having these tools and software, you will be well-equipped to begin your journey into embroidery digitizing and create beautiful embroidered designs.
Software Selection and More: Real Game Starts Here!
How to Pick the Right Learning Software?
When choosing embroidery digitizing software as a beginner, consider the following factors.
User Friendly Interface:
Look for software like Wilcom Hatch Embroidery or Embrilliance StitchArtist that offers an easy to use interface for easy learning.
Learning Resources:
Check if the software provides tutorials and guides. Both Embrilliance StitchArtist and Wilcom Hatch Embroidery offer helpful resources.
Compatibility:
Ensure the software is compatible with your computer’s operating system. Both Embrilliance StitchArtist and Wilcom Hatch Embroidery work on Windows and Mac.
Cost:
Both Embrilliance StitchArtist and Wilcom Hatch Embroidery are paid software. If you do not have a budget to buy the software, consider learning on a free embroidery digitizing software like Ink/Stitch. Take your budget into account when making your selection.
By considering these factors, you can pick the right embroidery digitizing software that suits your needs as a beginner.
Installation and Set Up
Download and install the chosen software on your computer, following the setup instructions given by the software provider. Keep in mind that the software you select must match your operating system and hardware specifications.
Understand the Basics
Familiarize yourself with the software’s user interface and essential functions, including creating shapes, adding text, and adjusting stitch settings.
Most programs offer intuitive layouts with toolbars, menus, and beginner tutorials to guide you through the initial learning process.
Importing Your Design
This is the part where your hard work will be used; We mean the prerequisite! Import your artwork you are going to digitize, into the digitizing software. Ensure the design is in a compatible file format such as JPEG, PNG, or SVG etc.
Setting Up Your Design
It is like plotting a journey for your stitches. First, define the size and position of your design in the hoop. Then, adjust settings like stitch density, underlay stitches, and pull compensation for the best result.
Basic Digitizing Vocabulary
You will come across these digitizing terms many times. Let’s get to know them briefly:
- Density tells how closely stitches are packed together so your design looks good and stays strong.
- Underlay stitches give your design stability and hold everything together.
- Pull compensation ensures your fabric stays in shape during stitching.
Digitizing Process
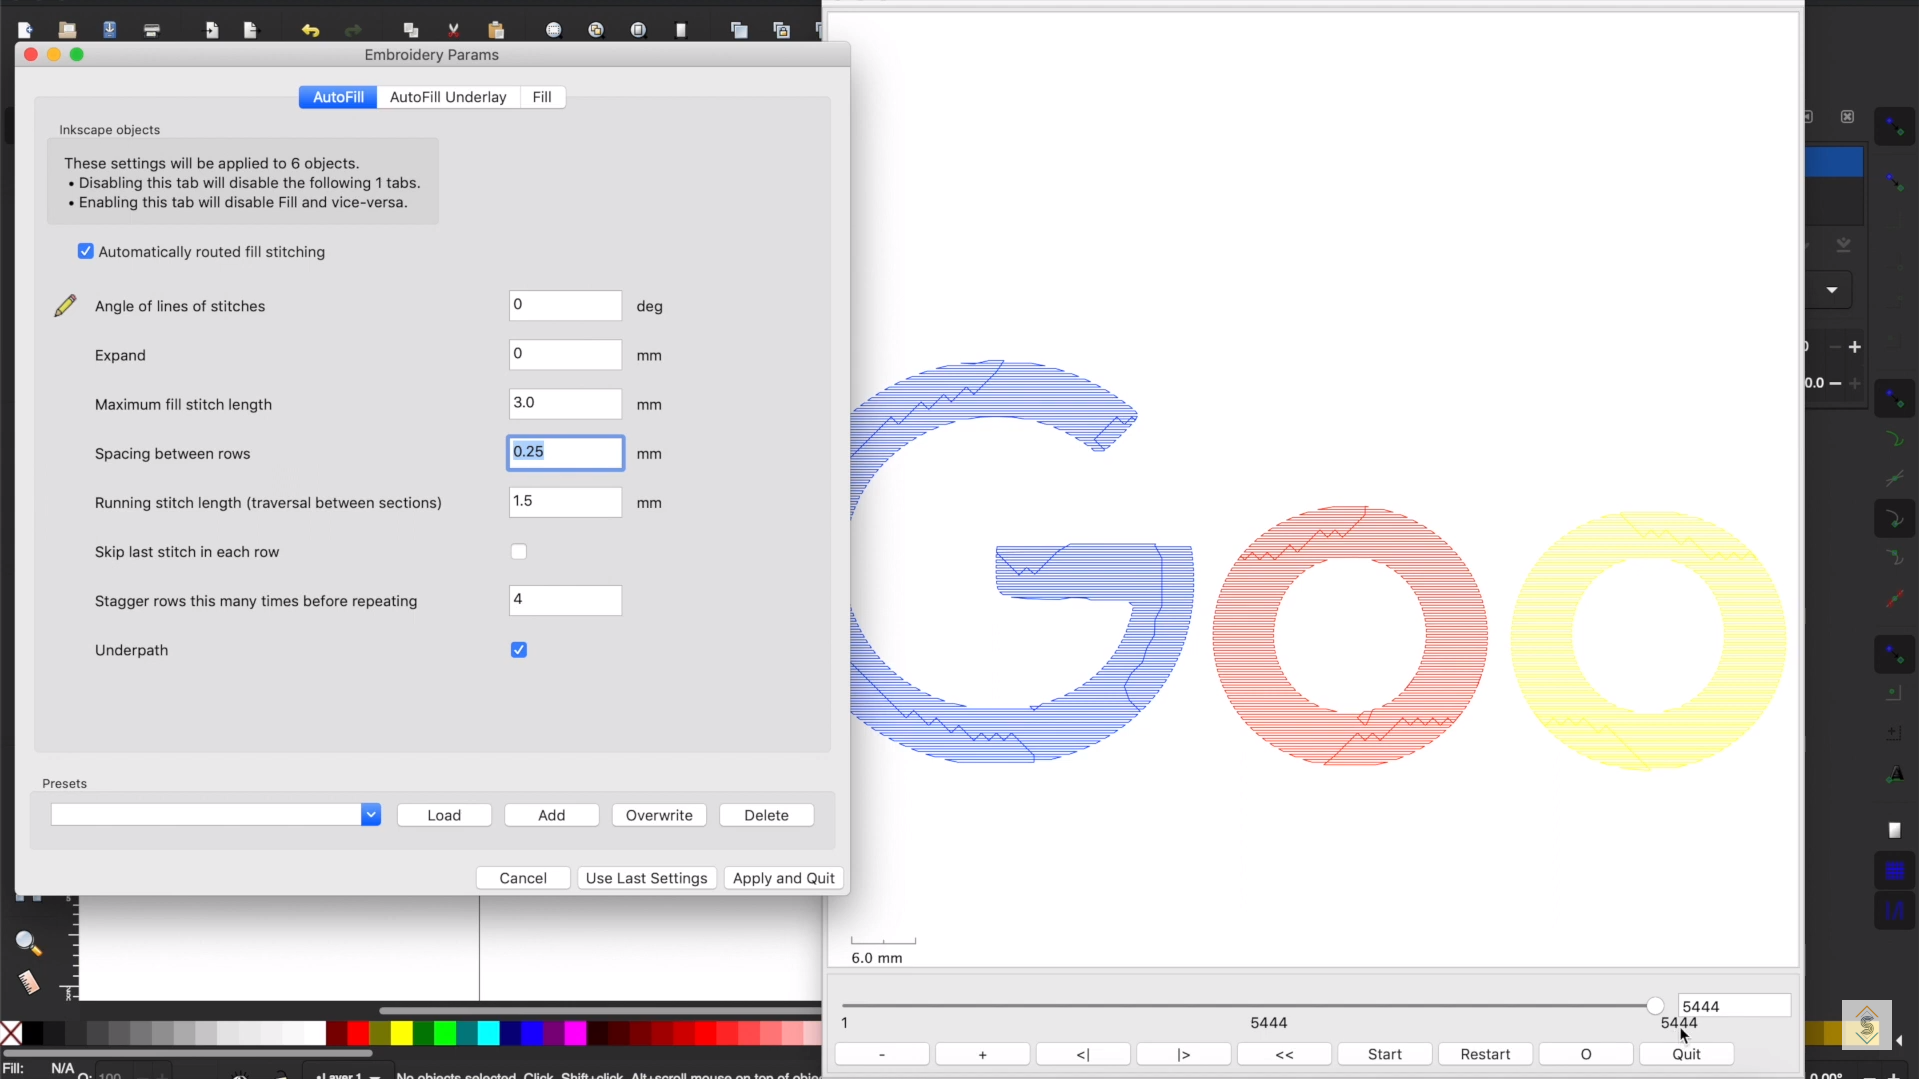
Use the digitizing tools provided by the software to create the stitch paths for your design. Pay attention to stitch direction, stitch type (e.g., satin stitch, fill stitch), and density.
- Stitch direction is the angle at which stitches are placed in the design, which defines the shape and texture of the embroidery
- In embroidery digitizing, these basic types of stitches are used to create various effects and textures. These types include:
- Running stitch is the simplest and great for stitching tiny details, outlines, or writing.
- Satin Stitch is glossy and glamorous. It makes small areas stand out and is ideal for letters, borders, or minor elements.
- Fill stitch is used for backgrounds and large shapes needing solid coverage.
- Cross Stitch is a classic stitch forming a neat ‘X’, it is used to add decoration or a traditional handmade feel.
- Zigzag Stitch is like satin stitch, it adds stretch and fun patterns to your design
3. Stitch density is how close stitches are together in an embroidery design. It affects how the design looks and holds up.
Preview and Edit
The preview option is quite helpful in rectifying your mistakes in real time. After digitizing your design, use the software’s preview feature to see how it will look when stitched out. Make any necessary adjustments to stitch settings, colors, or design elements to save any mishaps.
Save Your Design
Understanding file formats is essential for working with digitized embroidery designs. Every embroidery machine brand uses a different format and there are many brands out there but some of the common machine formats are as follows:
- DST: Compatible with Tajima embroidery machines and many other commercial machine brands.
- PES : Designed for Brother embroidery machines.
- EXP: Used with Melco embroidery machines.
- JEF: Compatible with Janome embroidery machines.
When you’re satisfied with your digitized design, save it in the format supported by the embroidery machine that you own to ensure smooth stitching.
Test Sew-Out
Before stitching out your design on a final garment or project, perform a test sew-out on scrap fabric to ensure everything is up to the mark.
Practice and Learn
- Embroidery digitizing takes practice and patience to master. Keep experimenting with different designs and techniques, and challenge yourself with more complex designs.
- Experiment with color gradients, shading, and intricate details to push the boundaries of your creativity.
Troubleshooting Your Embroidery Digitizing
Embroidery digitizing is an exciting journey, but it’s a challenging skill.
Here are the top 3 common issues you can face and how to tackle them:
Thread Breaks
If your thread keeps breaking, check the tension settings on your machine. Adjusting the tension can solve the problem.
Puckering
Puckering occurs when the fabric bunches up during stitching, which can be frustrating. To avoid this issue, adjust the compatibility of the stabilizer with your fabric type and density settings in your digitizing software accordingly.
Remember, different fabrics react differently under the needle. Cotton is a perfect match for beginners, while silk is demanding and often wrinkles!
On the other hand, denim can handle bold designs well, but when working with stretchy fabrics, you need to be gentle to maintain elasticity.
Design Distortion
If your design looks distorted when stitched out, it could be due to incorrect stitch density or pull compensation settings. Double-check these settings and adjust as needed.
Remember, problems are part of the learning process. Feel free to try different solutions because that’s the only way to master the skill called Embroidery Digitization!
Final word
Embroidery digitizing is an exciting but challenging skill. All your sweat and tears are worth it when you see your embroidered sew out. Remember to enjoy the process. Practice, Practice, and PRACTICE! Don’t be afraid to try out new things.
Whether you’re just starting or a seasoned enthusiast, there’s always something new to learn and explore in embroidery digitizing.
So, embrace your creativity and let your imagination run wild with every stitch!
As you’re learning embroidery digitizing, you understand it takes time to become a pro. While you’re learning, you might need embroidery digitizing services for your projects. Absolute Digitizing can help, starting at $10 per design. We offer high quality and fast turnaround times of 2 to 6 hours. Contact us for a free quote!