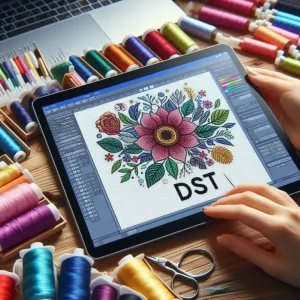
Whether you’re running a small business, launching a clothing brand, or personalizing uniforms, one thing is clear—logos need to look perfect on embroidery. And that means converting your logo into a special file format that embroidery machines can understand. Unlike printing, you can’t just upload a JPG or PNG and hit “start.” The artwork has to be digitized—turned into stitch commands that tell the machine how to sew every detail.
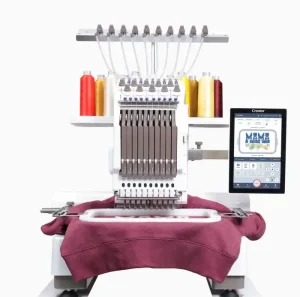
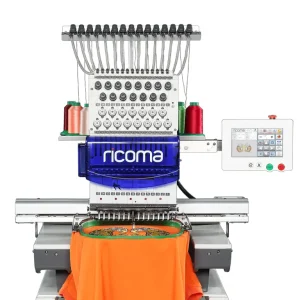
One of the most popular choices for embroidery today is the Ricoma embroidery machine. Known for its ease of use, reliability, and compatibility with both beginners and professional embroiderers, Ricoma machines are widely used around the world. But if you want flawless results, you need to feed it the right kind of file, typically in DST or DSB format.
In this blog, we’ll walk you through the complete process of converting a logo into a Ricoma-compatible embroidery file. From preparing the artwork and using digitizing software to exporting the correct format and testing it on your machine, we’ll cover everything you need to know—whether you’re doing it yourself or getting help from a professional digitizing service.
Let’s get started!
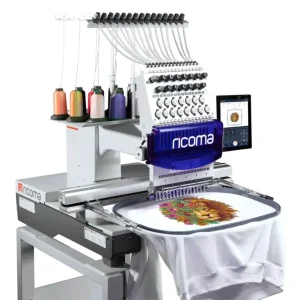


Step 4: Test the Design on Your Ricoma Machine
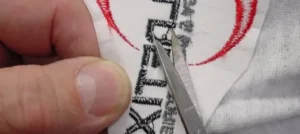
Once your logo is exported in the correct format, it’s time to test it on your Ricoma embroidery machine. This step helps you catch any problems before running the design on final garments or customer orders.
Load the File
Insert the USB drive into your Ricoma machine or transfer the file via network if your model supports it. Select the design from the machine’s interface and double-check the hoop size, color sequence, and placement before starting.
Run a Trial Stitch
Always do a test run on scrap fabric similar to your final material. This allows you to see how the design behaves in real conditions—without risking your actual product.
Watch for Common Issues
Keep an eye out for:
-
Thread breaks
-
Misaligned stitches
-
Puckering or distortion
-
Incorrect color changes
These problems usually point to issues in the digitizing process, such as wrong stitch type, poor density, or missing underlay.
Make Adjustments if Needed
If you notice flaws, go back to your digitizing software, make the necessary edits, and export the file again. Testing helps ensure your final result looks clean, professional, and ready for production.
Mistakes to Avoid When Converting Logos
Even experienced users can run into problems when converting logos for embroidery. Here are some common mistakes to avoid to ensure a smooth process and high-quality results.
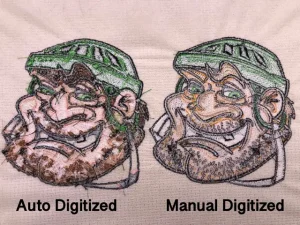
Relying on Auto-Digitizing Without Review
Auto-digitizing can save time, but it often misses important details. Always review and adjust the stitch types, direction, and density to avoid messy or uneven embroidery.
Adding Too Much Detail in Small Areas
Embroidery has physical limitations. Small text, thin lines, or intricate shading won’t show up well—especially on small logos like chest or cap designs. Simplify complex elements before digitizing.
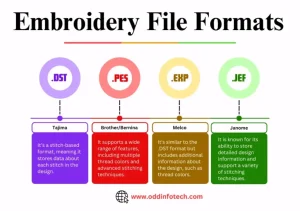
Choosing the Wrong File Format
Uploading a logo in JPG or PNG format directly to the machine won’t work. Embroidery machines require digitized files like DST or DSB. Skipping this step can halt production or damage materials.
Ignoring Thread and Backing Requirements
Different fabrics and threads react differently. Not matching thread colors or using improper stabilizers (backing) can cause puckering, thread breaks, or poor alignment.
Avoiding these common errors helps you save time, reduce waste, and produce clean, professional embroidery with your Ricoma machine.