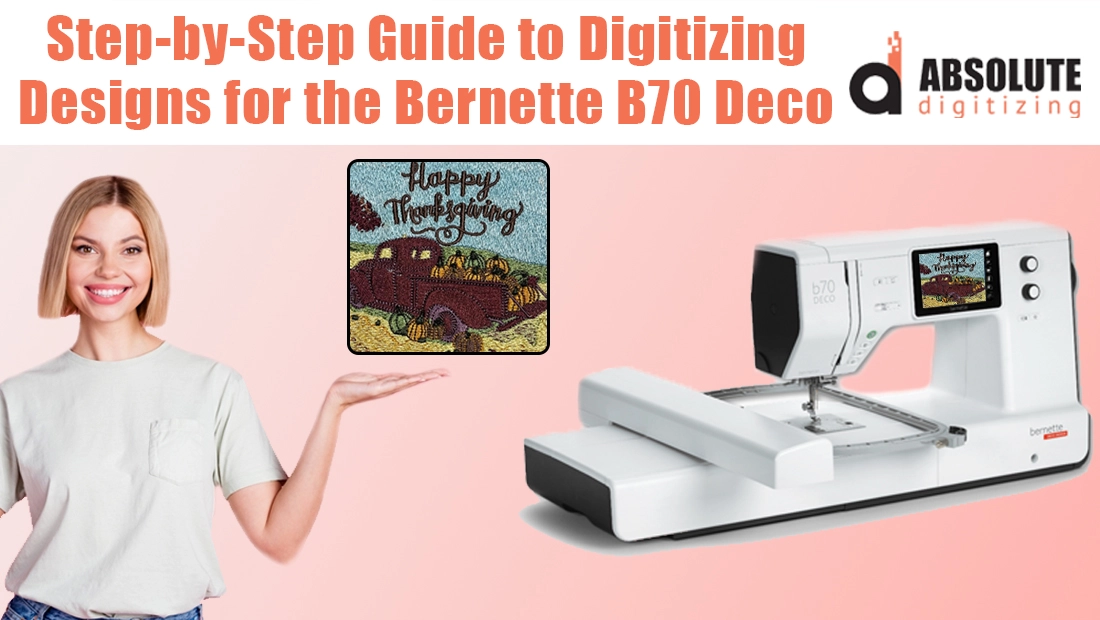
The Bernette B70 Deco has become a favorite among embroidery lovers for its precision, versatility, and ability to bring creative ideas to life with stunning stitch quality. Whether you’re a hobbyist or a small business owner, this machine makes embroidery fun and professional, but the real magic starts with digitizing. Digitizing is the process of turning an image or logo into stitch data your machine can read and embroider perfectly.
In this step-by-step guide, you’ll learn how to digitize designs for the Bernette B70 Deco embroidery machine, which file formats it uses, and how to get flawless embroidery results every time. And if you prefer ready-to-stitch perfection without the learning curve, professional services like Absolute Digitizing can create high-quality digitized files for as low as $10, complete with free edits and fast turnaround.
What Makes the Bernette B70 Deco Embroidery Machine Special

Feature Highlights
The Bernette B70 Deco is a favorite among embroidery enthusiasts for its advanced yet easy-to-use features. It includes a large touchscreen interface that allows you to preview and edit your embroidery designs directly on the machine. The USB connectivity makes it effortless to transfer files from your computer, and the wide embroidery hoop area gives you the freedom to create both small and large designs. It also supports several popular file formats such as EXP, PES, and DST, making it compatible with most embroidery software.
Perfect for Hobbyists and Small Businesses
Whether you enjoy personal projects or run a small embroidery business, the Bernette B70 Deco offers professional-level results at an affordable price. It is reliable, precise, and built to handle detailed designs with clean, consistent stitching.
Why Digitizing Is Still Essential
Although the Bernette B70 Deco stitches beautifully, it cannot generate stitch data on its own. To embroider any image or logo, the artwork must first be digitized using embroidery software. Digitizing converts flat artwork into stitch data that the machine can read and bring to life with perfect accuracy.
Understanding Embroidery Digitizing
What Is Embroidery Digitizing
Digitizing means converting an image, text, or logo into embroidery-ready stitches that a machine can read. Instead of printing or drawing, the embroidery machine follows stitch commands to recreate the artwork with threads. A digitized file tells the machine exactly where to start, where to end, and how to sew each part of the design.
Basic Stitch Types
There are three main stitch types in embroidery:
-
Satin Stitch – Best for borders, small text, and outlines.
-
Fill Stitch – Used for large areas and gives solid texture.
-
Run Stitch – Ideal for fine lines and small details.
Each stitch adds a different look and feel to the design.
Why Stitch Direction, Density, and Underlay Matter
Stitch direction affects how light reflects on fabric. Density controls how thick or thin the stitches are. Underlay gives support underneath, keeping the fabric smooth and preventing puckering. Together, they ensure neat, professional stitching.
Recommended Software
Professionals often use Wilcom Embroidery Studio E4, known for precision and reliability. Beginners can try Ink/Stitch, a free tool that’s great for learning basic digitizing before moving to advanced software.
File Formats Supported by Bernette B70 Deco

Primary File Formats
The Bernette B70 Deco supports three main embroidery file formats ,EXP, PES, and DST. Among these, EXP is the most reliable and widely recommended. It preserves stitch information accurately and works seamlessly with the machine’s system.
Why the Correct Format Matters
If a design is saved in the wrong format, it may not appear correctly on the screen. Colors can change, outlines may shift, or the machine might not read some stitch commands properly. Choosing the right format ensures your design stitches exactly as planned.
Why EXP Format Is Best
The EXP format provides smooth stitching, correct color sequence, and perfect alignment. It keeps the design stable and prevents issues like skipped stitches or thread breaks.
How to Transfer Files
Once your file is saved in EXP format, you can easily transfer it to the Bernette B70 Deco using a USB stick or a direct USB cable connection from your computer. The machine will recognize the file instantly and get it ready for stitching.
Step-by-Step: How to Digitize a Design for Bernette B70 Deco

Step 1: Choose or Create Your Artwork
To begin, select a high-resolution image such as a JPG, PNG, or AI file. A clear image ensures that every detail translates accurately during digitizing. Next, simplify your design by removing tiny details and thin lines, as these often do not stitch cleanly. Also, make sure there is strong color contrast between different parts of the design. This will help later when you match thread colors and define stitch areas.
Step 2: Import Artwork into Digitizing Software
Once your artwork is ready, open it in your digitizing software like Wilcom E4, Hatch, or Ink/Stitch. Then, resize the design to fit your Bernette B70 hoop size. Use the alignment tools or guidelines to position it correctly on the screen. By doing this, you ensure the design stays centered and within the embroidery area when stitching begins.
Step 3: Define Stitch Types and Directions
After importing, it’s time to assign the stitch types. Use satin stitches for text and borders, fill stitches for larger areas, and run stitches for fine details. Each type creates a different texture and look. Additionally, adjust the stitch direction carefully, this affects how the light reflects on the finished embroidery and how smooth the surface appears. A few angle changes between sections can make your design look more dimensional.
Step 4: Apply Underlay and Set Stitch Density
Next, add an underlay to stabilize the fabric. It prevents puckering and keeps the top stitches neat. Common types include center run, zigzag, and edge walk underlays. Then, adjust the stitch density—generally around 0.4 mm to 0.45 mm for medium fabrics. For knits, use a looser density, and for tougher fabrics like denim, make it tighter. These adjustments ensure balanced, durable stitching on different materials.
Step 5: Adjust Pull Compensation and Trim Commands
Now, apply pull compensation to counteract the fabric’s natural stretch. This helps the design keep its original shape after stitching. Also, add trim commands between color changes to remove jump stitches. As a result, the embroidery will look cleaner and more professional.
Step 6: Add Color Sequence and Thread Chart
Then, assign thread colors that match your artwork. Choose reliable thread brands like Madeira, Isacord, or Robison-Anton for consistent color quality. Arrange the color sequence to reduce unnecessary machine stops or thread changes. This small step saves time and ensures smooth stitching from start to finish.
Step 7: Preview and Simulate the Stitching
Before saving, always preview the design in 3D simulation mode. This lets you see exactly how it will stitch on fabric. Check for overlapping areas, gaps, or wrong entry and exit points. If anything looks off, fix it right away. This simple step helps you avoid wasted materials and rework later.
Step 8: Save the File in EXP Format
Once satisfied, export the file in EXP format, which works best with the Bernette B70 Deco. Additionally, save a backup EMB file (editable version) so you can make future edits if needed. Keeping both versions is a good habit that saves time in future projects.
Step 9: Transfer the File to the Machine
Finally, copy the EXP file to a USB stick and insert it into your Bernette B70 Deco. From the touchscreen, open your design and check the placement. Do a quick test run on scrap fabric to ensure everything stitches smoothly. Once confirmed, your design is ready for embroidery, bringing your digital artwork to life with perfect precision.
