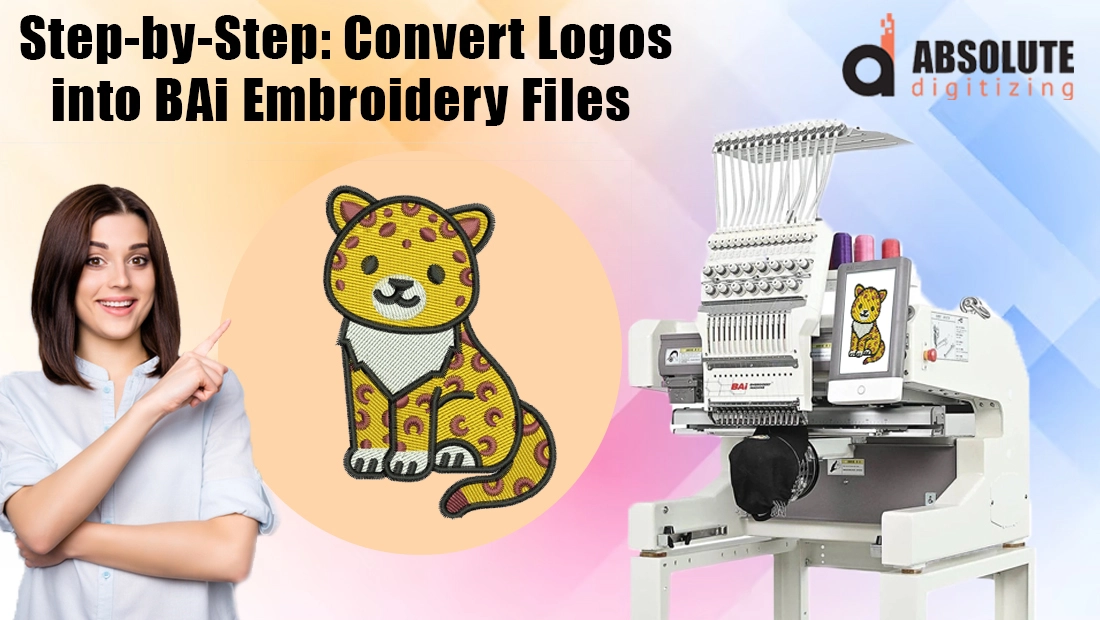
Logos are more than just pretty images. They are the visual heartbeat of a brand. Whether stitched on uniforms, caps, or promotional merchandise, a logo instantly communicates professionalism and identity. But here is the catch: while most logos come in file formats like JPG or PNG, these image files are useless when it comes to embroidery machines. If you have ever tried loading one directly, you have probably faced frustration because machines cannot read images. They need detailed stitch instructions.
This is where BAi embroidery files make the difference. Specifically designed for BAi embroidery machines, these files guide every stitch, color change, and sequence needed to bring a logo to life in thread. Without the correct file, your machine either will not run or will produce messy, broken designs.
In this blog, we will take you step by step through the process of converting your logo into a BAi embroidery file. While DIY conversion is possible with the right software, professional embroider digitizing service ensures flawless results every time.
Understanding BAi Embroidery Machines
Reliable and Versatile Performance
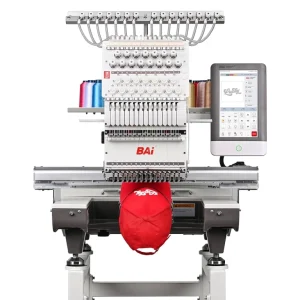
BAi embroidery machines are widely used by small shops and larger businesses because they balance affordability with advanced features. They can handle everything from simple text on caps to detailed multi-color logos on uniforms and jackets.
Supported File Formats
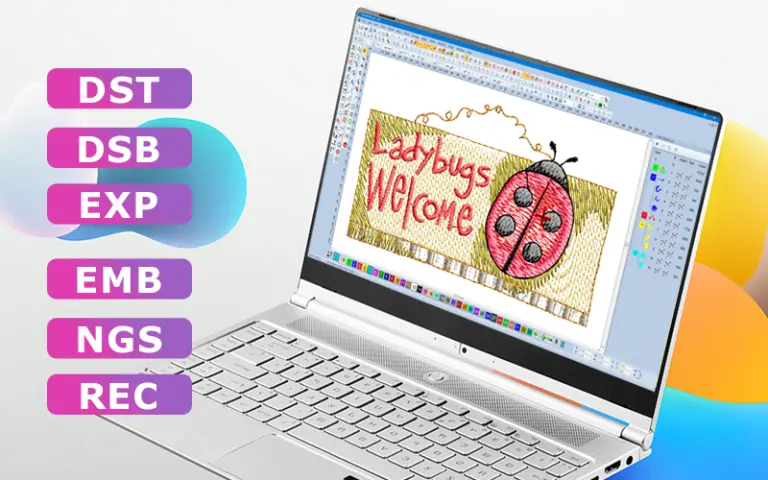
One of their biggest advantages is compatibility with Embroider File Formats such as .DST, .DSB, .U01, and .TAP. This flexibility allows users to work with different digitizing software and ensures smooth integration into existing embroidery workflows.
User-Friendly Controls
BAi machines come with intuitive control panels and built-in software that let operators preview designs, adjust stitch settings, and manage production without difficulty. Even beginners can quickly learn to operate them with minimal training.
Ideal for Bulk Production
With options like multi-head models, BAi machines can produce large batches of embroidery at once. This makes them a cost-effective choice for businesses that need speed, consistency, and the ability to meet tight deadlines.
A Smart Choice for Businesses
By combining professional-grade quality with reasonable pricing, BAi embroidery machines offer a practical solution for anyone wanting durable, consistent results without the steep costs of high-end brands.
What is a BAi Embroidery File Format?
Why Image Files Don’t Work
Formats like JPG, PNG, or PDF only store visual information. They may look clear on screen but contain no technical stitching data. Without proper conversion into an embroidery file, BAi machines cannot interpret them.
Supported File Formats
BAi embroidery machines support widely used formats such as .DST and .DSB,. These file types contain the stitch data needed for accurate embroidery. Using the correct format ensures smooth operation, while choosing the wrong one can lead to errors, misreads, or incomplete stitching.
You can check the further detail from BAi Official channel here :
https://www.youtube.com/watch?v=_3BJK6T_WKk&t=31s
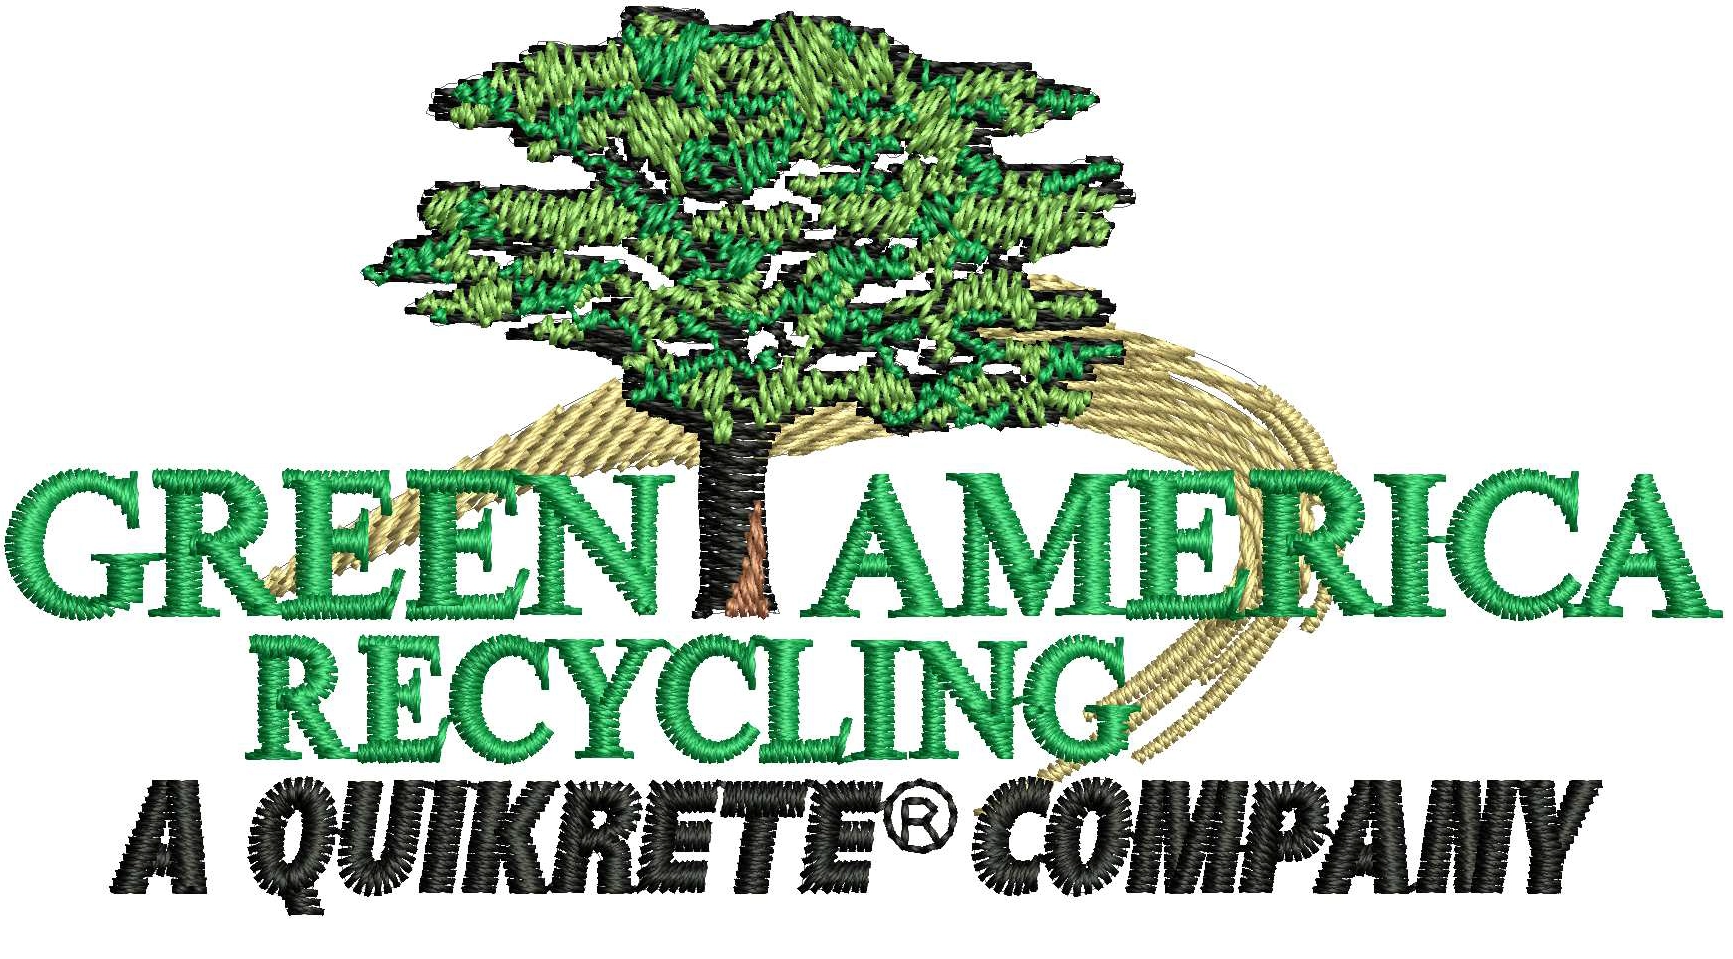
Preparing Your Logo Before Conversion
![]()
Use a High-Resolution Image
The first step is to start with a clear, high-resolution version of your logo. Blurry or pixelated images make it difficult for digitizing software to identify shapes and details, which can lead to poor embroidery results.
Simplify the Design
Logos with too many colors, gradients, or tiny details can create challenges in embroidery. Simplifying the design by removing unnecessary elements ensures that the stitches remain neat and readable on fabric. Clean, bold shapes always translate better than cluttered artwork.
Match Embroidery Thread Colors
Unlike digital prints, embroidery relies on thread colors. Before conversion, select the closest thread shades that match your brand. This step is important because thread availability and texture can slightly affect how the logo appears once stitched.
Decide Placement and Size
Think about where the logo will be embroidered. A small chest logo on a polo shirt, a cap design, or a large jacket back design all require different stitch densities and adjustments. Preparing the logo with the final placement and size in mind helps ensure perfect results.
Tools & Software for BAi File Conversion
Popular Digitizing Software
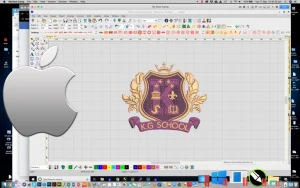
To convert a logo into a BAi embroidery file, you need digitizing software. Professional software like Wilcom Embroidery Studio, Hatch, and Pulse are widely used for their advanced features and reliability. These tools allow you to control every detail such as stitch type, density, and color sequence. For beginners or hobbyists, free options like Ink/Stitch (an extension of Inkscape) can be tried, but they come with limitations.
Saving in the Correct Format
BAi machines require their own specific file format. Even if you create the design in Wilcom or Hatch, you must make sure to save or export it as a BAi-compatible file. Choosing the wrong format may cause the machine to misread instructions or stop mid-design, wasting both time and material.
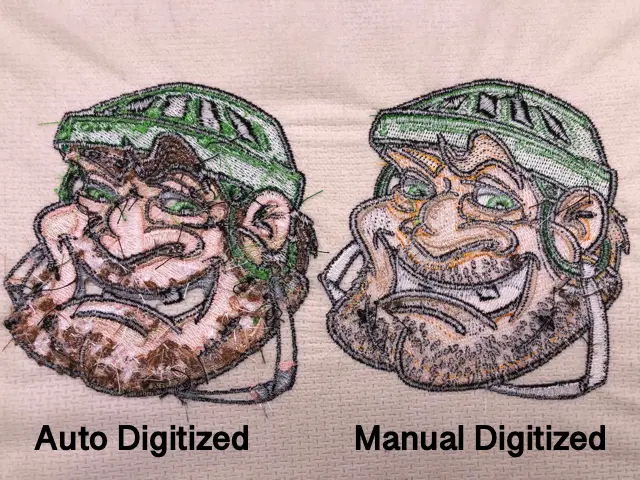
Limitations of Free Software
Free tools may look attractive, but they often lack professional features. The learning curve is steep, and beginners may struggle to achieve accurate results. Critical aspects like underlay, compensation, and stitch direction are hard to master without experience.
Why Outsourcing Makes Sense
For businesses, spending months learning software is rarely practical. Outsourcing to professional digitizers saves time, guarantees high-quality results, and ensures files are machine-ready. This way, you can focus on running your business while experts handle the technical work.
Step-by-Step Conversion Process
1. Import the Logo
Start by importing your logo into the digitizing software of your choice. A clean, high-resolution file ensures the program can properly trace shapes and convert them into stitch paths.
2. Set Design Size and Area
Define the embroidery size according to the placement—such as a small left chest, cap front, or jacket back. The chosen size affects stitch density, so this step must be accurate.
3. Define Stitch Types
Different logo elements require different stitch types. For example, thin lines may work best with a running stitch, while text or bold outlines are often done with satin stitches. Larger filled areas usually need a fill stitch for even coverage.
4. Apply Underlay for Stability
An underlay acts as a foundation for the stitches, preventing fabric movement or distortion. Skipping this step can result in a messy or uneven design.
5. Adjust Density, Compensation, and Direction
Stitch density, pull compensation, and direction all play major roles in clean embroidery. If density is too high, threads may break; if it is too low, gaps will appear. Compensation ensures the design does not shrink or distort on fabric.
6. Assign Thread Colors and Sequence
Next, choose thread colors that match your logo and arrange them in the correct sequence. This avoids unnecessary color changes and keeps production efficient.
7. Save in BAi Format
Once satisfied, export the file specifically as a BAi embroidery format. Using another format like DST or PES will not work properly on BAi machines.
8. Test the Design
Finally, run a test in the software preview or on scrap fabric. This helps you catch any errors such as misalignment, puckering, or broken threads before stitching the final product.
Why Professional Digitizing Services Are a Smart Choice
Saves Time and Effort
Learning embroidery digitizing software takes months of practice. For most business owners, spending hours on tutorials and trial runs is simply not practical. Professional services save you that time, delivering ready-to-use BAi files without the steep learning curve.
Skilled and Experienced Digitizers
Professional digitizers bring years of expertise to the table. They know how to balance stitch density, apply the right underlay, and adjust pull compensation to suit different fabrics. This experience ensures your logo looks sharp and runs smoothly on the machine.
Affordable Hybrid Pricing
Reputable digitizing companies often use hybrid pricing models. This means you get affordable rates without compromising on quality. It is a smart option for both small businesses and bulk orders.
Extra Features for Peace of Mind
Professional services go beyond file conversion. They usually offer unlimited edits until you are satisfied, rush order delivery in as little as two hours, and bulk discounts for repeat customers. These features make them a dependable partner for long-term embroidery needs.
DIY Conversion vs Professional Services
DIY Pros
Doing your own logo conversion can save money, especially for hobbyists who only need a few designs. It is also a great way to learn the basics of embroidery digitizing and experiment with personal projects like monograms or small custom patches.
DIY Cons
However, DIY digitizing comes with challenges. Professional software like Wilcom or Hatch is expensive, and free options are limited in features. On top of that, there is a steep learning curve. Without experience, mistakes in density, underlay, or stitch direction can easily ruin a design, causing wasted time and materials.
Professional Pros
On the other hand, professional digitizing services deliver files that are machine-ready and error-free. You get a fast turnaround time, often within the same day, and the assurance of consistent quality. Skilled digitizers ensure the design runs smoothly, avoiding thread breaks, misalignment, or puckering.
Best Approach
If you are a hobbyist creating designs for personal use, DIY may be worth trying. But if you run a business or need logos for uniforms, caps, or merchandise, relying on professional services is the smarter choice. It guarantees polished results that reflect your brand in the best possible way.
Why Choose Absolute Digitizing for BAi File Conversion
Absolute Digitizing makes BAi file conversion simple, fast, and affordable. With pricing starting at just $10, you get professional-quality digitizing without breaking the bank.
Our 24/7 live chat support ensures help is always available, and we back every order with free unlimited edits until you are completely satisfied. If you are in a hurry, rush orders are delivered within 2 hours for only $5 extra. For regular or bulk customers, we also offer special discounts that make large projects cost-effective.
Conclusion
Converting logos into BAi embroidery files is much more than simply saving an image in a new format. It is a detailed process called digitizing, where every stitch, color, and sequence must be carefully mapped for the embroidery machine to follow. Without this step, even the best-looking logo in JPG or PNG format will fail to produce clean embroidery results.
If you enjoy experimenting or are working on small personal projects, trying DIY digitizing can be a good learning experience. However, for businesses that rely on branding and need flawless, repeatable results, professional digitizing is the smarter choice. Experts know how to prepare files that run smoothly, avoid costly errors, and deliver a polished finish on any fabric.
Don’t leave your embroidery to chance. Order your BAi embroidery file conversion today at Absolute Digitizing, get instant quotes, same-day turnaround, and professional results.