Quick Summary
|
- 1. What Are Jump Stitches in Embroidery?
- 2. Why Do Jump Stitches Exist in Machine Embroidery?
- 3. When Do Thread Jumps Become a Problem?
- 4. How Professional Digitizers Reduce Thread Jumps
- 5. Why Auto Digitizing Software Creates More Jump Stitches
- 6. How to Remove Messy Thread Gaps After Stitching
- 7. How to Handle Messy Thread Bridges in Different Situations
- Final Takeaway
- FAQs
1. What Are Jump Stitches in Embroidery?
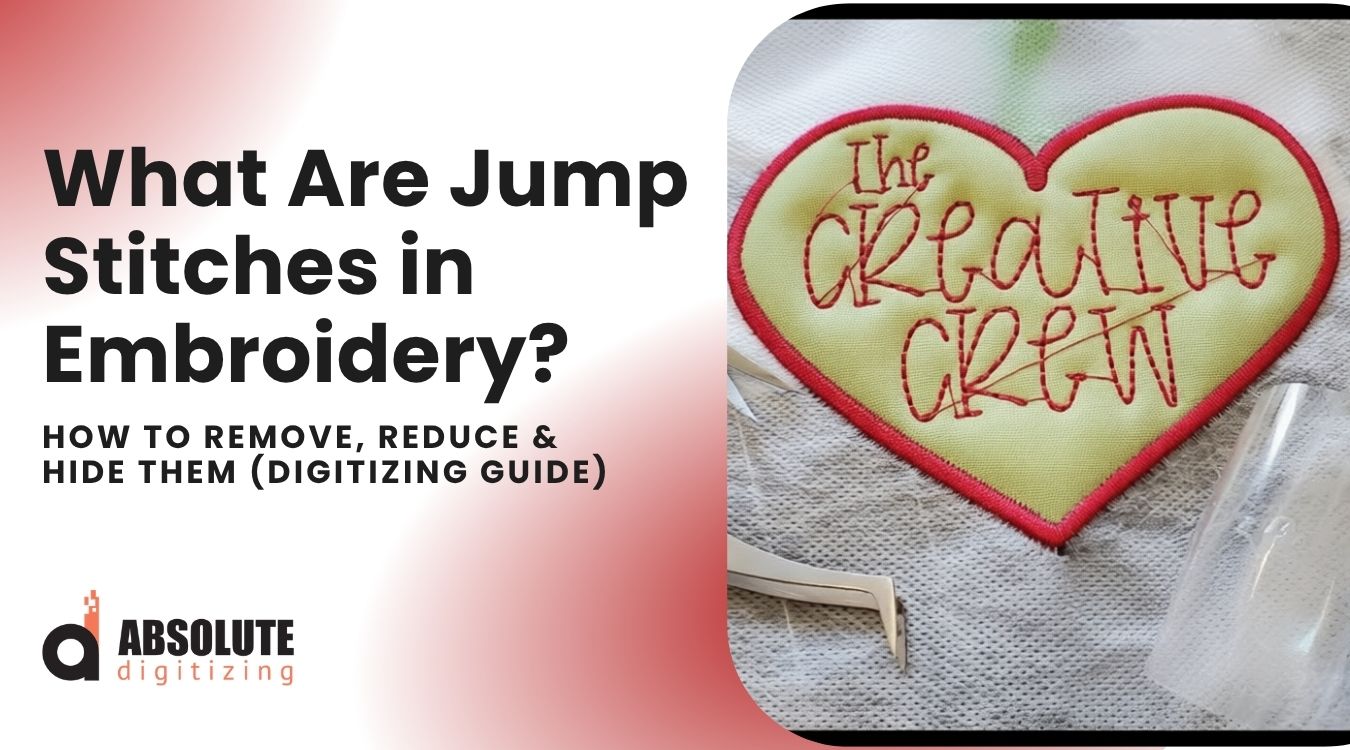
If you see threads connecting letters or elements in your design, you are looking at jump stitches. This is one of the most common complaints in embroidery, and it usually comes from misunderstanding how the machine actually works.
They help save time by letting the machine move between separate parts of a design without extra stitching. Even if jump stitches are not always visible, you should trim them to keep the design clean. Good planning during digitizing helps reduce extra jump stitches and keeps the embroidery process smooth and efficient.
Jump stitches are one of the most common issues people notice after stitching a design. In this blog, you will learn what jump stitches are, why they happen, when they are normal, and how good digitizing can reduce messy threads in your final embroidery.
To avoid problems like messy jump stitches, poor trims, and untidy stitch-outs, it is always better to work with an expert embroidery digitizing service that understands clean pathing, stitch flow, trims, and machine-friendly embroidery files.
Jump Stitch vs Travel Run Stitch (Clear Difference)

Many embroiderers confuse jump stitches and travel run stitches because both appear between separate design elements.
The key difference is how the machine moves: one carries thread without stitching, while the other stitches while moving to create a clean connection.
What Is a Connecting Stitch in Embroidery?
Both jump stitches and travel run stitches fall under a broader category called connecting stitches or connection threads. Their purpose is the same: to move the needle from one part of the design to another. Think of “connecting stitch” as the main category, with two different methods.
Jump Stitch (Air Connector)
- The machine moves from one point to another without stitching
- The needle does not penetrate the fabric
- Leaves a loose thread sitting on to
- Usually needs trimming if visible
Travel Run Stitch (Hidden Connector)
- The machine stitches small run stitches while moving
- The needle penetrates the fabric continuously
- Used intentionally by the digitizer
- Often hidden under other stitches or layers
What the Machine Is Actually Doing
Understanding machine behavior clears most confusion.
When the machine moves:
- The needle lifts
- The frame moves to the next position
- The needle comes down again
If the machine places no stitches during this movement, it creates a jump stitch.
If the machine places small stitches during movement, it creates a travel run stitch.
The machine is not making a mistake. It is simply following the path defined in the digitized file.
Why This Difference Matters
Production Speed:
Travel run stitches keep the machine running continuously without stopping for trims, which saves time in production.
Cleanliness:
Jump stitches leave loose threads on the surface that can look messy if not trimmed. Travel run stitches stay locked into the fabric and are often hidden under the design, giving a cleaner finish.
Important Truth: Jump Stitches Are Not Always Bad
This is where people get it wrong. They are:
- Necessary for machine movement
- Useful for speed and efficiency
- Completely normal in embroidery
The real issue is visibility, not existence.
A skilled digitizer converts unnecessary thread jumps into controlled travel run stitches wherever possible. This improves stitch flow, reduces trims, and produces cleaner, more professional embroidery results.
What Users Actually Complain About the Jump Stitch
On Reddit (r/MachineEmbroidery), a very common complaint looks like this:
https://www.reddit.com/r/Machine_Embroidery/comments/1adz793/lines_between_letters_brother_nv880e_how_to_stop/? Reddit Embroidery thread
“My lettering stitches fine, but there are threads connecting each letter. I have to cut them manually every time. Is my file wrong?”
2. Why Do Jump Stitches Exist in Machine Embroidery?
Loose threads between elements exist for one simple reason: machines have to travel. An embroidery machine cannot move instantly from one part of a design to another. It must physically move the hoop, and that movement creates a thread path between elements.
When the embroidery machine needle lifts and the machine moves to the next point without stitching, it creates a jump stitch. This is not an error. It is part of how the machine operates.
Why Digitizers Use Jump Stitches
Digitizers use them intentionally to keep the design running smoothly and efficiently. A skilled digitizer decides when to allow a jump and when to control or hide it.
They mainly use these stitches to:
Connect Same-Color Elements
When multiple elements share the same thread color, the machine needs a way to move between them. These stitches allow the machine to connect these elements without forcing a stop or thread change.
Reduce Trims and Machine Stops
Every trim forces the machine to:
- Stop
- Cut
- Restart
These actions add time and increase the risk of thread breaks or machine errors.
By allowing controlled jump stitches, digitizers keep the machine running without unnecessary interruptions.
Improve Production Speed
In commercial embroidery, time matters.
Even a few extra trims per design add up across:
- Multiple pieces
- Bulk production
- Long runs
A well-planned design uses jump stitches strategically to keep the machine moving continuously and improve overall efficiency.
The Right Way to Look at Jump Stitches
Many beginners treat jump stitches as a defect. That view is incorrect.
They are not a flaw. They serve as an efficiency tool.
The real issue is not their presence, but how digitizers handle them:
- Poor digitizing creates long, visible, messy threads
- Smart digitizing keeps connections short, controlled, or hidden
3. When Do Thread Jumps Become a Problem?

Jump stitches are normal, but they become a problem when they affect the final look of the design. A clean embroidery design should look smooth and professional. Once the connecting thread becomes visible or interferes with the design, they lower the overall quality.
Visible Jumps Longer Than 2mm
Short jump stitches often go unnoticed. But once they extend beyond about 2mm, they become clearly visible on the surface.
These long threads:
- Stand out against the fabric
- Catch light and draw attention
- Make the design look unfinished
At that point, trim them or control them better during digitizing.
Crossing Empty Space
Jump stitches become more noticeable when they travel across open areas of fabric.
Instead of blending into the design, they:
- Stretch across the blank space
- Create random lines between elements
- Make the design look poorly planned
This problem often shows up in text and logo embroidery.
Sitting on Top Layers
Thread jumps cause the biggest problem when they sit on top of finished stitching instead of staying hidden underneath.
They:
- Ruin the clean surface of the design
- Make even a good design look low quality
- Give the embroidery a messy or rushed appearance
Professional digitizers avoid this by hiding connections under fill or satin stitches
The Real Pain Point
Most users do not know the term “jump stitches.” They only notice the result.
“My design looks messy after stitching.”
Long visible threads, poor stitch path planning, and missing hidden connections usually cause that messy look.

Key Takeaway
They become a problem when digitizers leave them visible and uncontrolled.
A well-digitized design keeps them:
- Short
- Hidden
- Properly managed
That control gives embroidery a clean, premium finish instead of a rough, unpolished look.
4. How Professional Digitizers Reduce Thread Jumps

Skilled digitizers do not rely on luck or software defaults. They control stitch flow deliberately to reduce visible jump stitches and keep the design clean. This is where real skill shows.
4.1 Smart Pathing
Expert digitizers plan the stitch sequence like solving a maze. They guide the machine through the design in a logical path instead of letting it jump randomly between elements.
They:
- Plan entry and exit points carefully
- Move from one element to the next in a continuous path
- Avoid unnecessary jumps across the design
This approach keeps the machine flowing without stopping or creating visible threads.
This is one of the biggest differences between average and expert digitizing.
4.2 Keep Element Distance Under 2mm
Digitizers control spacing to reduce the need for long jumps.
They:
- Place letters and elements closer together
- Keep distances under about 2mm where possible
- Prevent the machine from creating long, visible threads
This directly solves a common problem:
“Why are my letters not connecting cleanly?”
When spacing is too wide, the machine has no choice but to create a visible jump.
4.3 Digitizers control spacing to reduce the need for long jumps.
They:
- Place letters and elements closer together
- Keep distances under about 2mm where possible
- Prevent the machine from creating long visible threads
This directly solves a common problem:
“Why are my letters not connecting cleanly?”
4.4 Use Run Stitches Under Cover Layers
Professional digitizers hide connections instead of leaving them exposed.
They:
- Use run stitches to connect elements
- Place those stitches under fill or satin layers
- Keep connections completely invisible in the final result
These hidden stitches allow the machine to move smoothly while maintaining a clean surface.
This is a professional technique that many beginners and basic tutorials overlook.
4.5 Stitch-by-Stitch Manual Control
Auto-digitizing tools do not plan stitch flow properly. Skilled digitizers take control manually.
They:
- Override automatic stitch paths
- Extend satin and fill stitches to connect elements
- Adjust entry and exit points stitch by stitch
4.6 Sequence Optimization
The order in which the machine stitches the design has a major impact on jump stitches.
Digitizers:
- Set logical start and end points
- Stitch nearby elements in sequence
- Avoid back-and-forth movement across the design
A well-optimized sequence reduces unnecessary travel and keeps the design efficient and clean.
Key Takeaway
Professional digitizers do not try to eliminate jump stitches completely. They manage them through smart planning, controlled stitching, and hidden connections.
That control creates:
- Cleaner designs
- Faster production
- Better overall quality
This is what separates basic digitizing from true professional work.
5. Why Auto Digitizing Software Creates More Jump Stitches
Auto digitizing software creates more jump stitches because it does not think like a human digitizer. It processes shapes visually, not logically, which leads to inefficient stitching paths and unnecessary thread movement.
It Does Not Understand Design Flow
Auto digitizing does not plan how the machine should travel across the design. It simply converts shapes into stitches without considering stitch sequence or movement.
As a result:
- It creates random stitch paths
- It forces the machine to jump between unrelated areas
- It increases long, visible jumps
Poor pathing directly leads to unnecessary jumps and trims, slowing production and making designs messy.
It Treats Objects Separately
Auto tools see each element as an isolated object instead of part of a continuous design.
For example:
- A letter
- Its outline
- Its fill
The software treats each one as a separate island.
This creates what experts call an “island problem,” where the machine:
- Stitches one part
- Stops
- Jumps or trims
- Starts again
This behavior leads to excessive trims and inefficient stitching.
It Results in Excessive Trims
Auto-digitizing often inserts unnecessary trim commands or fails to optimize them properly.
Each trim forces the machine to:
- Stop
- Cut
- Restart
This process slows production and increases the risk of thread issues. Excessive trims also come directly from poor sequencing and path planning.
Real User Problem (From Embroidery Community)
You’ll see this exact frustration in embroidery forums:
“Everything I design has an excessive number of thread cuts… I don’t know why it’s doing this.”
Reddit Embroidery thread Quote
Another experienced user explains:
”Jumps and trims. Folks do auto digitizing and wonder why they have so many trims…my goal is to have only trims on color changes. I use sequencing and traveling stitches to inter connect”
This shows the real issue is not the machine. It is how the file is created.
Key Takeaway
Auto-digitizing software creates more thread gaps because it lacks control over:
- Stitch sequence
- Pathing
- Connection logic
It produces files that may look correct on screen but stitch poorly in reality.
Professional digitizing fixes this by:
- Planning stitch flow
- Connecting elements intelligently
- Reducing unnecessary trims and jumps
That is why manually digitized files always produce cleaner, more efficient embroidery results.
6. How to Remove Messy Thread Gaps After Stitching

Once the design is stitched, visible thread gaps can make the embroidery look messy. You can clean them up manually, but this is a finishing step, not a real fix.
Use Small Sharp Scissors
Use fine embroidery scissors or thread snips to cut the loose stitches.
- Cut close to the fabric without damaging it
- Work slowly around detailed areas
- Avoid pulling the thread before cutting
This technique is the most common and reliable method.
Use Tweezers for Better Control
After cutting, use tweezers to pull out small thread pieces.
- Helps remove tiny leftover fibers
- Useful in tight areas like lettering
- Gives a cleaner finish
Use Thread Snips for Speed
For bulk work, thread snips help speed up trimming.
- Faster than standard scissors
- Good for removing multiple of them quickly
- Requires steady control to avoid cutting stitches
Why relying on manual trimming is not a good idea
You can remove messy stitches after stitching using scissors, tweezers, and careful cleanup.
However, this procedure should be the last step, not the main solution. The best results come from preventing this problem during digitizing, not fixing it afterward.
7. How to Handle Messy Thread Bridges in Different Situations
Not all messy thread jumps can be treated the same way. How you handle them depends mainly on one factor: color sequence. Understanding the color sequence helps you make better digitizing decisions and avoid unnecessary mistakes.
Same Color Elements
You can connect same-color elements seamlessly.
Since the machine uses the same thread, you can:
- Guide the stitch path from one element to another
- Use run stitches to create hidden connections
- Avoid trims and keep the machine running continuously
This allows you to:
- Reduce visible jumps
- Improve stitch flow
- Speed up production
A skilled digitizer plans these connections carefully so the machine moves smoothly without leaving visible threads.
For a clearer understanding, we also recommend watching this helpful video
It gives a practical perspective on how better digitizing can help minimize unnecessary jumps.
Different Color Elements
You cannot connect elements that use different thread colors.
The machine must:
- Stop
- Change needle/thread
- Restart stitching
Because of this, you cannot create a continuous stitch path between different colors.
Trying to force a connection:
- Disrupts the design sequence
- Creates poor results
- Confuses the machine workflow
What You Should Do Instead
When working with different colors:
- Accept that trims and stops are necessary
- Plan clean start and end points
- Position elements to minimize visible jumps
- Use proper sequencing to keep the design organized
Final Takeaway
Jump stitches are a natural part of machine embroidery, but you must control them properly to achieve clean results. They are necessary, but they should never be visible or unmanaged. Clean digitizing comes from planning, experience, and a clear understanding of machine behavior, while poor handling leads to messy, cheap-looking embroidery with excessive trims and inefficient stitching.
Trying to fix these issues after stitching only wastes time and creates inconsistent results. A properly digitized file controls stitch flow from the start, hides connections, and ensures smooth machine operation. Work with Absolute Digitizing and forget the stress of messy stitches. Get clean results, smooth production, and consistent quality every time.
FAQs
A jump stitch is the thread the machine carries from one part of a design to another without stitching into the fabric during that movement. It often appears as a loose thread between letters or design elements.
Yes, jump stitches are a normal part of machine embroidery. Machines need to move from one area of the design to another, and that movement can create jump stitches. They only become a problem when they are long, visible, or poorly managed.
A jump stitch moves across the fabric without needle penetration, which leaves a loose thread on top. A travel run stitch uses small actual stitches to connect elements, often under other layers, so it stays hidden.
Threads connect your letters because the machine is moving between them. If the digitized file does not include hidden connectors or proper pathing, the machine creates visible jump stitches between letters.
Jump stitches become a problem when they are longer than about 2mm, cross empty space, or sit on top of finished stitching. At that point, they make the embroidery look messy and unprofessional.
Yes, you can remove visible jump stitches after stitching with small sharp scissors, thread snips, or tweezers. This improves the appearance, but it does not fix the underlying digitizing problem.
Yes, you can reduce or control jump stitches during digitizing by improving stitch sequence, using hidden connectors, reducing spacing, and planning the design path carefully.
Yes, digitizers can often connect same-color elements seamlessly by using run stitches or hidden travel stitches under other layers. This helps keep the machine running without leaving visible threads.
No, different-color elements cannot be connected the same way because the machine must stop for a needle or thread change. That makes trims and restarts necessary.
Auto digitizing software usually treats each object separately and does not understand design flow the way a skilled digitizer does. This often leads to poor sequencing, unnecessary trims, and more visible jump stitches.
Professional digitizers reduce jump stitches by planning the path like a maze, keeping elements close together, using hidden connectors, controlling stitch direction, and optimizing the sequence before stitching starts.
It is always better to prevent visible jump stitches during digitizing. Prevention saves time, improves production speed, and gives the embroidery a cleaner, more professional finish.