
| Quick Summary |
|---|
An EPS file needs embroidery digitizing before a machine can stitch the design.
|
An EPS file may give you a sharp, clean logo, but your embroidery machine cannot stitch it as it is. EPS files store shapes and lines for printing and design. Embroidery machines need stitch commands, thread colors, and sewing order instead. That means you must turn the artwork into a stitch file before you can sew it.
However, changing the file extension will not do the job. Digitizing software must map out each stitch, set the right density, and add underlay to support the fabric. Poor settings can leave gaps, cause puckering, or waste thread. The goal is to keep your logo clear when it moves from screen to fabric.
In this guide, we’ll walk you through the conversion process, challenges, and the best ways to get a high-quality embroidery file from your EPS design. For a clean stitch file that keeps your logo’s details intact, choose reliable embroidery digitizing services that prepare your EPS artwork for smooth stitching on fabric. Let’s dive in!

Understanding EPS Files

What is an EPS File?
An EPS (Encapsulated PostScript) file is a vector-based graphic format commonly used in professional design and printing. Developed by Adobe, it stores high-resolution images, logos, and illustrations while maintaining scalability. Unlike raster images (such as JPEG or PNG), EPS files use mathematical equations to define shapes and lines, ensuring they remain sharp and clear at any size.
Common Uses of EPS in Vector Graphics, Printing, and Branding
EPS files are widely used in graphic design, printing, and branding due to their high-quality and flexibility. Some of the most common applications include:
- Logos & Branding – EPS files are perfect for logos, as they can be resized without losing quality, making them ideal for business cards, brochures, and billboards.
- Apparel & Merchandise Printing – Many printing companies require EPS files for custom T-shirts, promotional items, and signage.
- Graphic Design & Illustration – Professional designers use EPS for creating scalable icons, complex vector artwork, and marketing materials.
Why Designers Prefer EPS for Logos and Complex Artwork

Graphic designers favor EPS files for logos and intricate designs because they:
- Are Scalable—EPS files maintain quality at any size, from tiny labels to large banners.
- Support Transparency & Layers—Ideal for detailed edits and customizations.
- Are Compatible with Major Design Software—Can be opened and modified in Adobe Illustrator, CorelDRAW, and Affinity Designer.
However, while EPS files are excellent for design, embroidery machines cannot read them directly. Embroidery machines need stitch-based information, not vector paths. Therefore, you must convert EPS files into an embroidery format through a process called digitizing. This process prepares your design for embroidery by assigning the correct stitch types, densities, and underlays.
Why EPS Files Need Conversion for Embroidery

Differences Between Vector Graphics and Embroidery Files
EPS files are vector graphics, meaning they use mathematical curves and lines to create scalable designs without losing quality. These files are ideal for printing and digital design but do not contain the stitch data required for embroidery.
Embroidery files, on the other hand, are stitch-based. Instead of lines and shapes, they contain detailed stitch instructions, including:
- Stitch types (satin, fill, or running stitches)
- Stitch direction and density
- Thread colors and sequence
This data tells the embroidery machine exactly how to sew the design onto fabric. Unlike vector graphics, embroidery files need careful digitizing to ensure the stitches follow the design correctly and keep the fabric stable.
Why Direct Use of EPS Files in Embroidery Machines is Not Possible

Since embroidery machines cannot read vector graphics, directly using an EPS file is not possible. A vector image does not provide any guidance on:
- Stitch types – How each section should be stitched.
- Sewing sequence – The order in which stitches should be applied.
- Fabric adaptation – Adjustments needed to prevent distortion.
To make an EPS file embroidery-ready, it must go through digitizing, a process where expert digitizers manually assign stitches, adjust densities, and optimize the design for the best embroidery quality. Proper digitizing ensures that the final embroidered result is clean, precise, and professional-looking, closely matching the original vector design.
Steps to Convert EPS into an Embroidery File
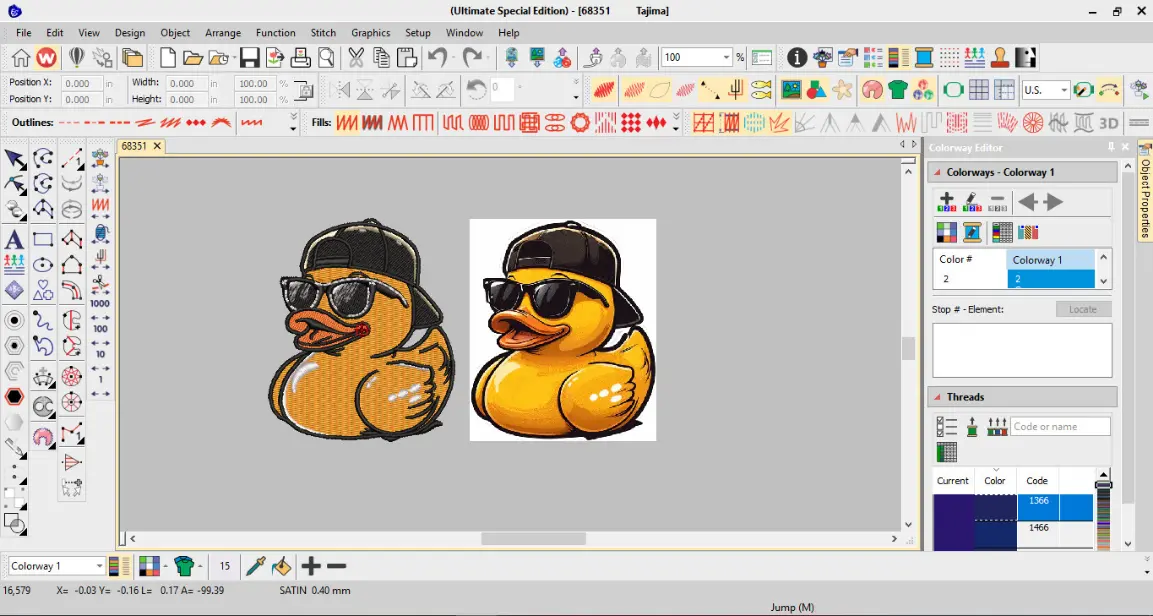
Converting an EPS file into an embroidery file requires a structured process to ensure a high-quality stitched design. Below are the key steps to successfully convert EPS graphics into a machine-readable embroidery format.
Step 1: Open the EPS File in Vector Software
Start by opening the EPS file in vector editing software such as Adobe Illustrator or CorelDRAW. In this step, you can inspect the design and check its format before conversion. Since EPS files use vector graphics, you can resize and adjust them without losing quality.
Step 2: Adjust and Simplify the Design for Embroidery
Embroidery machines have limitations when it comes to small details and fine lines. Simplify the design by:
- Removing tiny elements that may not translate well into stitches.
- Merging overlapping sections to avoid unnecessary complexity.
- Ensuring smooth outlines for clean embroidery results.
This step is crucial for achieving a professional-looking embroidered design without excessive thread trims or stitch distortions.
Step 3: Import the Design into Embroidery Digitizing Software

Once the design is optimized, import it into embroidery digitizing software like Wilcom Embroidery Studio, Hatch, or Brother PE-Design. These programs convert vector graphics into stitch-based embroidery files that machines can read.
Step 4: Digitize the Design by Assigning Stitch Types and Underlay
Digitizing is the most important step in the conversion process. It involves:
- Assigning stitch types (satin, fill, running stitches) based on the design elements.
- Adding underlay stitches to stabilize the fabric and enhance stitch quality.
- Defining stitch directions to maintain the natural flow of the design.
Proper digitizing ensures that the embroidery is precise, visually appealing, and durable.
Step 5: Adjust Thread Colors and Optimize for Machine Embroidery
After digitizing, assign thread colors that match the original design. Most digitizing software allows you to choose from various embroidery thread brands to ensure consistency. Additionally, adjust settings for:
- Thread density to prevent puckering or thread breaks.
- Stitch sequencing to optimize machine efficiency.
Step 6: Save in an Embroidery Format (DST, PES, EMB, etc.)
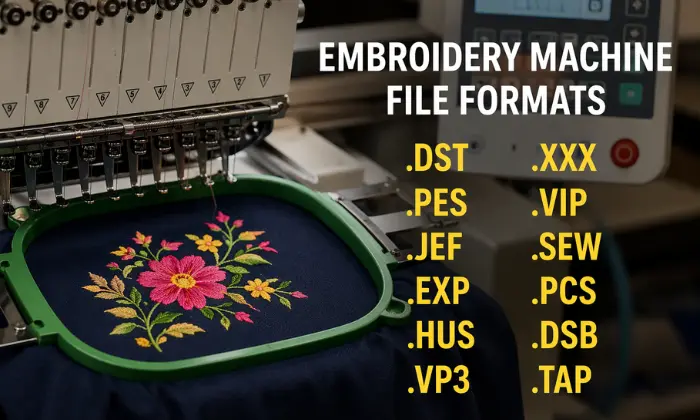
Finally, save the digitized design in a compatible embroidery file format. The format depends on the machine being used:
- DST (Tajima machines)
- PES (Brother machines)
- EXP (Melco machines)
- EMB (Wilcom editable format)
Once saved, the file is ready to be loaded into the embroidery machine for stitching. A test run is recommended to ensure the design looks perfect on the chosen fabric.
By following these steps, you can successfully convert an EPS file into a high-quality embroidery file that stitches smoothly and maintains design integrity.
Choosing the Right Digitizing Software for EPS Conversion

Selecting the right digitizing software is essential for accurately converting EPS files into embroidery formats. The software should provide precise stitch control, advanced editing capabilities, and compatibility with different embroidery machines. Below are some of the top options available.
Top Embroidery Digitizing Software
- Wilcom Embroidery Studio – A professional-grade software with advanced digitizing tools, automatic stitch generation, and vector compatibility. It is widely used by businesses and professional digitizers for high-quality embroidery designs.
- Hatch Embroidery Software – A powerful yet user-friendly software developed by Wilcom. It offers intuitive digitizing tools, auto-digitizing features, and extensive stitch customization, making it suitable for both beginners and experienced users.
- Ink/Stitch – A free, open-source embroidery digitizing plugin for Inkscape. While it lacks some advanced features, it is a good option for hobbyists and small-scale embroidery projects.
- Brother PE-Design – Designed for Brother embroidery machines, this software provides a range of digitizing tools from basic to advanced, making it a reliable choice for home users and small businesses working specifically with Brother machines.
Features to Look for When Selecting Software
When choosing digitizing software for EPS conversion, consider the following key features:
- EPS file compatibility – Ensure the software can import and process vector graphics accurately.
- Manual and auto-digitizing tools – Look for software that allows both automatic and manual stitch assignments for better precision.
- Stitch control and editing options – The ability to customize stitch types, densities, and underlays for optimal embroidery quality.
- Thread color management – A built-in library of embroidery thread brands for accurate color selection and matching.
- Format export options – Support for multiple embroidery file formats such as DST, PES, EXP, and EMB to ensure compatibility with different machines.
Choosing the right software ensures an efficient EPS to embroidery conversion process, resulting in high-quality, machine-ready designs.
Why Professional Digitizing Services Are the Best Option
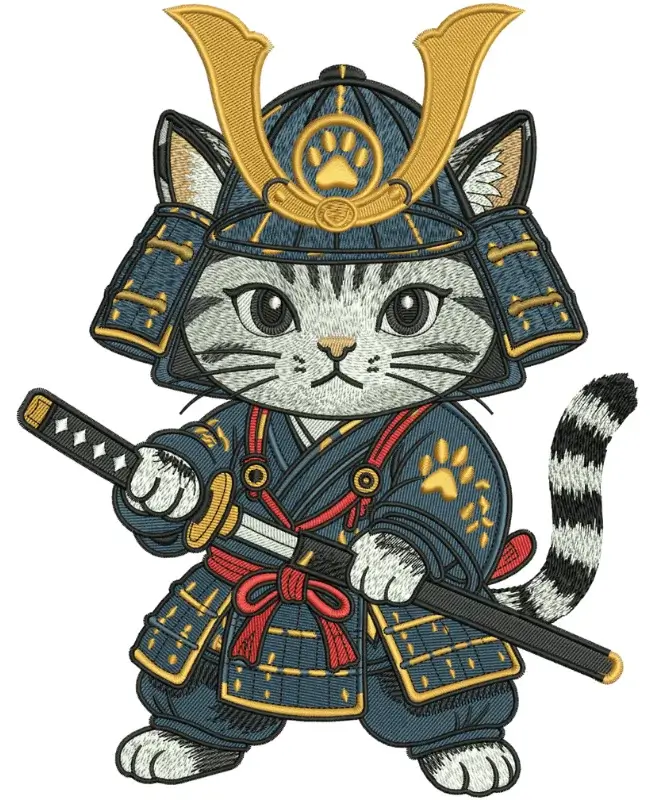
Converting an EPS file into an embroidery format requires precision, expertise, and an understanding of stitch techniques. While free digitizing software and auto-digitizing tools are available, they often fall short in delivering high-quality, machine-ready embroidery files.
Limitations of Free and Auto-Digitizing Software
Many free digitizing software options, such as Ink/Stitch, require a steep learning curve. Users must spend hours understanding stitch settings, underlays, densities, and sequencing to create an embroidery file that stitches smoothly. Even after investing time in learning, there is no guarantee that the output will be error-free.
Auto-digitizing, which automatically converts an image into stitches, may seem convenient but lacks precision and customization. It often results in poor stitch sequencing, excessive thread trims, and unnecessary jumps, making the embroidery unstable and inefficient. This can lead to thread breaks, distorted designs, and wasted materials, ultimately increasing costs rather than saving money.
Why Professional Digitizing is the Best Choice
Hiring a professional digitizing service ensures that designs are manually digitized with proper stitch types, densities, and fabric considerations. Expert digitizers ensure:
- Clean and optimized stitch paths for smooth embroidery.
- Proper underlays and densities to avoid fabric puckering.
- Accurate color sequencing to match the original design.
- Compatibility with all major embroidery machine formats.
Want to see what an embroidery expert thinks about our digitizing quality? Watch this independent review of Absolute Digitizing by Embroidery Legacy for a closer look at our embroidery digitizing services.
Absolute Digitizing – High-Quality Digitizing at Just $15
For those looking for cost-effective and high-quality embroidery digitizing, Absolute Digitizing offers professional services for just $15 per file. Customers benefit from:
- 24/7 support for instant assistance.
- Unlimited free edits to ensure complete satisfaction.
- Fast turnaround time of just 4 hours, perfect for urgent projects.
Rather than spending hours learning complex software or relying on low-quality auto-digitizing, professional services provide flawless results, saving both time and money while ensuring the best embroidery quality.
Conclusion
Converting an EPS file into an embroidery format is essential for ensuring that designs stitch correctly on fabric. Since embroidery machines require stitch-based files, simply using an EPS file won’t work. Proper digitizing ensures that the design is optimized with the right stitch types, densities, and sequencing for high-quality embroidery.
While free software and auto-digitizing tools may seem like an option, they often result in poor-quality embroidery, wasted materials, and unnecessary time spent on corrections. Choosing professional digitizing services guarantees precision, efficiency, and a design that runs smoothly on embroidery machines.
If you need an accurate, high-quality embroidery file, trust expert digitizers for the best results. Absolute Digitizing offers professional digitizing for just $15 per file, with unlimited free edits and a fast 4-hour turnaround.
Need to convert your EPS file? Get a high-quality embroidery file in just 4 hours! Order now!
Frequently Asked Questions
Yes. You can send an EPS file directly to an embroidery digitizer. You do not need to convert it to SVG first. However, the design still needs digitizing before an embroidery machine can stitch it.
Open the EPS artwork in compatible software, simplify small details, and digitize the design. Set stitch types, underlay, density, and sewing order. Then export it as a DST file and test the stitching.
Yes. You can use free tools like Inkscape with Ink/Stitch. Import your artwork, create the stitches, adjust the settings, and export a PES file for a compatible Brother embroidery machine.
No. Adobe Illustrator can edit EPS artwork, but it cannot create machine-ready embroidery stitches by itself. You need embroidery digitizing software, such as Wilcom, Hatch, or Ink/Stitch, to create a stitch file.
Small letters and thin lines may not stitch clearly at the chosen size. Thread thickness, stitch density, and fabric movement can affect the results. Simplify tiny details, adjust stitch settings, and test the design before production.