

| Summary |
|---|
Clear embroidery pictures need good lighting, careful setup, and natural editing.
|
Your embroidery may look sharp in person but dull or blurry in photos. Harsh light can hide fine stitches, while poor camera settings can change thread colors. As a result, shoppers may miss the details that make your work special.
For a small embroidery business, this feels frustrating, especially when you only have a smartphone. However, you don’t need a costly camera or studio to take better pictures at home.
Simple lighting, clean backgrounds, camera angles, and light editing can make a big difference. Before your next photo shoot, give your designs a strong start with precision-crafted embroidery digitizing for clean, photo-ready stitches.
- Quick Answer: How Do You Take Good Embroidery Product Photos?
- A Simple Photography Setup for Embroidery Products
- How to Photograph Embroidered Products Step by Step
- Best Photography Angles for Different Embroidered Products
- How to Capture Thread Texture, Stitch Details, and True Colors
- Editing Embroidery Photos With Canva, Lightroom, and AI
- Product Photos for Etsy, Shopify, and Social Media
- Common Embroidery Photography Mistakes to Avoid
- Why Real Embroidery Photos Matter More Than Digital Mockups
Quick Answer: How Do You Take Good Embroidery Product Photos?
Clear embroidery pictures start with a clean item, soft light, and a steady smartphone. Show the whole product and its stitch details so shoppers can judge the color, texture, and finish.
Simple Steps for Better Photos
- Prepare the item. Remove lint, smooth wrinkles, and trim loose threads.
- Use soft light. Shoot near a window and avoid harsh direct sunlight.
- Keep backgrounds simple. Choose a clean surface that contrasts with the fabric.
- Capture the details. Take one full view and close-ups of stitches and lettering.
- Edit lightly. Adjust brightness and color without changing how the product looks.
Before posting, zoom in to make sure the stitching looks sharp.
A Simple Photography Setup for Embroidery Products
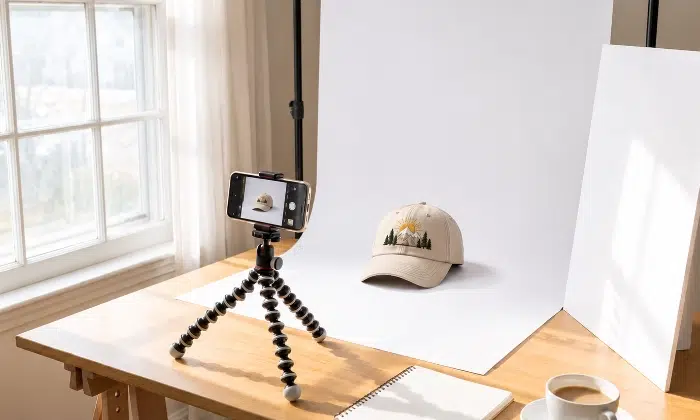
You don’t need a studio to photograph embroidered products. Start near a window.
What Equipment Do You Really Need?
Keep this basic kit ready:
- Smartphone: Use the main camera for clear shots.
- Tripod or stand: Hold your phone steady.
- Neutral backdrop: Choose plain paper or smooth fabric.
- White foam board: Reflect light into shadows.
A costly DSLR is optional. Good light matters more than expensive gear.
Best Lighting and Background Setup
Place the product beside a window. Filter strong sun with a sheer curtain to soften shadows. Set white foam board opposite the window to brighten the shaded side.
However, turn off indoor bulbs. Mixing warm room lights with daylight can change thread colors. Choose a background that contrasts with the item. Dark hats show up better against pale surfaces, while white garments need a darker backdrop.
For a quick DIY setup, spread plain poster board over a table, place a pressed shirt on top, and use window light from one side.
How to Photograph Embroidered Products Step by Step
You can get clear, consistent pictures with a phone and a simple home setup. Follow these steps to show both the finished item and its stitching.
Six Steps for Better Product Pictures
- Prepare the item. Use a lint roller to remove dust and stray fibers. Trim loose threads without cutting stitches. Smooth wrinkles with an iron or steamer when the care label allows it. Shape caps before shooting.
- Set the scene. Place the item on a plain surface with enough space around it. Use soft window light or a diffused lamp. Move a white board closer if one side looks too dark.
- Set your phone. Wipe the lens with a clean cloth. Use the main camera, tap the stitched area to focus, and lower exposure slightly if bright thread looks washed out. Keep the phone still.
- Change your angle. Shoot straight on to show placement. Add a slight side angle to reveal raised threads. Move your phone closer for detail shots instead of relying on heavy digital zoom.
- Show the full product. Take one overall shot, one close-up, and one photo showing its size or how someone wears it. Keep colors and lighting consistent across the set.
- Check before you finish. Zoom in to spot blur, cut-off edges, odd shadows, or wrong thread colors. Retake weak shots while everything stays in place.
For busy order days, photograph similar items in batches. Keep your lighting and phone position the same to save setup time.
Want to see these photography tips in action? Watch this simple and helpful smartphone tutorial for practical ways to improve lighting, angles, and product pictures without expensive equipment.
Best Photography Angles for Different Embroidered Products
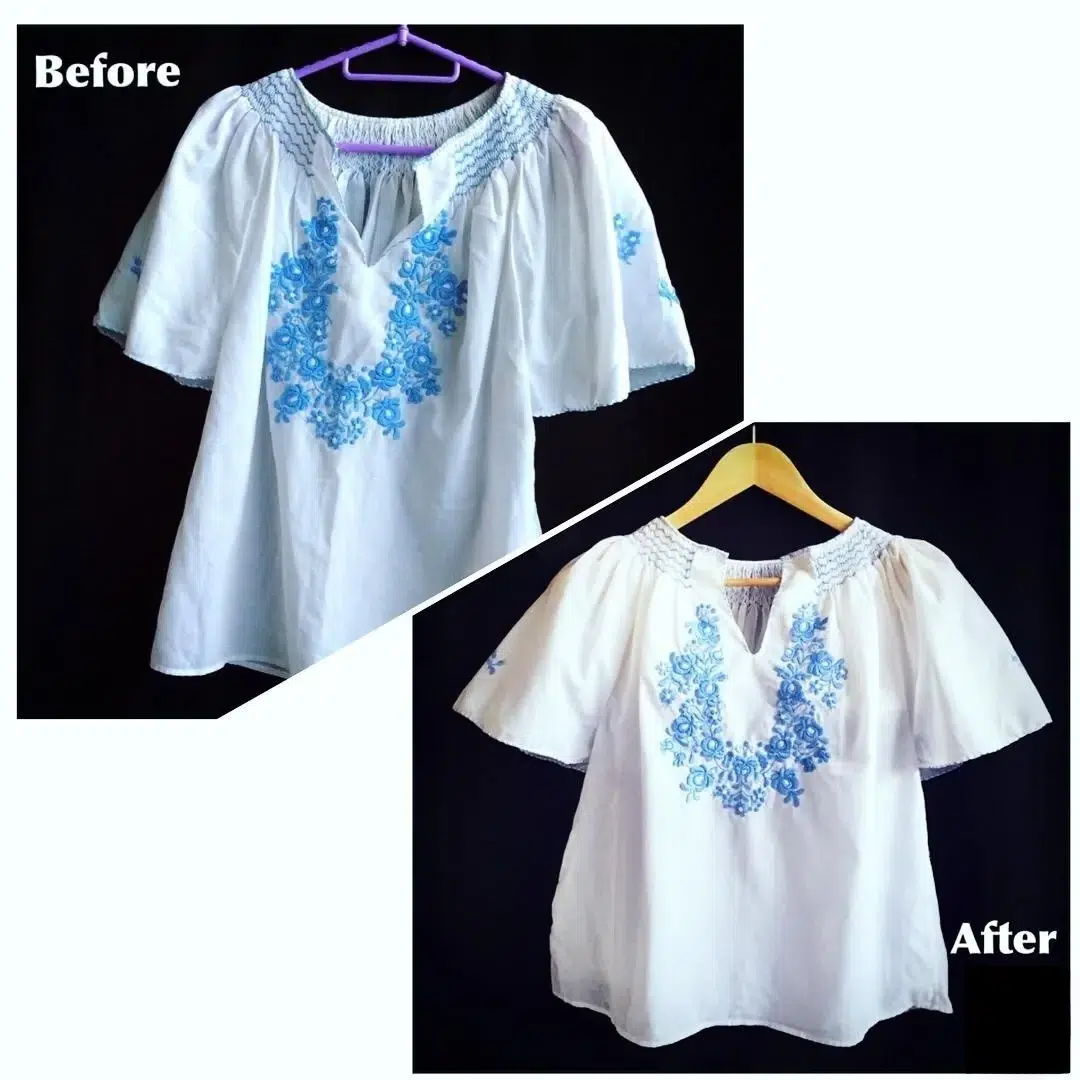
Different items need different angles. The goal is to show where the design sits, how the stitches look, and what the buyer will receive.
Embroidered Shirts, T-Shirts, and Polos
For flat lays, spread the shirt on a clean surface and smooth the shoulders and collar. Keep your phone directly above the garment so the logo does not look tilted.
For left-chest embroidery, take one full-shirt photo and another closer view. Arrange the fabric naturally around the logo. Do not pull it tight, since stretching can change the design’s shape.
A mannequin shows how a polo hangs. A model adds real-life scale, but keep the logo clear and avoid arms or hair covering it.
Embroidered Hats and Caps
Caps need shape and support. Stuff the crown lightly with clean tissue or use a cap stand. This prevents the front panel from folding inward.
Take a straight-on photo at the same height as the logo. Then turn the cap about 45 degrees to show the curve, side details, and stitch height. Keep your camera level and step back a little to reduce wide-angle distortion.
For 3D puff designs, add a close-up from a slight side angle so buyers can see the raised stitching.
Embroidered Patches and Baby Clothing
Lay patches flat and photograph the front, edge stitching, and back. Show the backing type clearly, whether it is sew-on, iron-on, or hook-and-loop. Add a ruler beside one photo for size, but keep it out of your main image.
For baby clothes, use a smooth blanket or plain background with a small, simple prop. Take a full-garment shot to show embroidery placement, then a closer photo of the stitching. Avoid props that hide the design.
How to Capture Thread Texture, Stitch Details, and True Colors
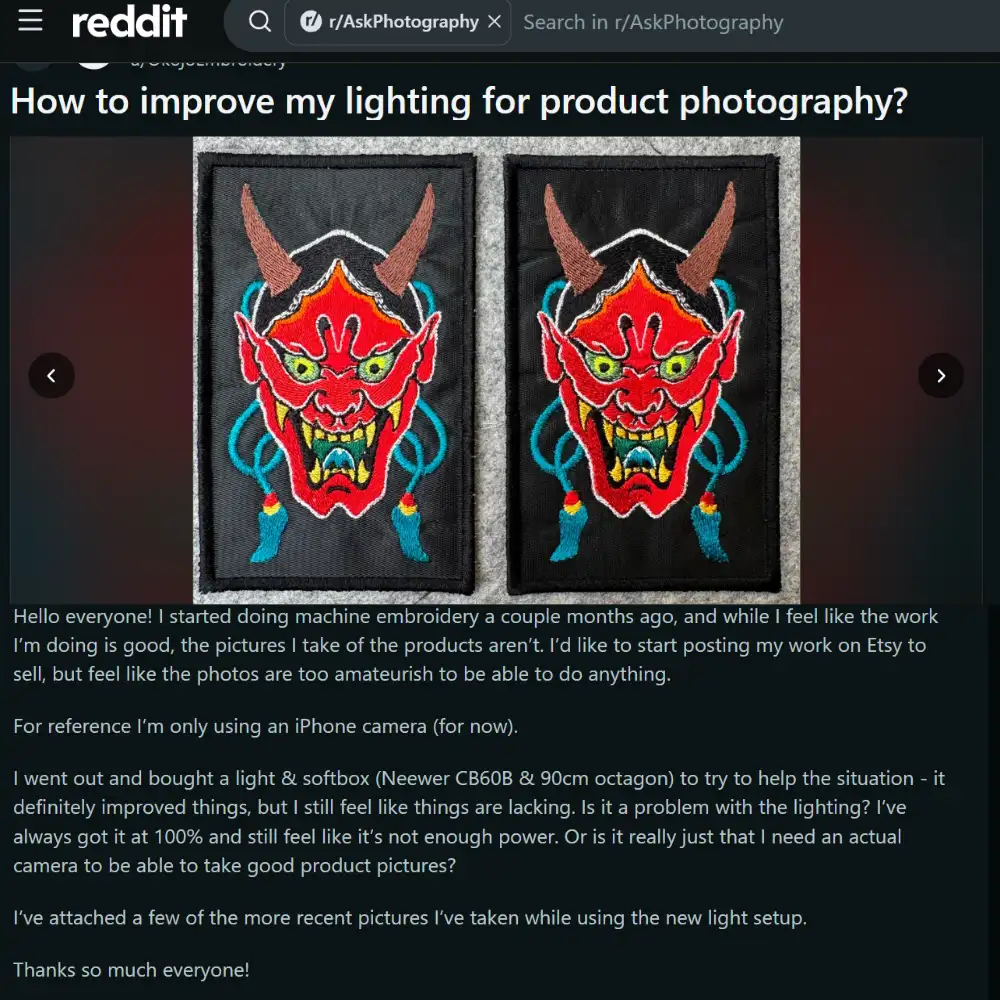
Even with better lighting equipment, getting sharp, attractive embroidery pictures can be difficult. One Reddit user shared this exact struggle while photographing embroidered patches for Etsy using an iPhone and a softbox.
A digital preview cannot show how thread catches light or rises above fabric. Close-up photos show real stitches and details shoppers may want to check.
Show the Depth of Each Stitch
Place soft light slightly to one side of the design. Gentle shadows reveal satin stitches, raised 3D puff, and patch borders without hiding details.
Try your phone’s macro mode for small lettering and tight stitch areas. Hold it steady and tap to focus. If the image looks soft or distorted, move back and crop a sharp photo instead.
Keep Thread Colors True
Shiny thread can reflect strong light and look pale or washed out. Move the light or turn the item slightly until the glare fades. Avoid using flash straight on.
Before editing, compare the picture with the actual embroidery under neutral daylight. Adjust white balance and brightness gently. Avoid filters that change the thread shade or hide stitch texture.
Editing Embroidery Photos With Canva, Lightroom, and AI
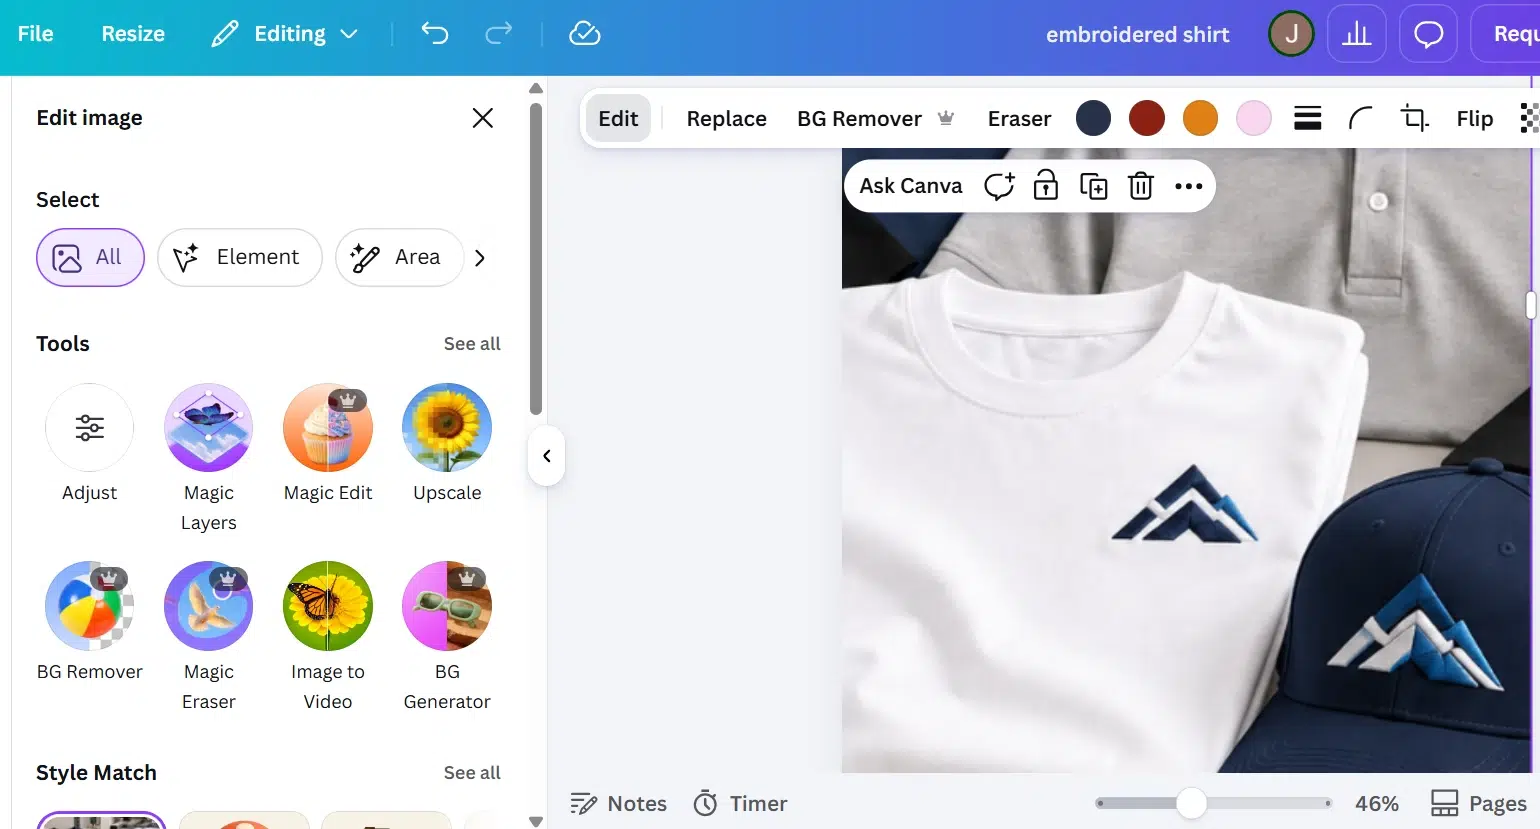
Make your embroidery look clear without changing the real item. Start with simple edits.
Basic Photo Editing
Crop extra space without hiding the product. Straighten tilted photos and adjust brightness as needed.
In Lightroom, adjust white balance so white fabric looks white and thread colors stay true. Lower highlights if shiny stitches look too bright. Add a little sharpening to bring out edges without making threads look rough.
However, sharpening cannot repair a photo that was out of focus. Retake it instead.
Background Removal and AI Editing
Canva’s Background Remover can cut a shirt, hat, or patch away from a messy backdrop. Its editor tool is generally part of paid plans. Check the edges carefully, especially around fine stitching and fabric.
Lightroom’s Remove tools clear background distractions. AI cleanup works best for dust or objects around the product, not for changing the embroidery itself.
For online listings, keep the shape, stitch pattern, thread shade, and fabric texture true to life. Compare every edited photo with the original before posting.
Product Photos for Etsy, Shopify, and Social Media

A photo that works on Etsy may not work in a social ad. Product listings should answer buying questions. Social posts should catch attention and show how the item looks in use.
Choose Photos for Each Platform
| Platform | Best Photo Approach |
|---|---|
| Etsy | Start with a clear full-item photo. Add stitch close-ups, size views, and an unedited photo of the real item. |
| Shopify | Use the same background, angles, and image shape across similar products. Show front, back, and logo details. |
| Instagram and Facebook | Use lifestyle shots, sharp close-ups, and vertical crops that keep the design in view. |
Use the Right Image Size
Etsy recommends listing images at least 2,000 pixels wide and tall. Keep the full item in the frame, with space for thumbnail cropping. Shopify says 2,048 by 2,048 pixels works well for square product photos. Save a high-quality original before making smaller versions for social media.
Make Images Easy to Find
On your website, replace names like IMG1234.jpg with short, clear filenames, such as navy-polo-embroidered-logo.jpg. Write alt text that describes what the photo shows, like “Navy polo with white left-chest embroidered logo.” Avoid packing it with keywords.
Finally, check every image on a phone. Buyers should see the product and stitching without zooming or guessing.
Common Embroidery Photography Mistakes to Avoid
Even a well-stitched design can look poor when photo mistakes hide its details. Check these common problems before posting.
Quick Fixes for Better Shots
- Harsh flash: Direct flash can wash out shiny threads. Move near a window and use soft light.
- Wrinkled fabric: Creases distract from the design. Smooth shirts and support cap crowns to hold their shape.
- Busy backgrounds: Patterns and props pull attention away. Pick a plain surface that contrasts with the item.
- Blurry close-ups: Heavy digital zoom reduces detail. Move closer, tap to focus, and keep your phone steady.
- Strong filters: Color effects can change thread shades. Use light edits and compare colors with the real item.
- Tight crops: Cutting off part of a logo hides placement. Include a full-product view alongside details.
Why Real Embroidery Photos Matter More Than Digital Mockups
Digital mockups are useful for showing a design idea before stitching. However, they cannot prove how finished embroidery looks on real fabric.
A photo of a stitched sample shows the thread’s shine, raised texture, and clean edges. It also shows where the logo sits and how the garment fits or folds. These details help buyers know what to expect.
Use mockups for early previews, but share real product photos when selling finished items. Keep colors, size, and placement accurate so your images match what customers receive.
Final Thoughts
Great embroidery deserves photos that show its true quality. You don’t need an expensive camera to capture sharp stitching, rich thread colors, and clean details. Soft lighting, simple backgrounds, steady angles, and light editing can make your products look more professional.
Also, keep practicing with different items and angles. A clear photo shows more than appearance. It reveals how well your design stitches on fabric. That’s why proper digitizing matters just as much as good photography.
Ready to make your embroidery stand out? Bring your designs to life with Digitizing Buddy’s custom embroidery digitizing. Contact us today for a free quote and give your next project a great start!
Frequently Asked Questions
Yes. Use your iPhone’s main camera, soft window light, and a steady stand. Tap the stitched area to focus and avoid heavy digital zoom.
Mixed lighting, camera white balance, and strong reflections can change thread colors. Use natural daylight and adjust white balance to match the actual product.
Use soft side lighting and a light-colored background. Keep the garment smooth and adjust exposure carefully so dark fabric retains its details.
Use your phone’s macro mode if available. Keep the camera steady, tap the letters to focus, and use soft light to show fine stitches.
Yes, but Etsy requires at least one unedited photo of the actual item for most physical listings. AI-edited images must accurately show what buyers will receive.