| Artwork must be changed into stitch data before an embroidery machine can sew it. Clean art, simple shapes, and smart settings help designs sew well on fabric.
|
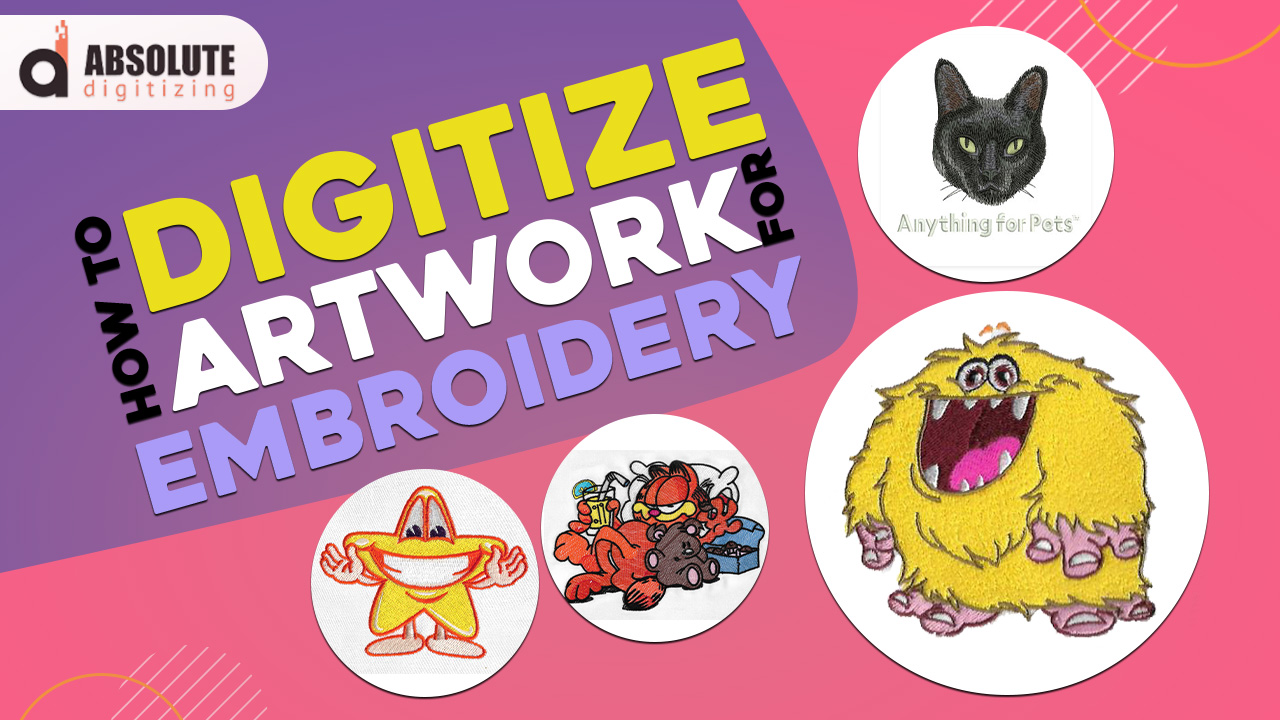
Digitizing artwork for embroidery means turning your image, logo, or sketch into a stitch file your embroidery machine can read. This step does more than copy the art. It plans every stitch, sets the stitch direction, and helps the design sew well on fabric. When you digitize artwork for embroidery, every stitch must be planned carefully. Without proper digitizing, even outstanding artwork can come out messy, uneven, or difficult to read.
So, this guide will walk you through the basics in a simple way. You will learn how the digitizing process works, why it matters, and how to start with your artwork. You will also see how to turn a photo into an embroidery design, choose the right file format, and avoid common mistakes that waste time and thread.
Finally, keep in mind that great embroidery starts with smart planning. You do not need to be an expert on day one. You just need the right steps and practice.
If you want clean, machine-ready results without the stress, Absolute Digitizing provides trusted embroidery digitizing services.
- Why Does Embroidery Digitizing Exist, and What Purpose Does It Serve?
- What Is the Process of Embroidery Digitizing?
- How Can You Get Started With Digitizing Your Artwork for Embroidery?
- How Can You Turn a Photo Into an Embroidery Design?
- What Are the Primary Steps to Becoming an Expert Embroidery Digitizer?
- What Are Useful Tips for Converting Your Favorite Artwork Into Embroidery Designs?
- Manual Digitizing vs Auto Digitizing: Which Is Better?
- Final Thoughts: Start Simple and Keep Improving
- FAQs
Why Does Embroidery Digitizing Exist, and What Purpose Does It Serve?

Embroidery digitizing exists because embroidery machines cannot read regular artwork on their own. A logo, sketch, or photo must be turned into stitch instructions first. This is why you need to digitize artwork before stitching.
In simple words, digitizing tells the machine what to stitch, where to stitch, and in what order. As a result, the design looks clean and stays clear on the fabric. This helps both hobbyists and businesses avoid messy stitching, broken details, and wasted materials.
What digitizing solves
- It turns custom artwork into machine-ready designs
- It improves accuracy and saves production time
- It makes repeat orders easier and more consistent
At the same time, digitizing provides more creative freedom than manual embroidery. It helps users create logos, names, patches, and detailed designs with better speed and control.
That matters for uniforms, hats, bags, and merchandise. Clean embroidery looks professional, builds trust, and helps a brand stand out. So, digitizing is not just helpful. It is the step that makes modern embroidery possible.
What Is the Process of Embroidery Digitizing?
Embroidery digitizing converts artwork into a stitch file compatible with embroidery machines. The process of embroidery digitizing is simple in theory, but each step matters. Good settings help the design sew cleanly, stay sharp, and fit the fabric perfectly.
Step 1: Start with the right artwork
Begin with clean, high-quality artwork. Clean input makes it easier to digitize accurately. Use simple shapes, clear lines, and solid colors. Furthermore, avoid blurry images or designs with too many tiny details.
Step 2: Decide the final size of the design
Size affects every part of the file. A cap logo, a left chest logo, and a jacket back design all require different planning. Therefore, choose the final size before you digitize.
Step 3: Break the artwork into stitchable parts
Now divide the design into parts like text, outlines, fills, and small details. Each part may need a different stitch style.
Quick view
- Clean art gives cleaner stitches
- The correct size prevents detail loss
- Smart planning saves time
Step 4: Choose stitch types
Use the stitch type that fits each part of the design.
| Stitch type | Best use |
|---|---|
| Satin | Text, borders, narrow shapes |
| Fill | Large areas |
| Running | Fine lines and detail |
Step 5: Set stitch direction and sequence
Stitch direction means the way stitches lie on the fabric. Stitch order also matters. A smart sequence keeps the design neat and helps the machine run better.
Step 6: Add underlay and pull compensation
Underlay is the base stitching under the top stitches. It supports the design. Pull compensation adds some extra width because fabric can shift while stitching.
Step 7: Test the design
Then run a test stitch out. Most designs need small fixes after the first sample.
Step 8: Export in the correct machine file format
Finally, save the file in the format your machine uses. That last step makes the design ready to stitch.
Quick Overview
- Start with clean artwork
- Set the final design size
- Break the design into parts
- Choose the right stitch types
- Set stitch direction and order
- Add underlay and pull compensation
- Test the design on fabric
- Export the correct machine file
These steps help you digitize in a structured way.
How Can You Get Started With Digitizing Your Artwork for Embroidery?

Starting your embroidery digitizing journey is easier when you keep things simple. You do not need to master every tool on day one. You need the right setup, a clear process, and room to practice.
Pick beginner-friendly embroidery digitizing software
Choose software that lets you import artwork, trace shapes, edit stitches, and export machine files. You need the right tools to efficiently digitize artwork for embroidery. Many beginner-friendly programs also support auto-digitizing, manual editing, and common machine formats such as DST, PES, JEF, EXP, HUS, and VP3. That matters because your final file must match your machine.
Learn the three basic stitch types first
Start by learning the three stitch types you will use most often. These stitches build the base of many embroidery designs. Once you understand them, the rest of the process feels much easier.
Stitch types to know
- Satin stitch works best for letters, borders, and narrow shapes
- Fill stitch works best for large areas and solid parts of a design
- Running stitch works best for fine outlines and small details
As you practice, focus on when to use each one. That will help you create cleaner files and better stitch-outs. It will also make spacing, stitch direction, and design flow easier to understand.
Start with simple designs
Keep your early projects easy to manage. Good practice designs include letters, monograms, one-color logos, and basic shapes. Simple designs help you learn to digitize embroidery faster.
Good beginner choices
- Block letters
- Name patches
- Simple badge shapes
- One-color business logos
Because these designs have fewer parts, they are easier to test and fix.
Practice on stable fabrics
Use stable fabrics while learning. Cotton twill, denim, canvas, and firm poly blends are good choices. These fabrics stay in place better in the hoop.
On the other hand, stretchy knits, fleece, and slippery fabric can shift during stitching. That makes it harder to judge if the problem was your digitizing or the fabric.
Learn by stitching out your mistakes
A test stitch teaches more than the screen alone. It shows where stitches bunch up, where lines look thin, and where the design pulls out of shape.
So, expect small mistakes. That is normal. Every test helps you improve stitch spacing, density, and sequence.
Build a simple beginner workflow
Use one clear routine every time. That helps you stay organized and avoid missed steps.
Simple workflow
- Choose artwork
- Clean it up
- Import and digitize
- Test stitch
- Fix the file
- Save the final version
Know the basic tools you need
You need more than software alone. You also need an embroidery machine, stabilizer, thread, needles, and clean artwork. Many current digitizing programs also include learning libraries and guided lessons, which can help beginners build skills faster.
As you improve, focus on simple art, clean stitch-outs, and steady practice. That is the best way to build real skill. And if you want quick, clean, machine-ready files without the learning curve, Absolute Digitizing can help you get there.
How Can You Turn a Photo Into an Embroidery Design?

You can turn a photo into embroidery, but it must be easy to read. The best results come from a clear subject, good lighting, strong contrast, and a simple background. Current Wilcom guides also recommend crisp images, cropping, and basic image cleanup before digitizing.
Choose the right kind of photo
Pick a photo where the main subject stands out. Pet portraits, simple face silhouettes, memorial art, and small gift designs often work well. Brother also notes that contrast matters a lot, especially with dark pets or low-contrast images.
| Photo feature | Why it helps |
|---|---|
| Clear subject | Makes the design easier to trace |
| Good lighting | Shows shapes and edges better |
| Strong contrast | Helps software separate light and dark areas |
| Simple background | Reduces cleanup time |
Simplify the photo before digitizing
Then clean the image before you digitize it. Remove the background, reduce the number of colors, and sharpen the main shapes. The recommended approach is to crop, adjust brightness and contrast, and prepare the image before using auto-tools.
Best photo choices
- Pet portraits with clean edges
- Faces with side view shapes
- Memorial patches with one main subject
- Small custom gifts with simple color blocks
Two ways to turn a photo into embroidery
Auto digitizing gives you a fast starting point. Many current programs can reduce colors and create a basic design quickly. Still, manual digitizing gives you more control over stitch direction, detail, and cleanup. Simple, clean artwork works best for auto tools, while photos often require PhotoStitch-style tools or extra editing.
Common problems when converting photos
Too much detail can cause muddy stitching. Too many thread colors can also make the result look busy. More colors do not always mean a better design, and larger sizes often keep more detail than minimal hoops.
What Are the Primary Steps to Becoming an Expert Embroidery Digitizer?
Becoming an expert embroidery digitizer takes time, practice, and patience. It is not only about using software. It is also about understanding how stitches, fabric, thread, and machines work together.
Technical Knowledge of Digitizing Embroidery
Start by learning the core skills. You need to understand stitch types, stitch direction, underlay, density, and pull compensation. These settings affect how the design looks after it is stitched, not just on the screen.
Information of Materials and Equipment
You also need to learn about materials. Fabric type, thread quality, needles, stabilizer, and hooping all change the final result. A design that works on denim may not work the same on a stretchy shirt.
| Skill area | Why it matters |
|---|---|
| Stitch control | Keeps designs neat |
| Material knowledge | Helps design sew better |
| Software practice | Improves speed and accuracy |
| Sample review | Shows what needs fixing |
Proper Understanding of Embroidery Digitizing Software
Then learn your software well. Know how to create shapes, assign stitches, adjust settings, and export files correctly. The better you know your tools, the faster and cleaner your work becomes.
Study great stitch-outs
Compare good stitch-outs with poor ones. Look at edges, text, spacing, and smoothness. This helps you spot mistakes and improve faster.
Expert habits to build
- Practice with real projects
- Review every test stitch
- Keep notes on your settings
- Ask for feedback from skilled digitizers
Build speed without losing quality
As your skills grow, work on speed. Still, never rush quality. A true expert creates clean, clear, and repeatable designs. Most importantly, develop an eye for simplification. Expert digitizers know what to leave out, not just what to add.
What Are Useful Tips for Converting Your Favorite Artwork Into Embroidery Designs?
Start by making the design bold and easy to read. This approach helps you digitize more effectively.
Also, reduce the number of colors early. Fewer colors usually create a cleaner result and make production easier to manage. Auto-digitizing tools can trace color blocks and basic shapes, but they still work best when the artwork is simple and clear.
Then look closely at lines and text. Very thin lines may break up or disappear in the thread. Small text also causes trouble for beginners, so make letters larger than they look on screen. If a design has too many tiny parts, remove some detail and keep only the shapes that matter most. That usually gives you a stronger final stitch out.
Use this simple guide while editing your artwork.
| Artwork issue | Better choice |
|---|---|
| Tiny details | Use larger shapes |
| Too many colors | Limit the palette |
| Thin lines | Thicken or simplify them |
| Small text | Increase letter size |
Also, match the design to the fabric. A cap, hoodie, towel, or T-shirt can all be stitched differently. Stretchy, textured, or thin fabrics often require different stabilizers, tension settings, or stitch choices. So, test on the real product, or at least on a very similar fabric, before you run the final job.
Quick tips to remember
- Clean up the artwork before digitizing
- Do not rely only on auto-tools
- Test stitch before final production
- Save notes on fabric, thread, needles, and stabilizers
Finally, keep a small library of settings that worked well. This helps you repeat positive results with fewer trials and errors.
Manual Digitizing vs Auto Digitizing: Which Is Better?
Manual digitizing and auto digitizing both help turn artwork into embroidery files. Still, they work in different ways. Auto-digitizing uses software to create stitches fast. It works well for simple logos, basic shapes, and large text. So, it gives beginners a quick starting point.
Manual digitizing takes more skill and more time. However, it gives you better control over stitch type, stitch direction, density, and detail. It gives better control when you digitize artwork in detail. That usually leads to cleaner lettering, smoother fills, and a more polished result.
| Method | Best use |
|---|---|
| Auto-digitizing | Simple artwork and quick setup |
| Manual digitizing | Custom designs and detailed work |
Best use cases
- Use auto-digitizing for simple logos
- Use manual digitizing for custom artwork
- Edit auto files by hand for better results
For most readers, the best choice is both. Start with auto-digitizing to save time. Then use manual editing to clean up the file and improve the final stitch-out.
Final Thoughts: Start Simple and Keep Improving
Embroidery digitizing gets better with practice. You do not need to know everything at once. Start with simple artwork, learn basic stitch types, choose the right file format, and test each design before final use. As you keep working, you will understand fabric, thread, and stitch settings much better. Small fixes after each stitch-out lead to strong results over time.
Most of all, be patient with yourself. No one becomes an expert overnight. Keep learning, keep testing, and keep improving. And if you want clean, reliable, and machine-ready results, contact Absolute Digitizing for expert help with your embroidery designs.
FAQs
Can I digitize a logo by myself?
Yes, you can digitize a simple logo by yourself if you use digitizing software and start with clean artwork. Simple logos with solid shapes and larger text are much easier for beginners than detailed artwork.
Can I turn a JPG into an embroidery file?
Yes, but not directly. A JPG is only an image file. It must be imported into digitizing software, turned into stitches, and then saved in a machine format your embroidery machine can read.
Is DST better than PES?
Neither one is always better. The right choice depends on your machine. Some machines accept PES, PHC, and DST, while many programs can export both DST and PES. Therefore, use the format your machine supports best.
How long does it take to learn embroidery digitizing?
It depends on how often you practice. Most beginners can learn the basics by working on simple designs, testing stitch-outs, and fixing mistakes. Real skill grows over time with steady practice.