
If you are doing the embroidery for a very short time, then you might have learned some tricks through practice and error. We get experiences all the time while doing a certain work even after years of experience. The same is the condition when you open the digitizing software. During the work, you might be thinking about how to design the item, how to hoop the item to place it on a machine, and more things like this. Things are complicated and need proper attention for the digitizing process.
For expert digitizing services, get in touch with Absolute Digitizing to get satisfactory results. The skillful crew will provide you exceptional work maintaining high-quality standards. We are working with an aim to provide best services at an affordable price tag.
In this blog, we will be sharing some of the tips and tricks that will help you to improve the embroidery. Let’s get started:
1-Bobbins
According to experts, the bobbin is a thing to be seen but not touched. One bobbin control one head along with all the needles on that head. However, if you get one needle stitching, then you should move to the next needle for adjusting the top thread tension. Furthermore, if you are changing the bobbin tension, then the first needle will not function properly. Due to this situation, you will have to go back and forth changing the bobbin for every needle. You just need to set the bobbin and leave it alone. The primary reason to set the bobbin and top correct right is to stitch the quality design. In this situation, one portion will not be tight as compared to the rest and you can easily lay your embroidery on the garment.
The next essential thing about bobbin is the cardboard covers present on the outside of bobbin. The other is how it can separate causing bobbin thread and even top thread to break. You only need to remove the side that is having separation and continue stitching. Additionally, if you are planning to remove both sides, then you can do it as both will work fine.
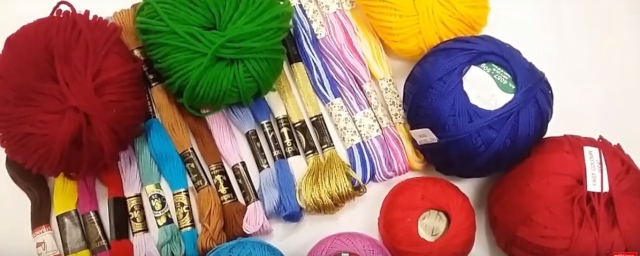
2-Thread Usage
Working with a different kind of thread gives rise to stitching problems. The reason behind this is known as “the wind” of the thread onto the cone. This character is different depending on each manufacturer and this causes the thread to come off the cone at variable speeds. When you will be using different types of thread, then you have to adjust the top tension to slow the thread and allow it to come off the cone faster.
Don’t use different thread because every thread is having its own washing instruction. For instance, if you mix the polyester and cotton, then there will be a distortion in design after watching it. However, to mix the different types of thread, go for metallic threads. You can use them in design having different thread types.
3-Picking out Stitches
Sometimes due to the unfavorable situation, we have to remove the stitches from the embroidery. One of the best ways to do this is to remove the stitches from the end of the design and go backward. If you are doing a name start by cutting the end of tie-knot and from the back side of the item, then you should use a pair of trimming scissors. You need to cut right down the center of the bobbin thread. Keeping this all in view, it is very significant to take the time to ensure that all your needles are stitching at the same time so that all of the thread on back is showing three equal parts.
First, it will be the top thread, the second will be bobbin thread, and third will be the thread. After you will cut the small section of the design, you should turn the item over to the tight side. You should use the tweezers to gently pull out the thread. Once you are done with this section, then clip more of the back side and remove the top. You should continue the work until you remove the design. The secret for doing this step is to use soft hands, you should not pull hard because this will form a hole on the item. You need a lot of patience and time to complete the work.
For heavily stitched embroidery, you will need a stitch eraser. There are different kinds of stitch erasers, you must do some research to get the best according to your need. It resembles with a shaving razor but actually, it is not. If you will use shaving razor to cut the stitches, then holes will appear on the fabric.
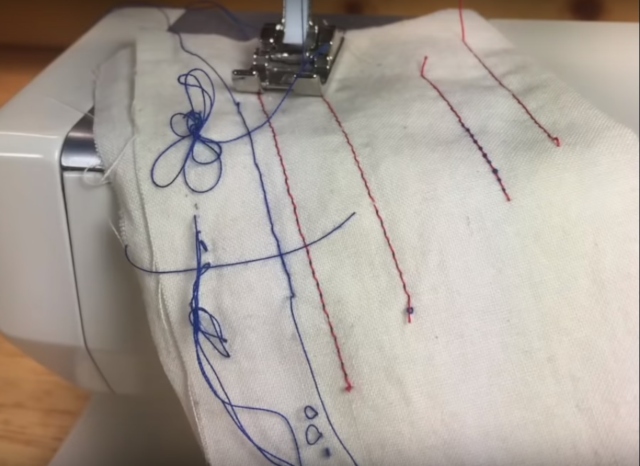
4-Thread Loops
If you get a loop of thread in your design, then don’t just cut it. Doing so will cause the stitching to come out. You should turn your garment side and with fingernail pull back at the point of the loop and after few pulls the loop will be removed.
5-Hoop Ring Shadows
To get rid of the hoop shadows after removing it from the garment, you should spray them with magic sizing. You can find this spray in the laundry section of a grocery store. Remember that you should not use spray starch. Most of the time people use a spray bottle with water but this will give rise to mold when water is not dried after packing the item in the box. The magic sizing will dry fast and you need to apply a mist, no need to soak the fabric.
6-Spray Adhesive
Never use the spray adhesive near your embroidery design. The reason is it will fly to other places. When the spray is done, if any particle goes into your machine, then this will cause problems for you. To spray the backs of your applique pieces, you should make a spray box to contain the spray. To make the box, you should use a large cardboard box. You should use a large piece of the boxes to place the appliques pieces and place them inside the box. You should spray the pieces and then take them out to place them on other flaps you cut earlier. Now, you can carry them to the machine without making your fingers sticky and getting adhesive on your machine.
These were the few tips and tricks that will help you to continue your work. Moreover, before starting the work it is better to check the supplies so that you don’t run out of anything.
Looking to get the custom embroidery digitising services, then you should contact Absolute Digitizing for the job. The experienced staff will provide you quality work at a market competitive price. Our price is just $1/1000 stitches.