Starting anything new at any stage of life is a challenge for anyone – no matter how old they are at that particular stage. However, the situation changes for good when you have a companion who can help you all the way through your journey. The same companion acts as a guide and provides you with tips until you master the new technique. The journey becomes easy and enjoyable.
This article is similar to a companion in case you are looking out to learn great embroidery tips and techniques. Embroidery can be fun and with the help of these tips, you will find even greater interest in learning these techniques.
Following are 10+Embroidery tips for Beginners.
- How to choose Fabric for Embroidery
- How to choose Floss for Embroidery
- How to choose Needle for Embroidery
- How to Choose an Embroidery Hoop
- How to choose Scissors for Embroidery
- How to transfer your design to fabric
- How to Start Embroidery Stitches
- How to Use Stabilizers in Embroidery
- How to Deal With fonts
How to choose Fabric for Embroidery
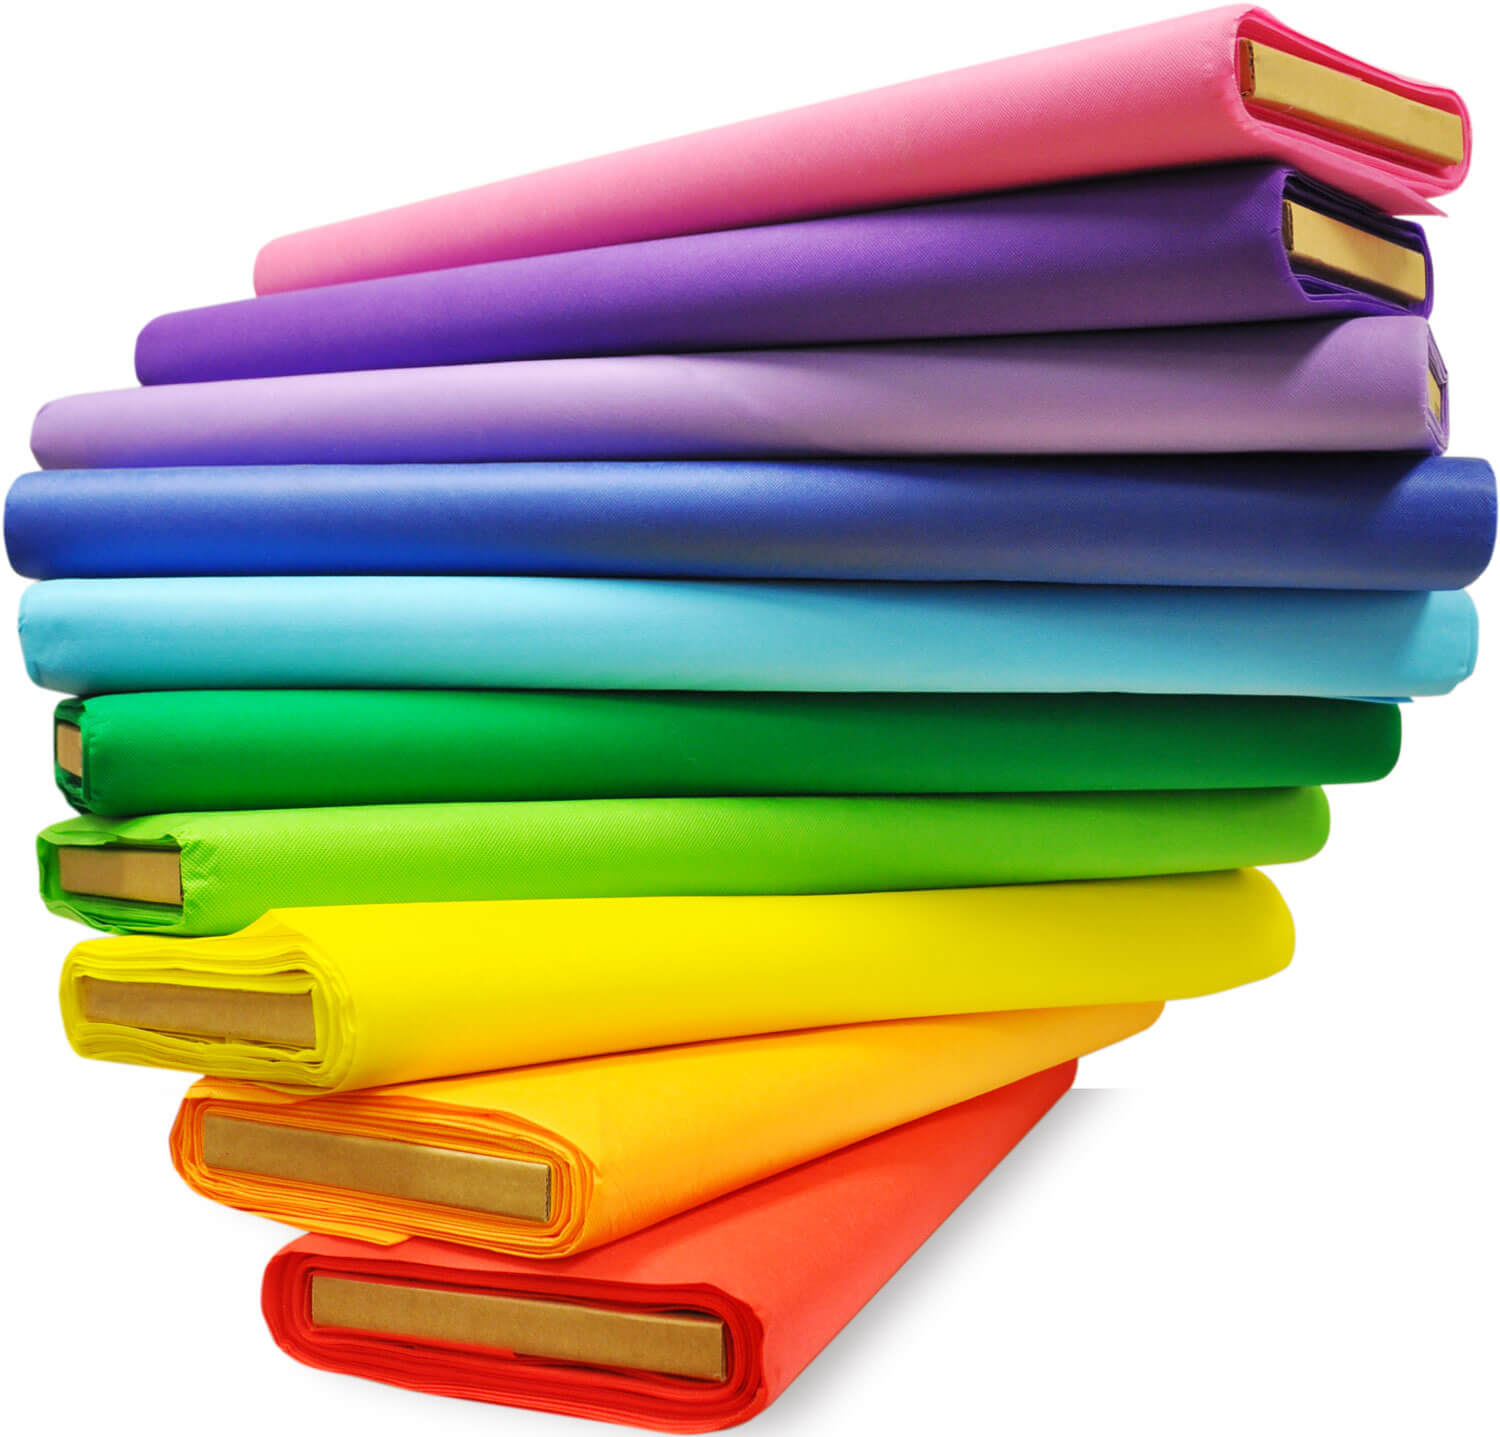
To start off with embroidery, you can practically choose any fabric that you like. For example, you can start with linen as the stitches come out beautifully on this fabric. In addition, using printed quilting cotton is yet another great option.
It is not necessary to use a piece of fabric every time. In fact, you can use any items that have already been made such as handkerchief, T-shirts or thin towels. Embroidery can be carried out on any kind of fabric that you are comfortable with – unless it is too thick for you to handle. Since you are a beginner, start off with a handkerchief and draw something simple – a flower or a leaf. Once you have mastered a small piece of fabric, move on to a complex one.
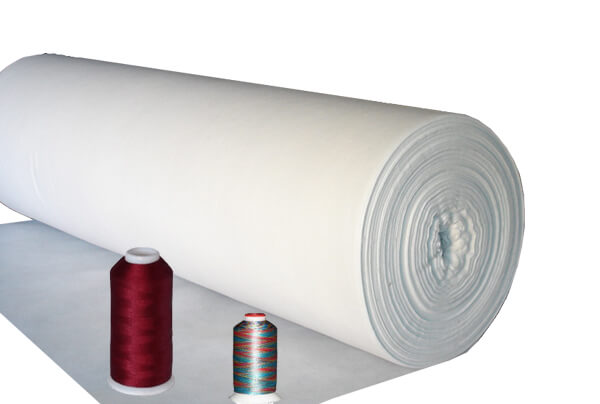
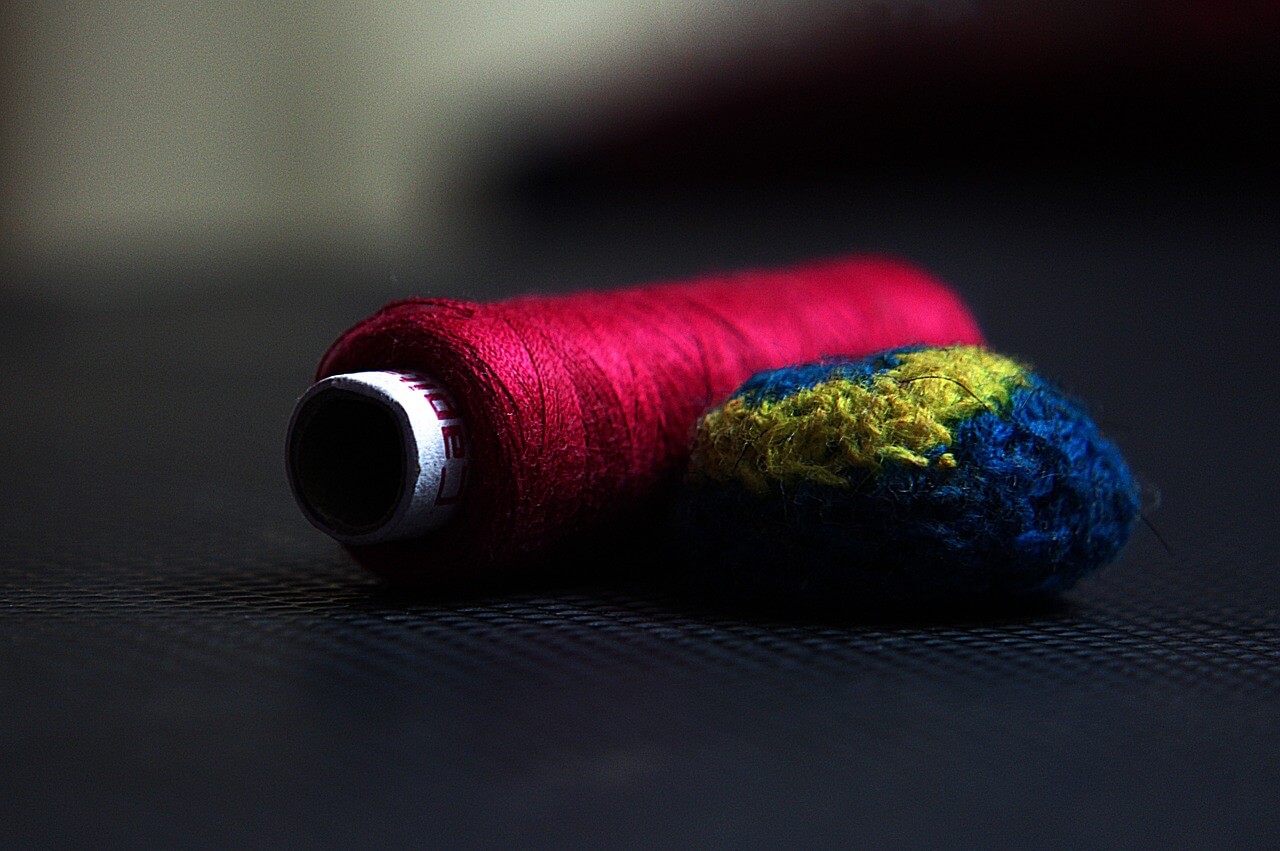
How to choose Floss for Embroidery
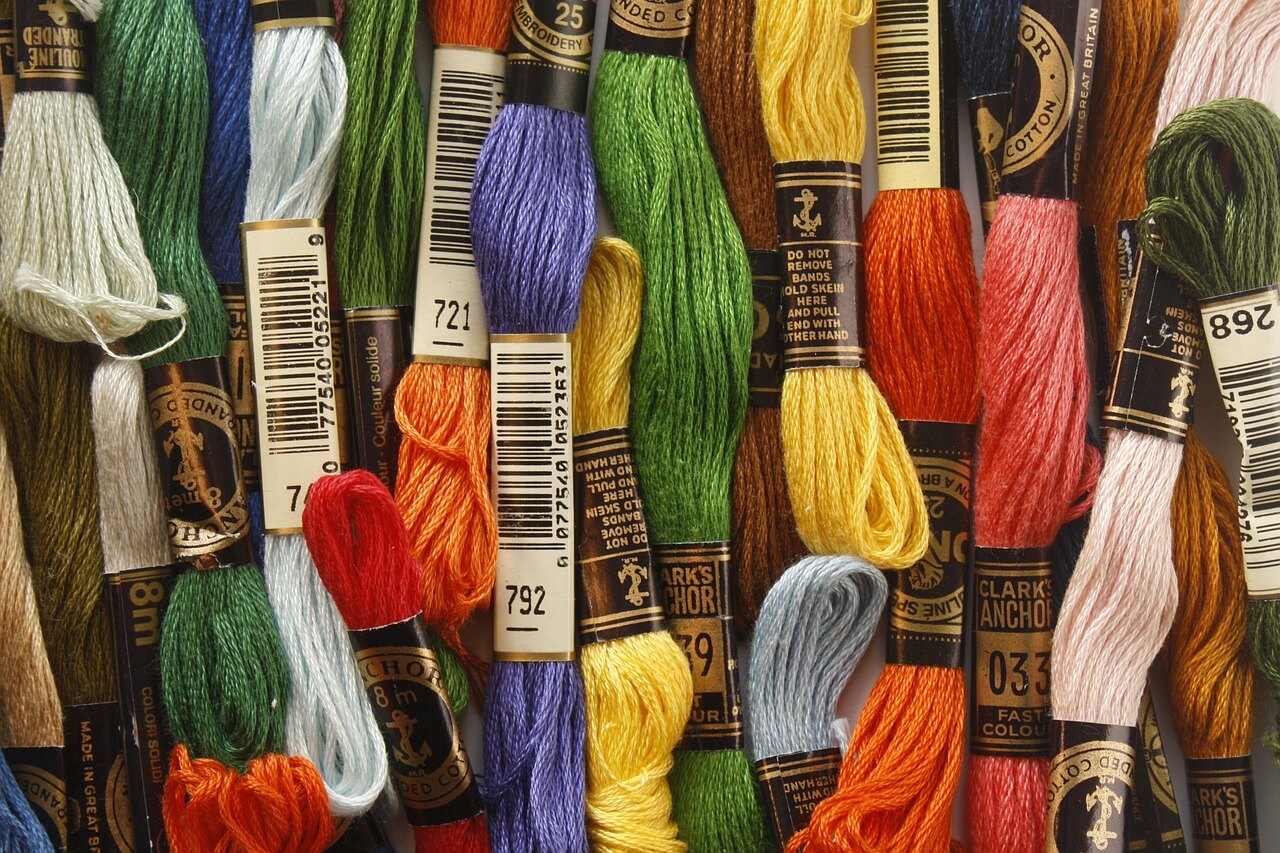
Beginners find it easy to work with stranded cotton floss because they are easy to handle at first. It offers a better control over the thickness of the stitched lines and adds an excellent texture to the design you make with the help of the stitches. There are several types of stranded cotton floss available and that too in a large number of colors. Choose the colors you want and start embroidering today!
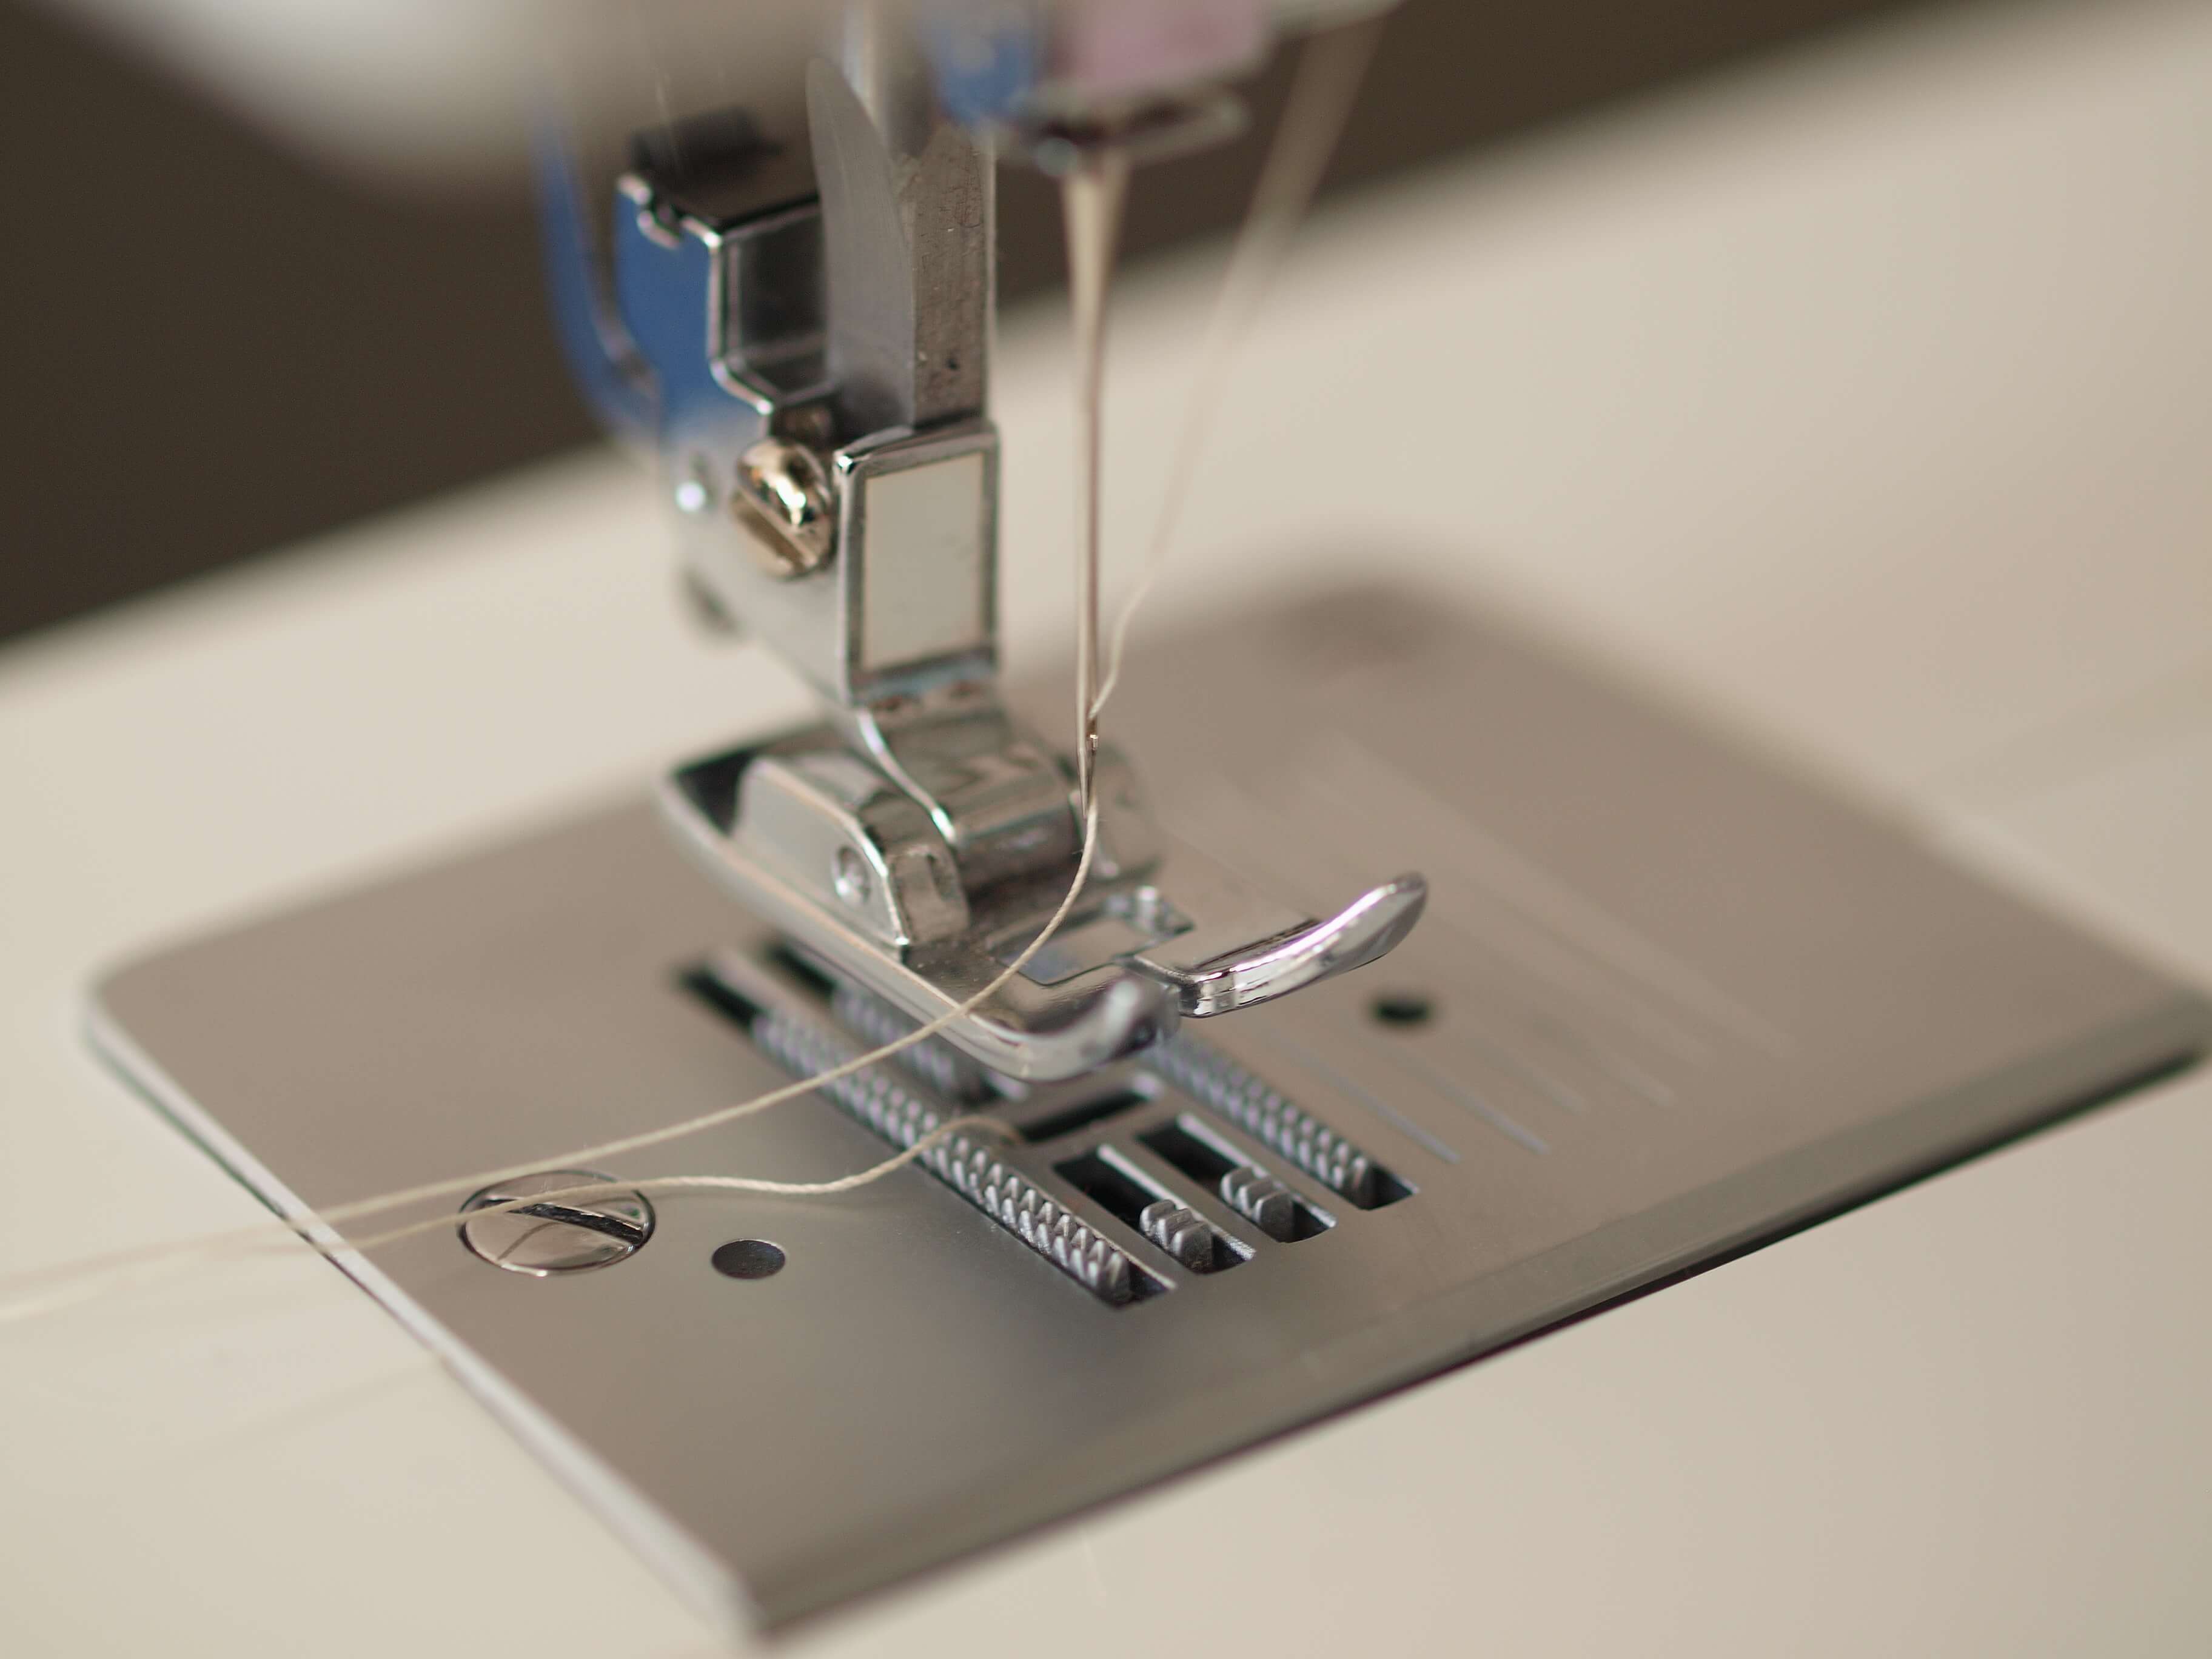
How to choose Needle for Embroidery
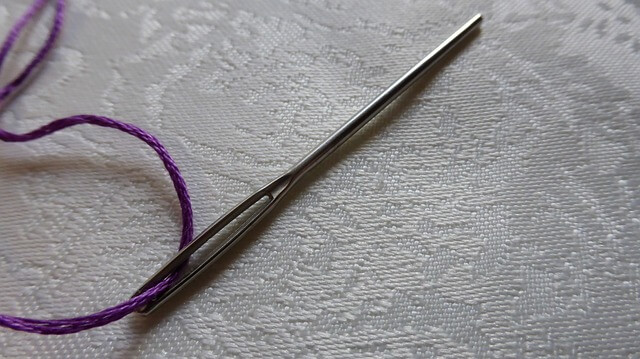
While choosing a needle, make sure that the one you opt for has a large threading eye. It will make things easier for you since you are still a beginner, however, you can choose any sharp hand-sewing needle that you find comfortable to handle. The size of the needle may also vary according to the kind of fabric that you choose to work on. Thick fabrics often require large and sturdy needles so that they can easily pass through. On the other hand, embroidery on normal fabrics like cotton is easily possible with the help of a small needle.
How to Choose an Embroidery Hoop
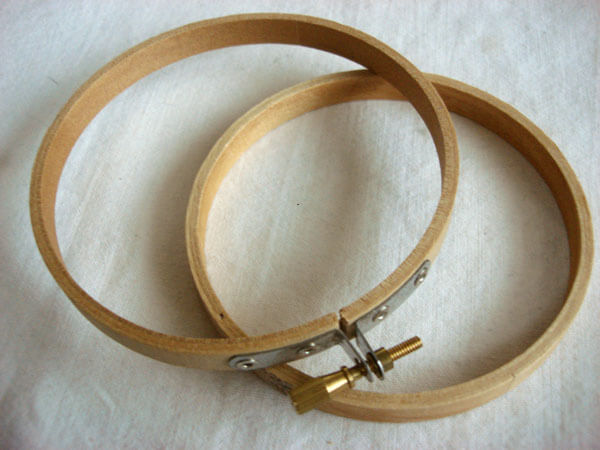
An embroidery hoop helps keep the fabric in place and taut while stitching. However, the key is to select an appropriate embroidery hoop that makes things easy for beginners. A typical embroidery hoop comes in two pieces – the outer edge that has a screw and the inner piece that fits within the outer edge.
Embroidery hoops come in different sizes. Therefore, make sure that you choose a size depending on your own project. In addition, you should be comfortable holding that size in one of your hands.
Embroidery hoop comes in wood and plastic frames. You can choose any one, but make sure that it is of good quality.
How to choose Scissors for Embroidery
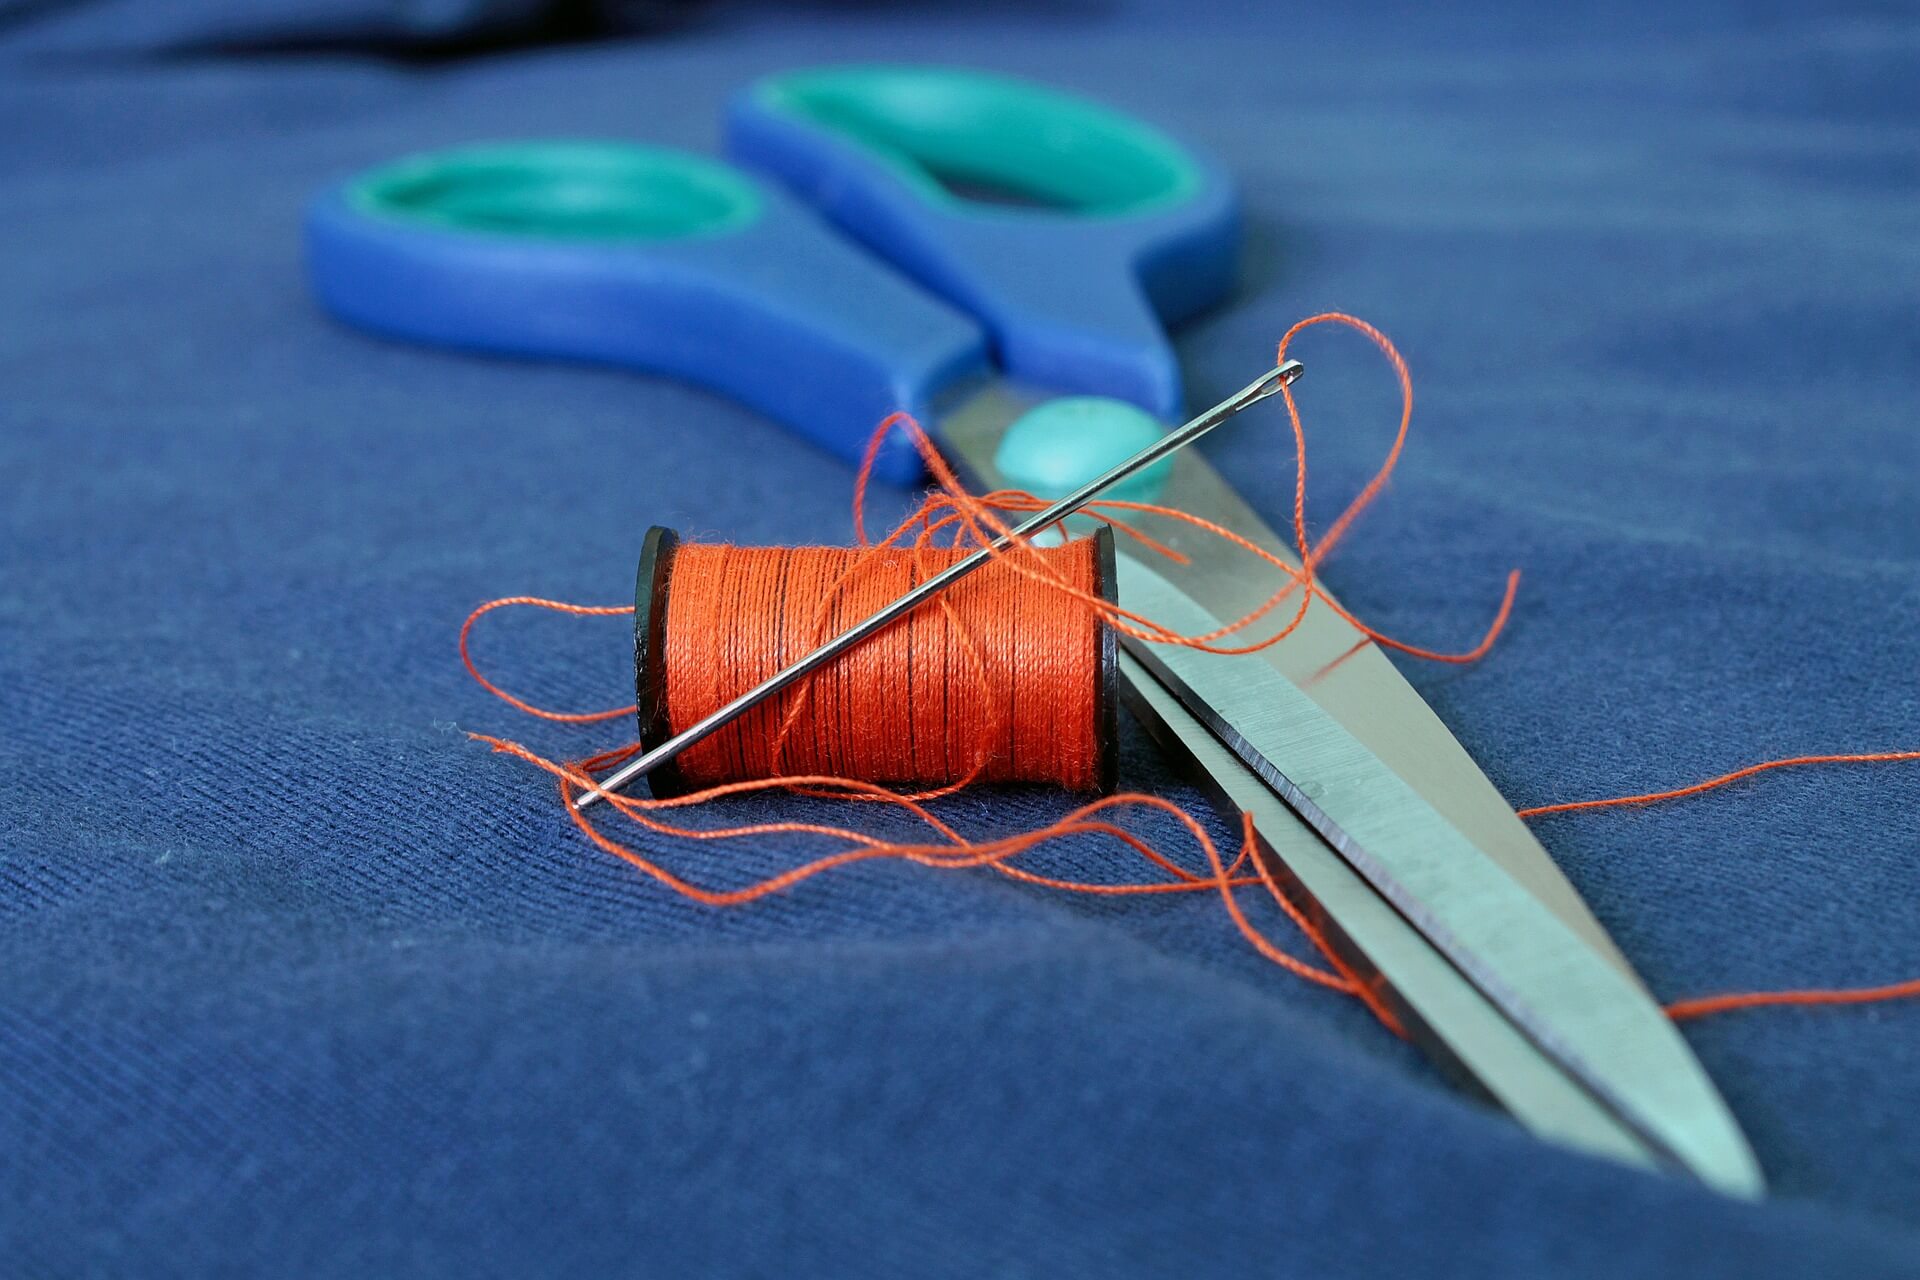
Having the right set of tools is of great importance to anyone who embroiders. For example, sewers need to have the best scissor available in the market to make things easier. In fact, investing a little bit more money in purchasing a high quality scissor is not a bad decision after all.
Choose a scissor with padded handles that makes it easier to hold it and cut the fabric or embroidery thread efficiently. Padded handles make sure that you are able to use the scissors for longer duration of time without stressing your hands. In addition, go for scissors with the sharpest blades as it produces the best cuts. Just remember that a little bit expensive model of scissors is better in terms of reliability and performance.
How to transfer your design to fabric
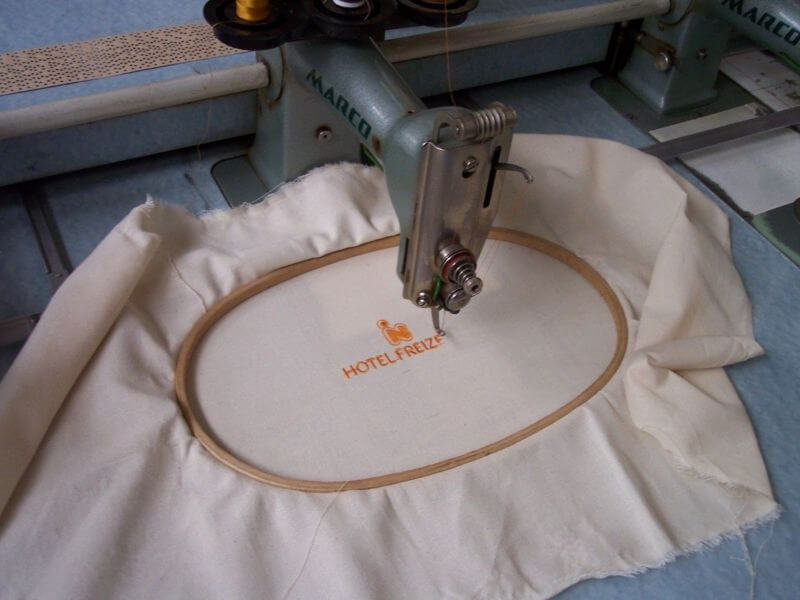
There are a number of readymade patterns available in the market for different embroidery, sewing and quilting projects. Therefore, there is hardly any need to develop a design from scratch. However, one of the biggest challenges that people doing embroidery face is in transferring the pattern to a piece of fabric.
There are a number of ways to transfer the pattern to a fabric. Embroidery digitizing has now made this possible within few steps. For example, you can choose to scan the pattern and print it one the fabric or you can use iron-on transfer pens to transfer the design. In addition, you can simply illuminate the pattern and trace them directly on the fabric.
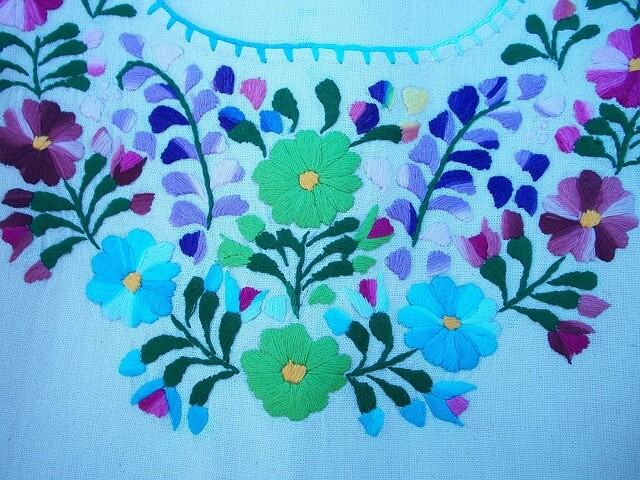
How to Start Embroidery Stitches
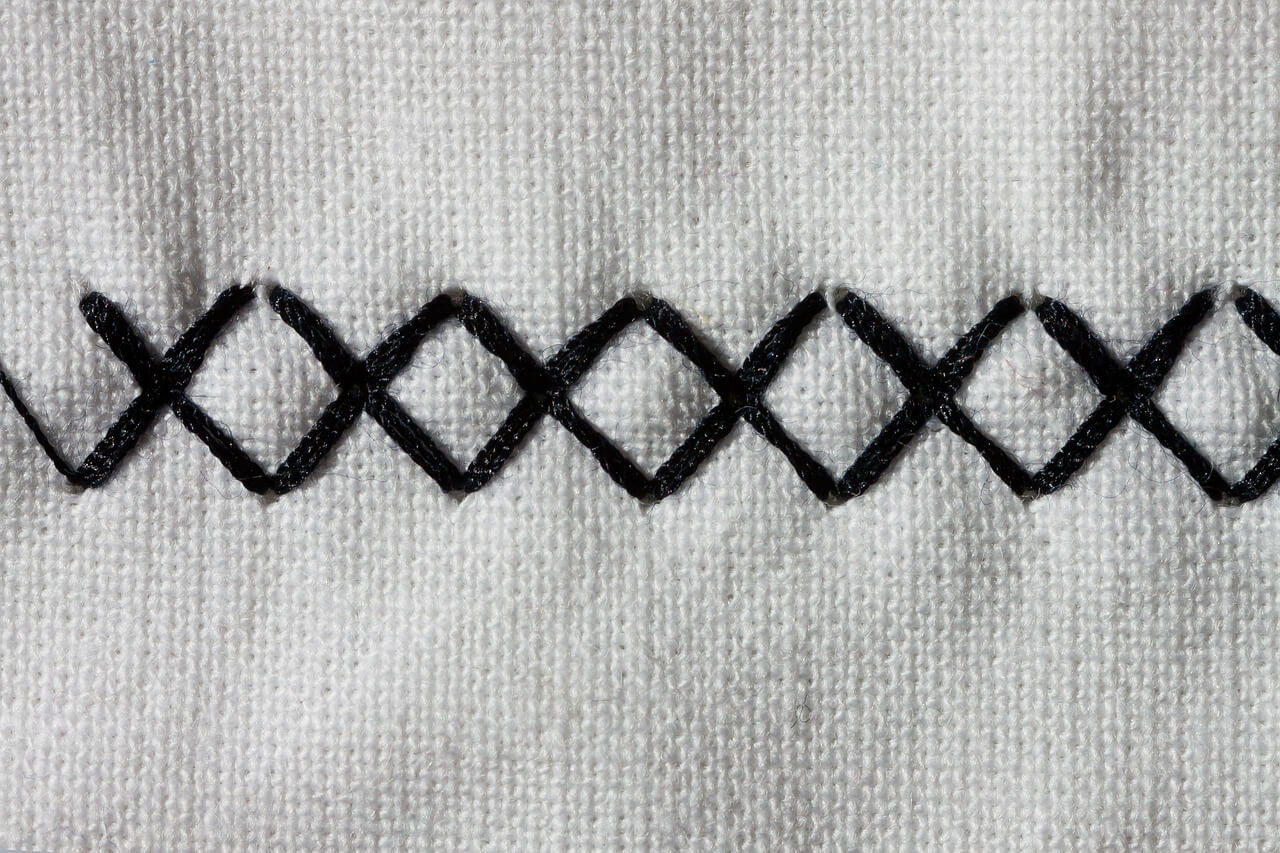
Start with the kind of stitched that you know and are comfortable with. Typically, back stitches are considered the best to start off with. It is a basic stitch that can be easily used to craft small things, such as names or a small flower on a piece of fabric. There are a number of tutorials available that teach how to back-stitch.
Starts by gathering all the materials that you will need like a piece of fabric, embroidery hoop, embroidery floss, scissors and fabric markers. Use embroidery hoop to fit in the fabric and a marker to trace a simple circle or a design. Trace the lines using back-stitch to start off with.
How to Use Stabilizers in Embroidery
The stabilizer is one thing that remains invisible to anyone who looks at the embroidery and can only be seen by the person who embroiders. Using a great stabilizer makes all the difference when it comes to embroidery as it can make an embroidery piece look wonderful or bad, depending on how it is used.
While choosing an embroidery stabilizer, make sure that you consider the number of stitches, the type of embroidery design and the density of stitches. In addition, the type of thread being used to embroider a design and the background fabric also makes a difference. There are different types of stabilizers available that can be selected from, for example, there are wash-away, tear-away and cut-away stabilizers.
How to Deal With fonts

There are a number of default fonts that are available in most embroidery machines. These fonts can be easily used to embroider basic alphabets. The letters are re-scalable and their size can be adjusted to fit the size required for the project.
However, third-party fonts attract embroidery digitizers more than anything else. This is because of aesthetic issues. Such fonts appear much more beautiful than the fonts that are already available in the embroidery machine. To make the design look more pleasing to the eyes and to have an upper hand at size flexibility, you can choose to use third-party fonts. These fonts work similar to regular inbuilt fonts.
How to Trouble-Shoot in Machine Embroidery
There are a number of issues that may arise in case of machine embroidery. For example, the needle may break while working and stitches may practically “sink” into the fabric. In case of a needle break, try the steps that you perform in case of a thread break because the reason for the needle break is also the same. Remove all stitches in case there are any hangings at the bottom of the hoop. Remember, a needle may also break in case the embroidery or the design is too dense or thick.
In case you are using a kind of a fabric that absorbed stitches such as velvet, towels or jersey, remember to use a water soluble topping as a film to prevent the stitched from sinking. In case you see the top thread appearing a lot at the bottom, try tightening the top thread tension.
How to Neaten the Edge
Neatening the edges of an embroidered piece is simple. In fact, it is even simpler when you have s sewing machine in place. You can easily overlock the edges of the fabric with the help of a sewing machine. However, in case you are planning to neaten the edges with your own hand, try whip stitches. Use a doubled up threat in a needle to sew the edges. There are a lot of people who believe that neatening the edges is simply a waste of time, however, you should think of it as a part of the entire embroidery procedure.
How to Keep Embroidery Clean
Keeping the embroidery clean is of utmost importance to maintain the beauty of the piece. In addition, keeping the embroidery protected improves the longevity of the fabric.
To keep the embroidery clean and protected, you must test the fiber and the dye. Before putting them into washing, make sure that they can withstand one. There are some fibers that cannot withstand the use of a soap. Therefore, it is recommended that you test whether the fabric crinkles, which indicates that the fibers are breaking and may not be sturdy enough to withstand washing.
Remember to remove stains from the cloth carefully and hand-wash them gently. Never use starch on embroidered pieces and avoid any sought of contact with acids.
How to Finish Embroidery Stitching
Being confident with the thread and the needle is the key to mark a great end to your embroidered piece. Weaving the thread back on itself is one of the greatest steps that an embroidery digitizer can take while wrapping up with the embroidery.
Wrapping the tail of the thread involves pulling it straight back to where it came from. However, make sure that it is not too tight so that it ends up distorting the design. On the other hand, it should not be that loose too.
Zigzagging knots back and forth the design makes it look a little distorted. This is the reason why it is important to secure the ends of the thread in an innovative way to make the design look beautiful
Conclusion
Selecting the right tools and choosing the right design, fabric, embroidery hoop, needle and floss are the key to make a great start to embroidery digitizing. In addition, you must know the importance of choosing fonts and securing the ends of the threads to give that five star appearance to your design. With the help of the tips mentioned above, you can easily become an excellent embroidery digitizer within a short period of time.
In addition, it would be an understatement to say that you will start loving the technique altogether. You can choose the colors you like and embroider your favorite design or the quote that you like. You may soon find yourself fiddling through the embroidery addiction.