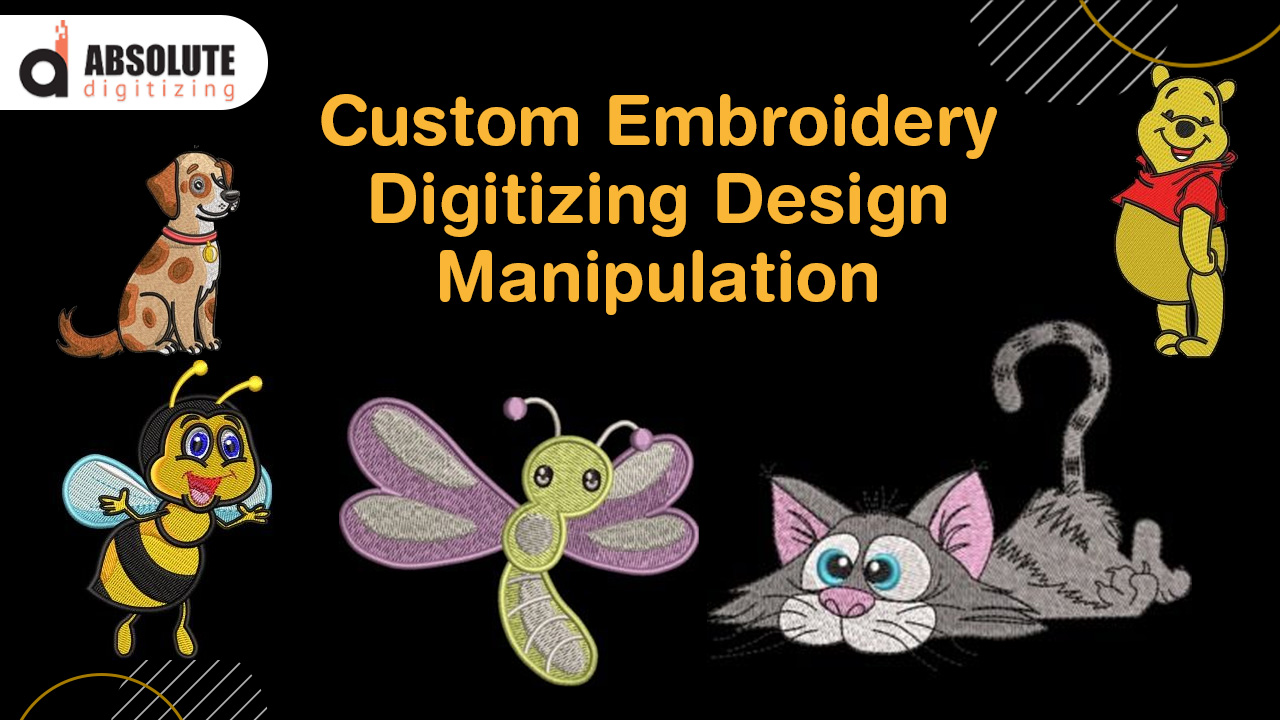
During custom embroidery digitizing, an embroidery digitizer often comes across designs that are not originally designed for embroidery. In most cases, designs are originally prepared for another purpose which is later used for custom embroidery. In such cases, these designs have to be manipulated in order to be used as machine embroidery designs.
Many design features like outlines, lettering and blends have to be dealt with care. A sound understanding of how stitches in embroidery work, is required to make the required changes. If these considerations do not go into custom embroidery digitizing, it will result in a flawed embroidery design. Such designs not only render an impaired outlook but also fade or wear quickly.
Therefore, manipulating embroidery designs is a necessary aspect of custom embroidery digitizing. An embroidery digitizer must be mindful of the following considerations while digitizing designs for embroidery:
Dealing Blends:
Dealing blends in custom embroidery digitizing is tricky. Blends are normally created with fill stitches. While there is nothing wrong with using fill stitches, the problem arises once there are narrow areas. Fill stitches require multiple needle points. This calls for trouble once the designs have to be embroidered in narrow spaces.
To manipulate designs that involve blends, an embroidery digitizer must introduce an additional layer for each color. This way, one can increase the number of needlepoints with ease.
With blends, another point of concern is the direction. The direction of blends can make a design easy or difficult to digitize and embroider. Uni-directional blends are the easiest to work with. Hence, they should be preferred in most cases.
It is not that other types of blends cannot be dealt. It is just that they will complicate digitizing and embroidering a design. Unnecessary complication should be avoided to save time, effort and money. One such blend is radial blends. Although doable, a radial blend is a typical example of an unnecessary complication that should be avoided until they are unavoidable.
Too Many Outlines:
Multiple outlines almost never work great with embroidered designs. The complications caused by multiple or excessive outlines during embroidery are way too much. Therefore, it is embroidery digitizer who has to take care of this aspect and should ideally go with minimum outlines.
Two satin stitches running parallel to each other are likely to overlap. This overlapping of stitches gives a flawed outlook and distorts the crisp of design. The solution for an embroidery digitizer is to either edge run the underlay or alter the angle of outlines.
This problem is relatively easy to solve. Another problem due to multiple lines is designs looking uneven. The problem magnifies even more once we are dealing with stretchy fabrics and hats. Hence, the best way around is to use a limited number of outlines with increased thickness.
Small Lettering:
Undoubtedly, small lettering is one of the most intricate tasks in custom embroidery digitizing. In other clothing decoration techniques, incurring small lettering in designs is relatively easier. Therefore, designs that are created for general use often tend to include small lettering. This is specifically true for monograms and logos.
One solution that can be adopted during the production phase is by changing the needles and thread size. Using standardized needles and thread sizes makes small lettering an uphill task. The quality of such designs is below par in most cases. The way out is using smaller needles and thread size.
Some of the issues that are caused by using thicker threads include looping of thread and piercing of the garment. By either using 60 or 70 weight thread along with a smaller needle ensures that small letters are embroidered seamlessly, without tarnishing the design or garment.
Another way of going about small lettering is to use run stitches instead of satin stitches. It will be double run stitches in this case. You, as an embroidery digitizer, can start at one point, finish at the opposite end and then run the stitches back to the original point. Run-stitches can difficult to handle especially if you are not in the habit of using them regularly.
Thin Outlines:
Though suitable for other types of cloth decoration techniques, like small lettering, thin outlines are also not best suited for embroidery. The primary reason for this is that satin stitches cannot be used in thin outlines. The alternate way is using run stitches but as we have mentioned before, using run stitches is not simple and straightforward. It takes a lot of practice and therefore, should only be used by embroidery digitizers who are already well versed.
Moreover, trapping fills with run stitches is even more difficult. Unfortunately, there is no easy way out of this. If you are not very skilled with run stitches, our recommendation would be to remove thin outlines or at least minimize their use. You can use different stitch direction and fill type to render the same effect.
In custom embroidery digitizing, try to simplify stuff and look for easier alternatives. Having a clear idea of how different stitch types, fills and stitch directions behave makes things comparatively easier to apprehend. After all, unlike most apparel decoration techniques embroidery is surely not the simplest to process.
Share if you liked the blog post. Check out more information and updates on embroidery digitizing. Connect with us if you seek professional embroidery digitizing services. Get your orders delivered in just one day with prices starting at $10. Sounds great? Let’s get things going!