| Quick Summary |
|---|
Bernette machines need stitch-ready files, not regular JPG or PNG images.
|
A clear image may look ready for embroidery, but a Bernette machine cannot stitch a JPG or PNG by itself. The artwork must first be digitized into a machine-readable embroidery file. EXP is the native choice for many Bernette models, while some machines also support formats such as PES, DST, JEF, and VP3.
However, good embroidery needs more than a simple file change. A digitizer must plan stitch types, density, underlay, sequence, and pull compensation. These details help the design run smoothly and look clean on fabric.
In addition, the final file must match your machine model, hoop size, fabric, and design dimensions. Skipping these checks can lead to puckering, thread breaks, poor lettering, or uneven coverage.
This guide explains how to prepare your image, choose the right digitizing method, export a Bernette-compatible file, and test it before production. For detailed logos or time-sensitive projects, professional embroidery digitizing support can also help you achieve cleaner, stitch-ready results without wasting fabric, thread, or production time.

Understanding Bernette Embroidery File Formats
What Are Embroidery Machine Formats?
Embroidery machines cannot read regular images the way a computer does. Instead, they rely on special file formats that contain instructions for the machine. These instructions tell the needle how to move, what stitch type to use, how dense the stitches should be, and in what order to complete the design. Without this data, the machine has no way of translating a design into thread on fabric.
The EXP Format for Bernette Machines
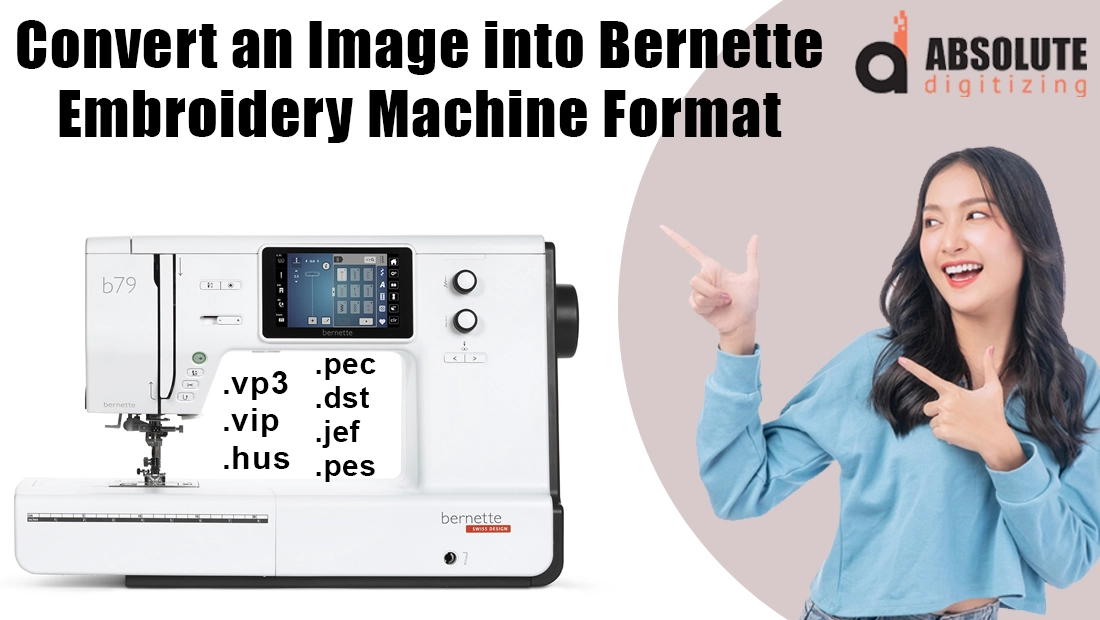
For Bernette embroidery machines, the most common format is EXP. This format is also used by Bernina and Melco machines, making it widely supported and reliable. An EXP file contains all the necessary stitch information, ensuring your design is reproduced with accuracy and consistency. However, Brenette machines can also read other file formats such as PES, DST, VP3, HUS, and PEC.
Why JPEG or PNG Files Don’t Work
A regular JPEG or PNG only holds pixel and color information. It cannot guide the embroidery machine’s needle, so it cannot be stitched directly. To make it usable, the image must be digitized into a machine-readable file like EXP.
Benefits of a Digitized Stitch File
Using a proper stitch file ensures smoother runs, fewer thread breaks, and a more professional look. It allows your Bernette machine to interpret small details, intricate patterns, and lettering with precision, giving you results that match your vision.
Preparing Your Image Before Conversion
Quality matters when it comes to digitizing. Always start with a high-resolution image that is sharp and clear. Pixelated or blurry files can confuse digitizing software and result in uneven stitch paths. The clearer the image, the smoother the final embroidery will look.
Make the Background Transparent
If your image has a colored background that you don’t want stitched, convert it to a transparent background before digitizing. This ensures the embroidery file focuses only on the design itself, saving thread and avoiding unnecessary stitching.
Adjust to Hoop Size
Before converting, resize your image to match the hoop dimensions of your Bernette machine. If the image is too large, it may not fit, and shrinking it after digitizing can distort the design. Preparing the correct size in advance ensures better results on your chosen fabric.
Methods to Convert Images into Bernette Format
There are several ways to turn a regular image into a stitch-ready EXP file for your Bernette embroidery machine. The method you choose depends on your experience level, the complexity of your design, and whether you want to do it yourself or rely on professionals. Let’s look at the three main approaches.
1. Using Embroidery Digitizing Software
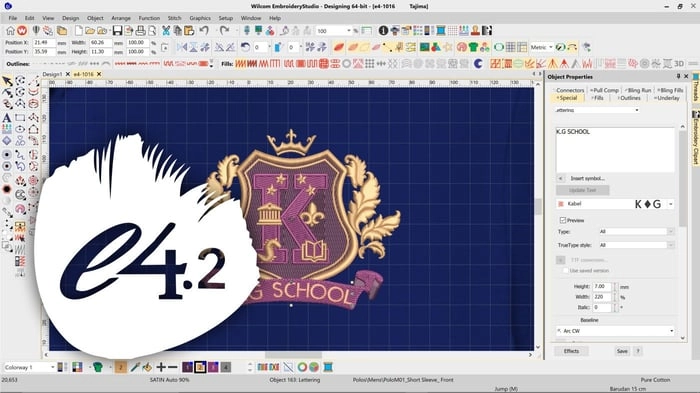
Professional digitizing software is the most reliable way to create a high-quality EXP file. Programs like Wilcom Embroidery Studio, Hatch, Brother PE-Design, and Ricoma Chroma allow you to import an image (JPG or PNG) and manually digitize it. This process involves tracing over the design and assigning stitch types such as satin, fill, or running stitches.
With software, you can also fine-tune important details:
- Underlay provides stability to the design.
- Stitch density controls how thick or thin the coverage is.
- Color sequencing ensures the machine follows the correct order without unnecessary stops.
Once the design is adjusted, you can export the final file directly in .EXP format for your Bernette machine. While this method requires learning the software, it gives you the highest level of control and customization.
2. Using Auto-Digitizing Tools
Many embroidery programs, including Hatch and Bernina Toolbox, offer auto-digitizing features. These tools automatically convert an image into stitches with a single click. The main advantage is speed and simplicity—perfect if you need a basic logo or simple shape converted quickly.
However, auto-digitizing comes with limitations. Complex designs with small text, gradients, or fine details often stitch poorly because the software cannot make the same decisions a human digitizer can. You may end up with thread breaks, misaligned stitching, or designs that simply don’t look right.
Auto-digitizing is best suited for simple designs like bold logos, shapes, or monograms. For more intricate work, manual digitizing or outsourcing is a better option.
3. Outsourcing to Professional Digitizers

If you want production-ready results without the learning curve, outsourcing is the most practical solution. Professional digitizers know how to optimize stitch paths to reduce thread breaks, balance density for smoother stitching, and create files that run flawlessly on Bernette machines.
For businesses, outsourcing also saves valuable time. Instead of spending hours learning software, you can focus on your core work while experts handle the digitizing. The cost is often reasonable compared to the time and materials saved.
For example, Absolute Digitizing provides Bernette EXP conversions starting at just $10, with same-day turnaround and unlimited free edits until you’re satisfied. This ensures you get a machine-friendly file that is ready to stitch with no trial-and-error.
Outsourcing is especially beneficial when dealing with detailed logos, custom artwork, or large production runs, as it guarantees accuracy, efficiency, and professional results every time.
Loading the File into Your Bernette Machine
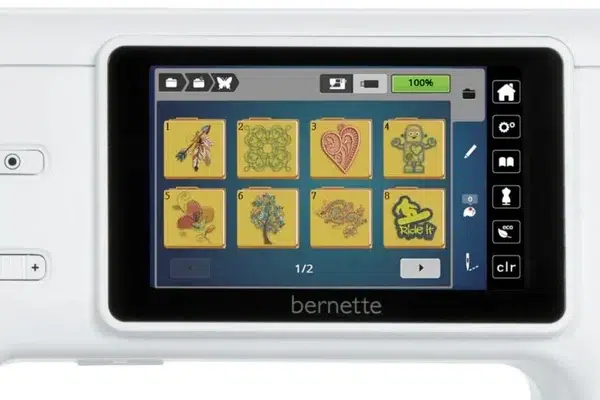
Transfer the EXP File
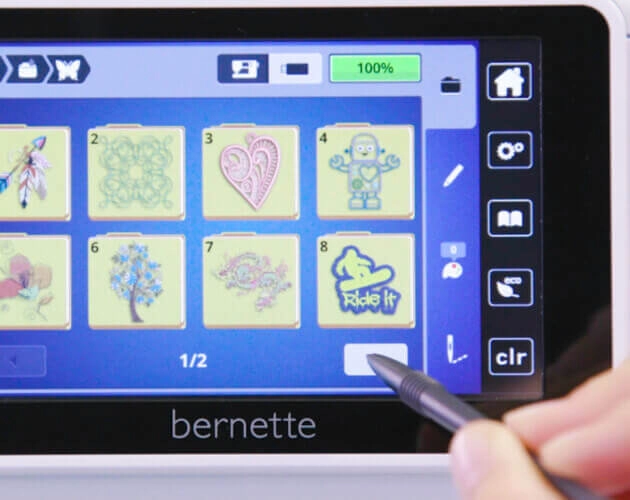
After creating your EXP file, you need to move it to your Bernette machine. The easiest way is with a USB stick—copy the file from your computer, insert the USB into your machine, and select the design. Some Bernette models also allow direct connection through a cable or embroidery software, letting you send files instantly without extra steps.
Organize and Name Files Clearly
Good file management saves time. Always store your designs in organized folders and use clear names. Instead of generic labels like “design1.exp,” try descriptive names such as “Logo_Cap.exp” or “Floral_Tote.exp.” This makes it easy to identify the correct file when working on different projects.
Test the File Before Production
Before stitching your final piece, run a test stitch-out on your machine. This helps you spot any errors or adjustments needed in density, alignment, or sequencing. Testing first prevents wasted fabric and thread.
Adjust Hoop Size, Colors, and Placement
Finally, set up your machine for the actual project. Choose the correct hoop size, double-check that the design is properly centered, and adjust your thread colors to match the artwork. Careful setup ensures professional results every time.
Common Issues and How to Fix Them
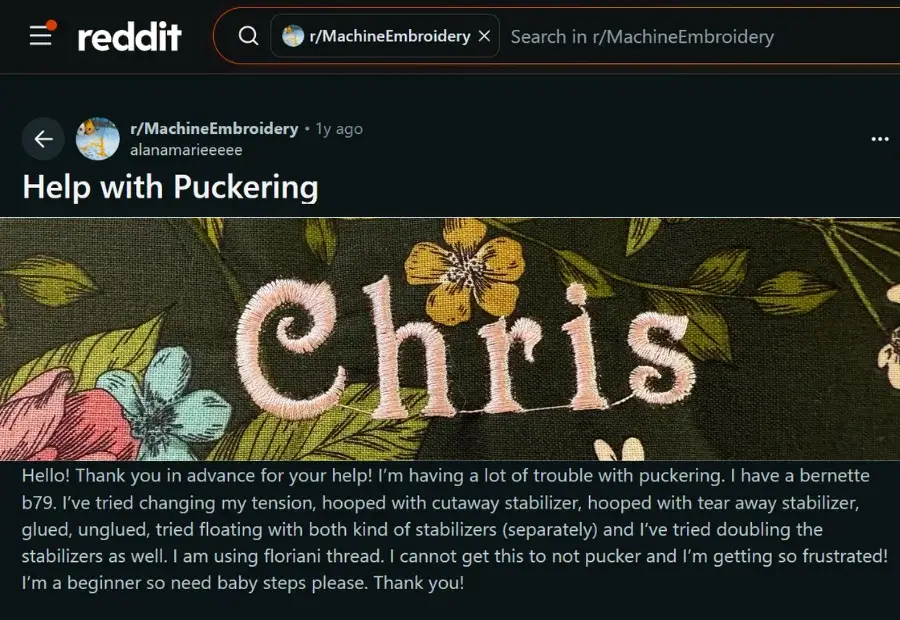
A beginner embroiderer shared this Bernette b79 puckering issue with the Reddit embroidery community after trying several stabilizers and hooping methods.
Problem:
The puckering appears to come from poor digitizing rather than hooping or stabilizer choice. The embroiderer tested several stabilizers, used different hooping methods, and adjusted the tension, but the fabric still puckered. The lettering may have excessive stitch density, unsuitable underlay, poor stitch direction, or an inefficient sewing sequence. The long jump threads between letters also show that the stitch path was not planned correctly.
Solution:
The embroidery file should be revised by reducing unnecessary stitch density and choosing underlay that suits the fabric. The digitizer should also improve stitch direction, letter sequencing, pull compensation, and travel paths. Connecting stitches should run beneath the lettering when possible, while visible jumps should be trimmed. After editing, test the design on the same fabric before stitching the final piece.
Thread Breaks from Poor Settings
One of the most common embroidery frustrations is frequent thread breaks. This usually happens when density is too high or underlay stitches are not properly set. Fixing these issues requires software adjustments, which can be tricky for beginners. Professional digitizers, however, optimize stitch paths and density to ensure smooth, break-free stitching.
Misaligned Stitches and Hooping Errors
If your design looks shifted or uneven, the problem often lies in improper hooping or poorly planned stitch sequencing. A skilled digitizer accounts for fabric pull and push, minimizing misalignment. Outsourcing saves you the hassle of rehooping and adjusting repeatedly.
Poor Image Quality Equals Poor Stitch-Out
Starting with a low-resolution or overly detailed image can lead to messy stitch-outs. While you can try cleaning the image and simplifying details, professionals are trained to prepare artwork for digitizing and know how to adapt it for embroidery.
Why Outsourcing is a Smart Choice
While test stitching before large runs is essential, outsourcing embroidery digitizing ensures fewer errors right from the start. For businesses, this is a smart decision—you save time, avoid wasted materials, and can focus on running your business while experts deliver production-ready files.
Conclusion
Turning an image into a Bernette-ready embroidery file takes more than changing its file extension. A JPG or PNG must first be digitized into stitch instructions that control density, underlay, stitch type, sequence, and movement. EXP is the native choice for many Bernette machines. However, some models also support PES, DST, JEF, VP3, and other formats. Therefore, check your machine manual before exporting.
Clean results also depend on the final design size, hoop area, fabric, stabilizer, thread, and machine settings. In addition, always run a test stitch-out. It can reveal puckering, gaps, thread breaks, poor lettering, or alignment problems before you use the final garment.
You can digitize simple artwork with embroidery software, but detailed logos often need expert planning. Absolute Digitizing can prepare a clean, machine-ready file for your Bernette embroidery project. Upload your artwork today and get a free, no-obligation quote.
FAQs
EXP is the native format for many Bernette embroidery machines. However, some models also support PES, DST, JEF, VP3, HUS, and other formats. Check your machine manual for exact compatibility.
Import the artwork into digitizing software, set the final size, create stitch objects, adjust underlay and density, plan the stitch order, and export the design in a supported format such as EXP.
Yes, many Bernette models allow you to transfer embroidery files with a USB drive. Use a supported file format and follow the folder and file-name rules listed in your machine manual.
Puckering may come from improper hooping, wrong stabilizer, excessive density, unsuitable underlay, poor stitch direction, or an inefficient sewing sequence. Revise the digitized file and test it on the same fabric before production.
You can make small size changes, but large resizing may damage stitch density, spacing, and lettering. For major changes, resize the artwork first and redigitize the design at the correct final dimensions.