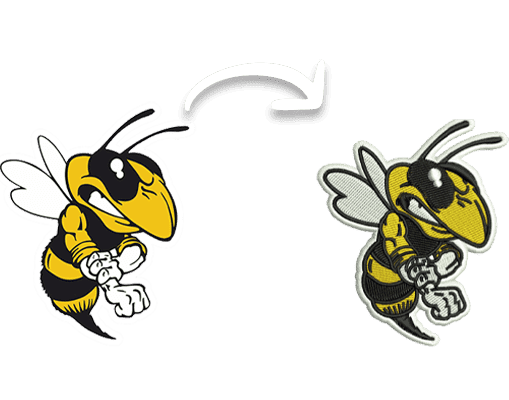
Offering Best Embroidery Digitizing Services tailored just for you!
We are a USA-based company helping local and international clients with all their custom embroidery digitizing and vector tracing needs. Our dynamic team of professional digitizers convert logo to embroidery file flawlessly. Combining creativity, accuracy, and quality in one place, we deliver well-executed digitized embroidery designs in a record amount of time, ensuring they meet your goals.
Let’s work together on your custom projects and create a long lasting partnership.
We offer:
- Great Prices
- Impeccable Quality
- Quick Delivery
- Efficient Communication

Discover What Our Customers Are Saying

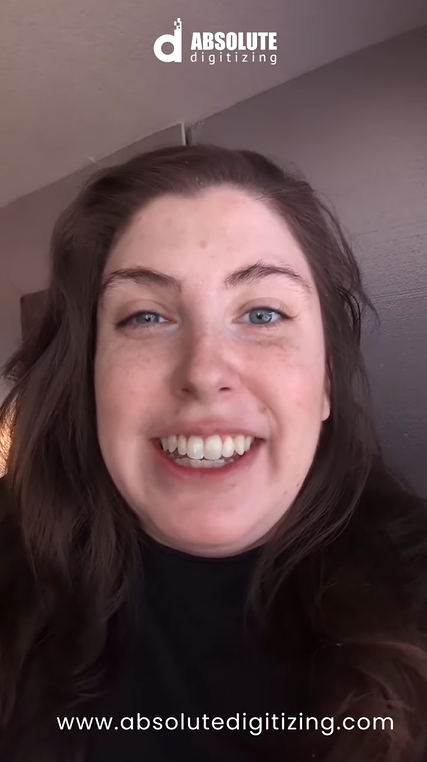
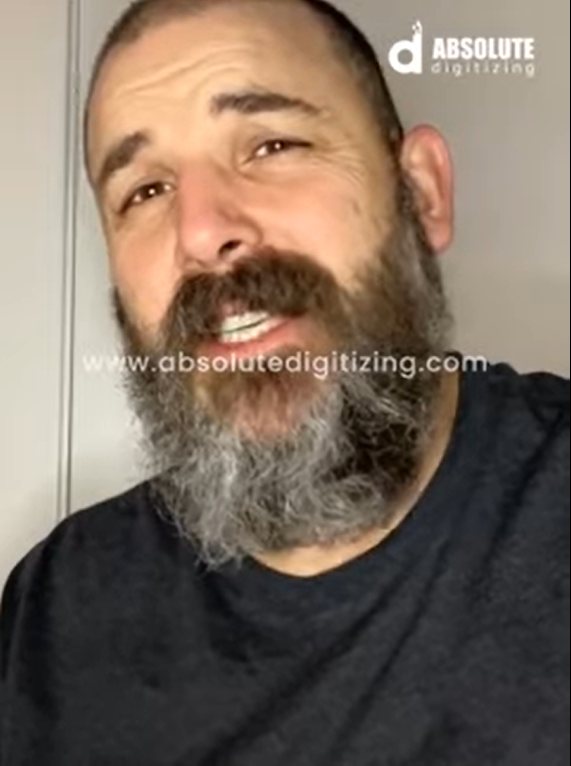

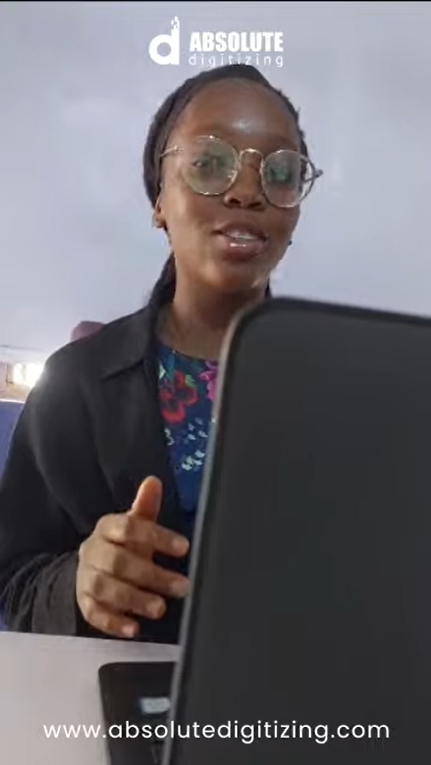
If you've worked with us, make a video sharing your honest thoughts about our services. We'd love to feature it here!
Why Choose Us?
Dual Pricing Options
Whether you prefer a flat rate or per stitch count price for your logo digitizing jobs, we are flexible to meet your unique needs. Choose any plan from our dual pricing options when placing your order. Pick what suits you the best.
Great Prices & Quality
Our entire work ethic revolves around your experience and trustworthiness. Starting at just $10, we offer quality digitization service that guarantees your satisfaction. We offer money back quality guarantee. No questions asked.
Quick Turnaround
We understand the significance of time and deadlines in the promotional industry. Therefore, we deliver your digitized embroidery designs within 4 to 12 hours. For urgent requests, rush jobs can be delivered in as little as 2 hours.
Personal Dashboard
Upon registering, you will gain access to a functional dashboard that you can use to place and receive your quotes and orders. It is your go-to hub for managing all your queries! You can also chat directly with your embroidery digitizers from your account dashboard. They are always available to guide you through the process.
Ordering with App
We understand that business professionals are busy and not necessarily tied to their desks. That is why we have made it super easy for you to place orders and get quotes from your smartphones. Simply download our app for iPhone, iPad, or Android for a seamless and convenient experience.
20 Years of Experience
Our 20 years of experience working on complex embroidery digitization jobs has honed our craft to perfection. We know the industry’s best practices and stay updated with technological advancements.
Global Clientele
Although we are based in the US, we have served customers from every part of the world. Rest assured, you are working with best professionals in the industry that have digitized logo of every kind. From intricate lettering to realistic photos, we have done it all.
Open Six Days a Week
Whether it's a sudden project or an unplanned need, our open doors from Monday to Saturday mean we are here to help you handle those last minute digitizing for embroidery or vector conversion tasks with efficiency and care.
24/7 Live Chat Support
You will not have to wait for hours to get a reply from our side. We are active day and night and reply to all your queries in a snap on our live chat 24/7.
PAY PER STITCH
$2
$1
1000 Stitches
Minimum Price $5
Maximum Price $50
Examples:
4435 Stitches will cost $5
5370 Stitches will cost $5.37
14300 Stitches will cost $14.30
72456 Stitches will cost $50
Standard Turnaround time: Within 4 to12 hours
Rush Job at extra $5 per Job (within 30 minutes to 4 hours depending on complexity)
OR
FLAT RATE
$30
$15
Left Chest/Cap
Minimum Price $5
Maximum Price $50
Examples:
4435 Stitches will cost $5
5370 Stitches will cost $5.37
14300 Stitches will cost $14.30
72456 Stitches will cost $50
Standard Turnaround time: Within 4 to12 hours
Rush Job at extra $5 per Job (within 30 minutes to 4 hours depending on complexity)
Our Services
Embroidery Digitizing
Custom digitizing designs for as low as $10 (Approx: £8)
Freedom to choose between Flat rate and Stitch count based pricing
Providing free edits and revisions until you are satisfied
Offering multiple embroidery software and all machine format files
Commercial thread color charts from different manufacturers are available
Let’s get started
Vector Art
Unbeatable Prices starting at $10 (Approx: £8) per artwork with a quick turnaround time
Competitive pricing structure designed to meet every level of complexity
Get revisions and edits for your vector artwork absolutely free
Get jagged and blurry images redrawn with perfection
Color separation services available
Let’s get started
Online Shop
Check exciting offers for new embroidery designs, Vector Images, Silhouette Art and applique designs everyday
Professionally created designs for instant download for as low as $1.99 (Approx: £1.6)
Available for Instant Download
Available in variety of file formats
Get free designs by sharing your experience with us
Buy Embroidery Designs Now
WE PROVIDE
Vector Tracing and Digitizer Embroidery Services For
Left Chest
Hat
Jacket Back
3D Puff
Sleeves
Towels
Napkins
Beanies
Visors
Gloves
Aprons
Rhinestones
Screen Printing
DTG
Vinyl Cutting
Heat Transfers
Laser Cutting
Hear From Our Happy Customers

Amanda Harris
Joshua Martinez
The real test of a digitizer comes with complicated and challenging designs and that’s when they proved their worth to us. The job which was messed up earlier by two companies, was finally done perfectly by them. Their team is always available on live chat and the delivery time is quick. We endorse and recommend them.
Nicole Scott
Everyone in the promotional business is looking for high quality digitizers at one point or another. We are sharing our experience to save you from hassle of trials. They are our best find and we sure have our reasons for it. They have a fast turnaround time. The sew out comes out perfectly. They are always ready to listen and make edits.
Outsource your jobs to us and save up to 70% of your costs!
Absolute Digitizing For Absolute Results
We’re proud of our industry-leading standards to digitize image for embroidery, where we offer affordable and flexible dual pricing options and deliver rush jobs in just 2-hours. Our professional embroidery digitizers and vector designers pay close attention to every detail, ensuring the final design is as accurate as it can be. If you are looking for a logo digitizer online to outsource your workload then you have just found the best one.
What's more? We work 6 days a week from Monday to Saturday and are available 24/7 on live chat to answer all your queries. Your satisfaction is our top priority, and we’ll go the extra mile to meet all your expectations.

Worldwide Customers
Catering clients around the globe
Client Satisfaction
100% Money-back guarantee
Online Support
24/7 Live Chat assistance
Flexible Payment
Paypal | Credit Card | Wire Transfer

